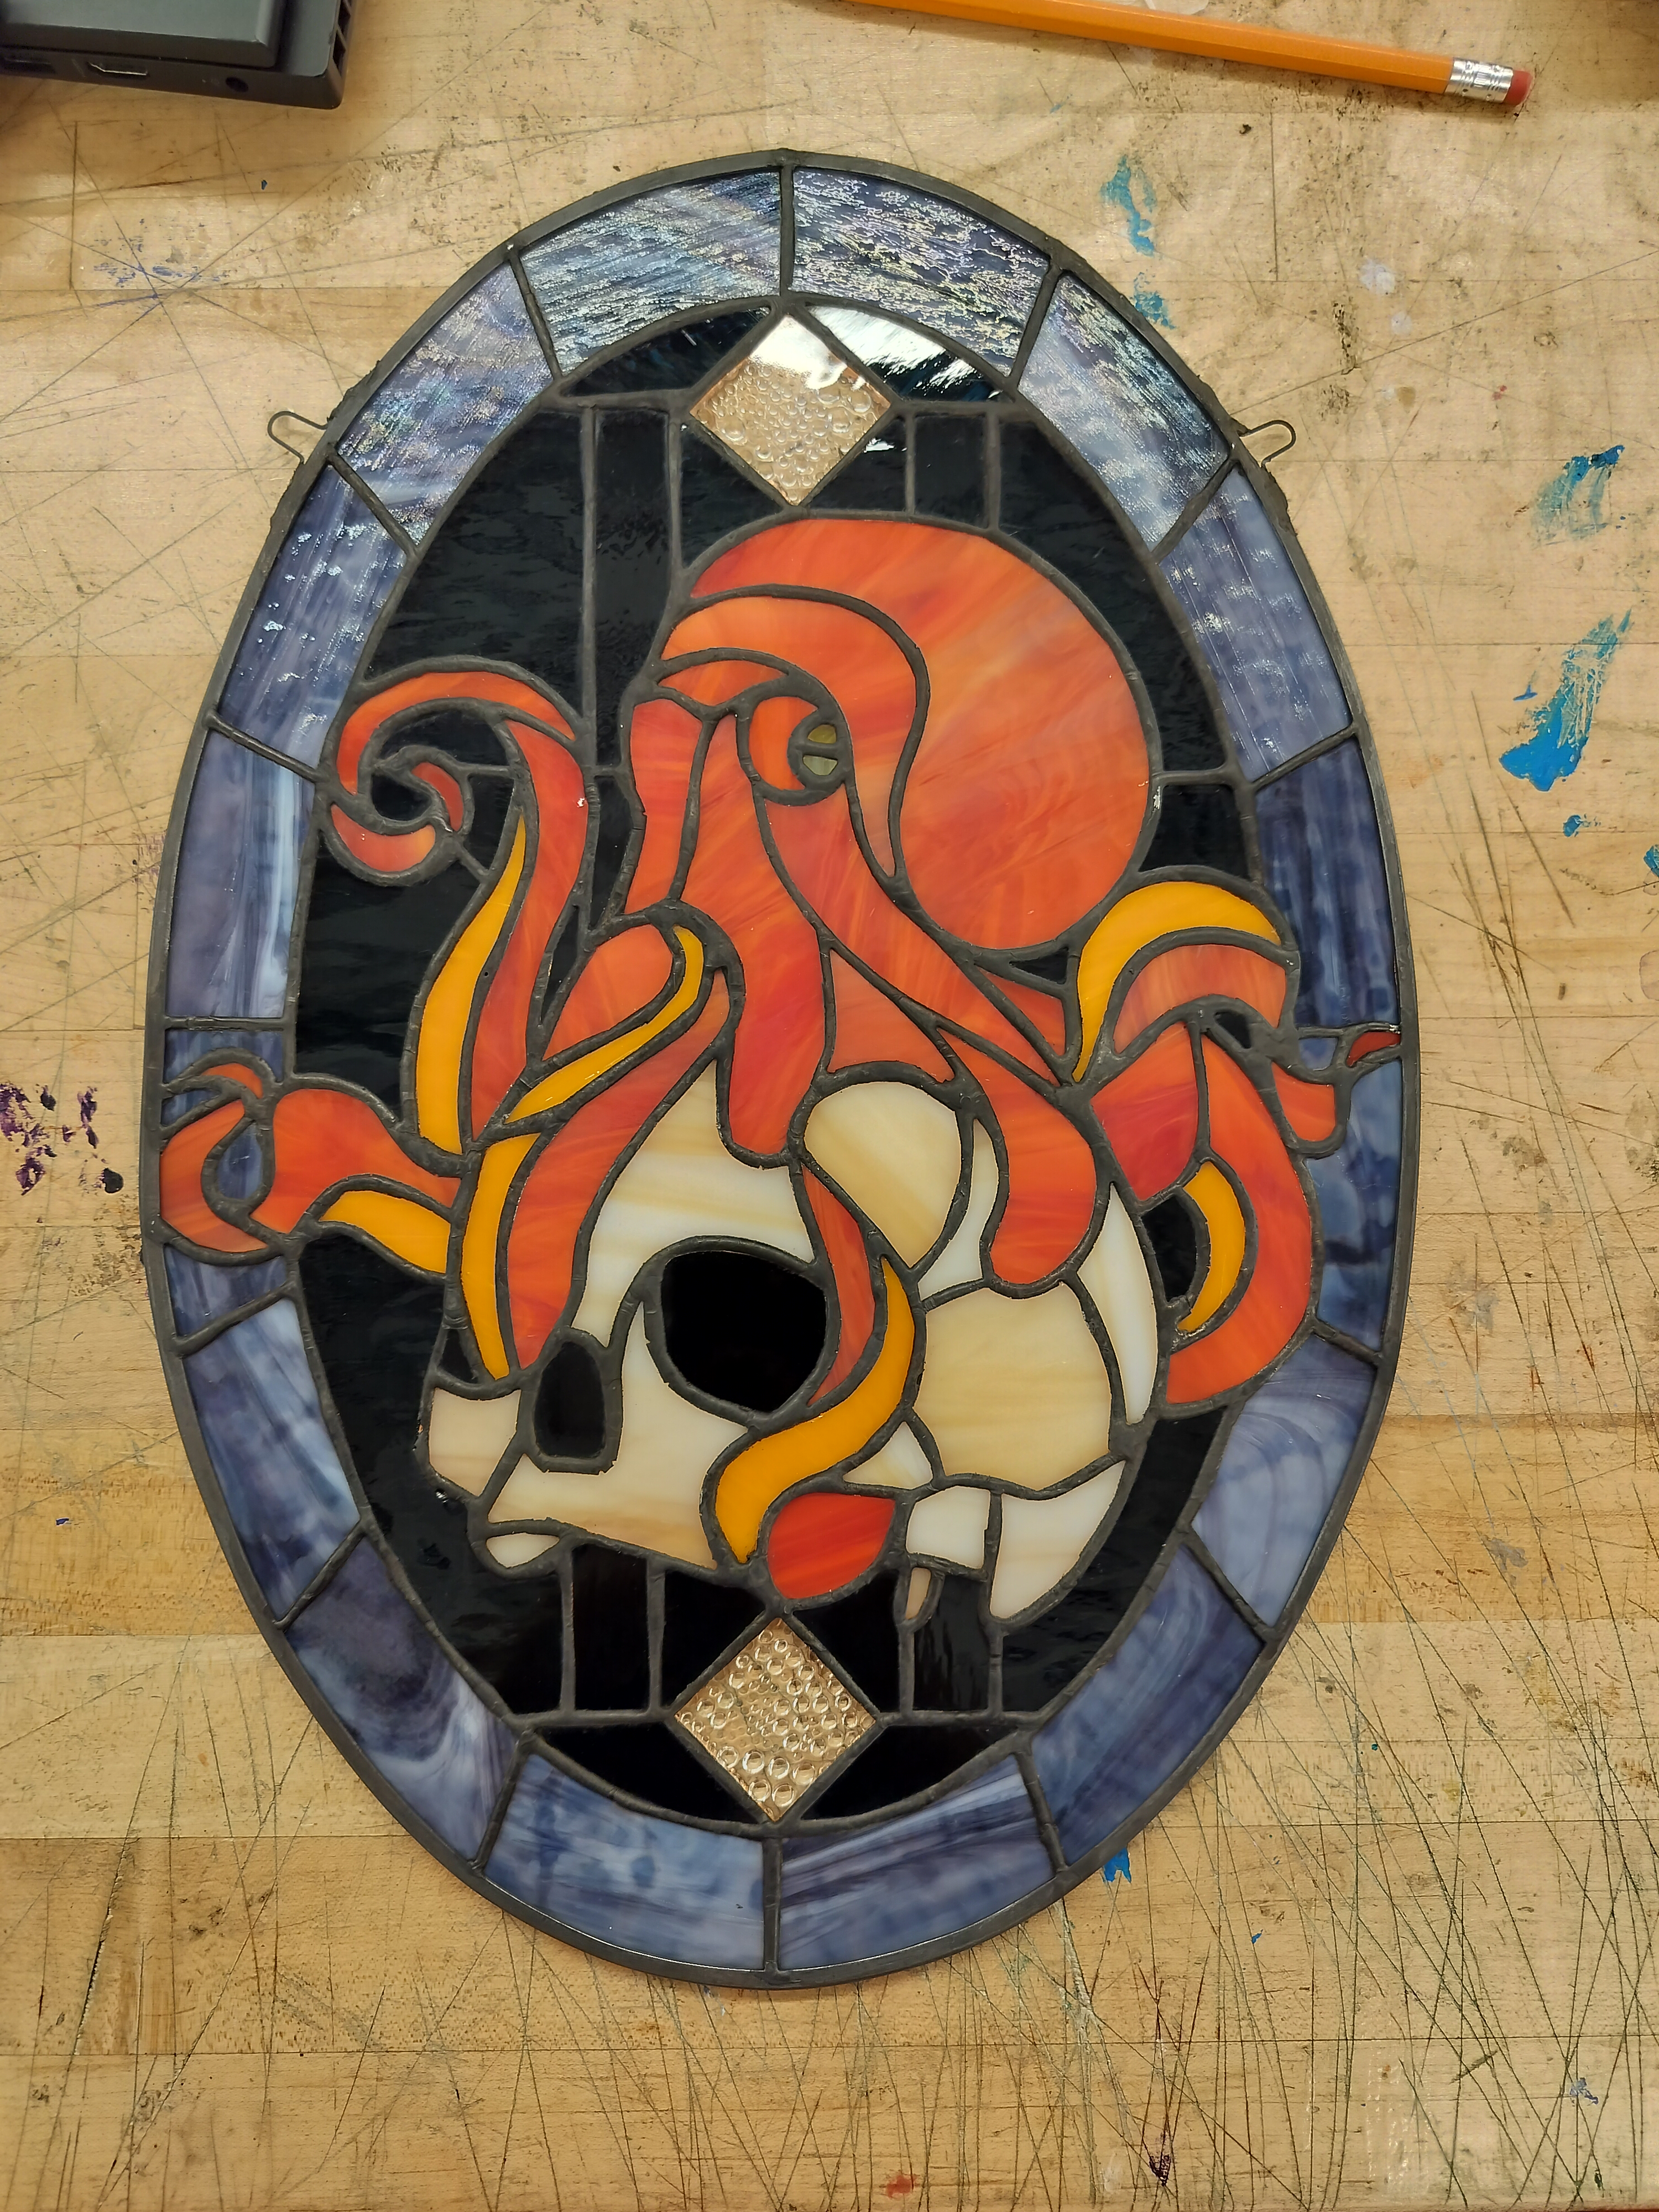
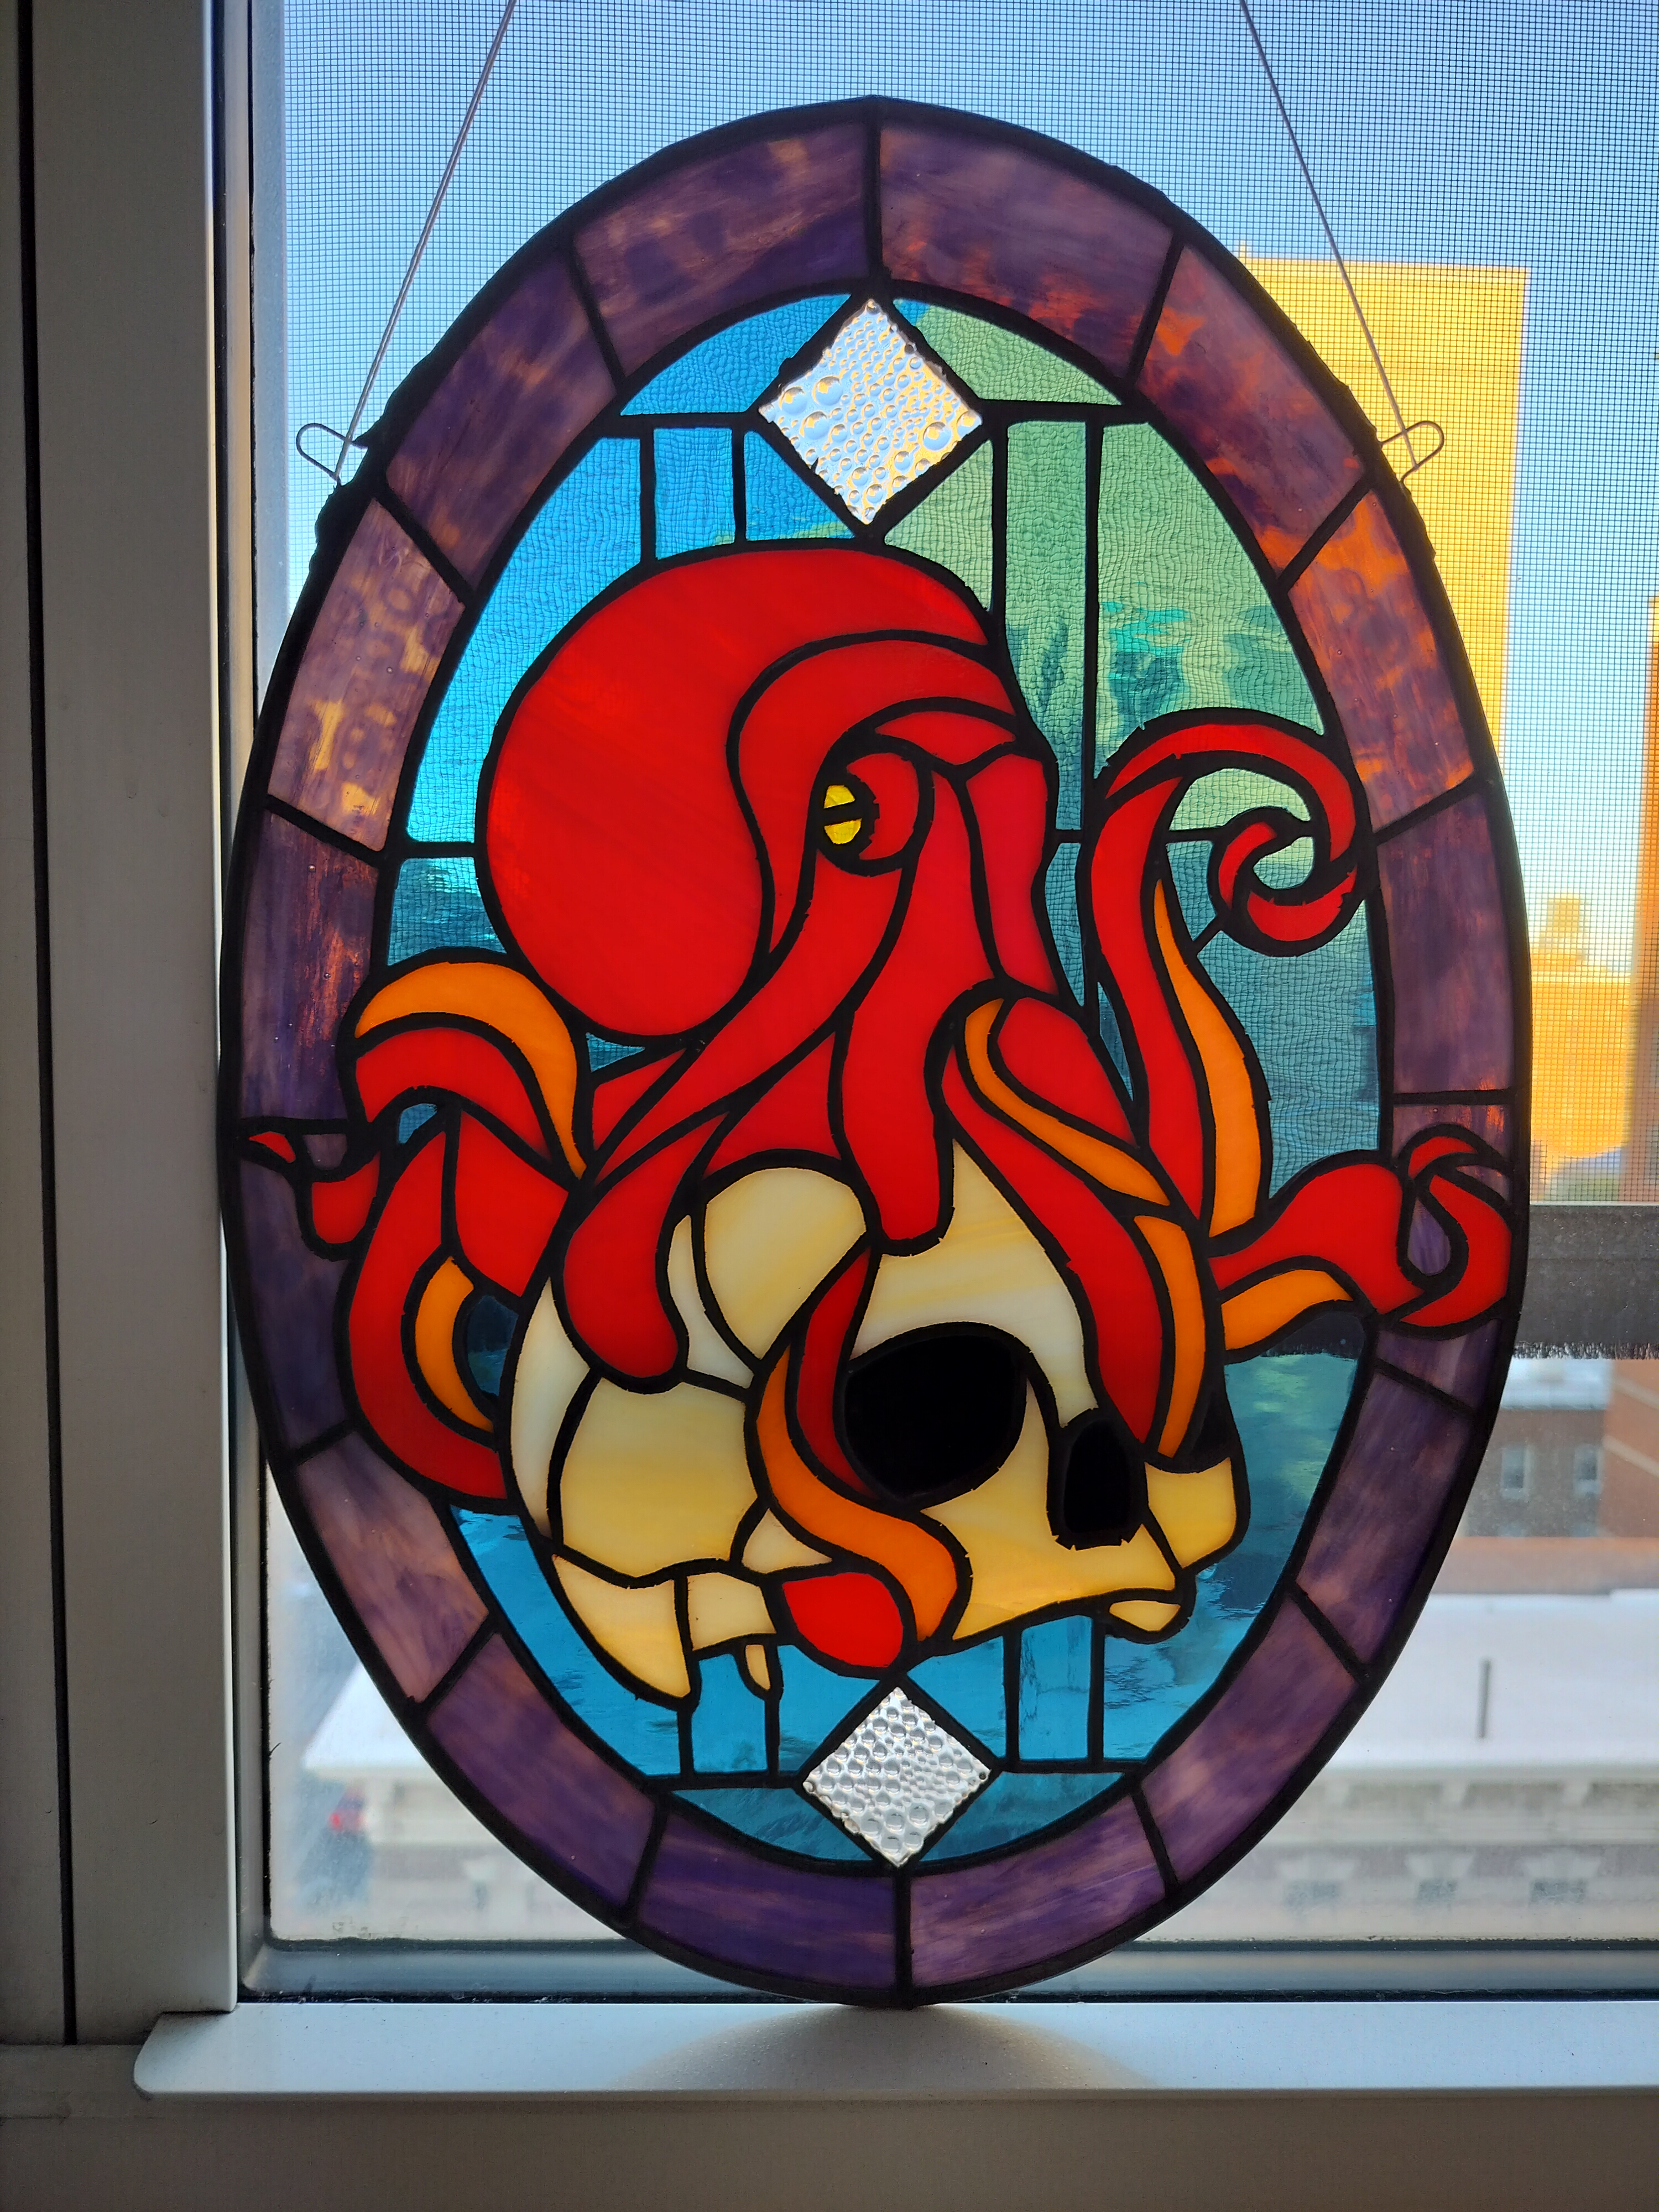
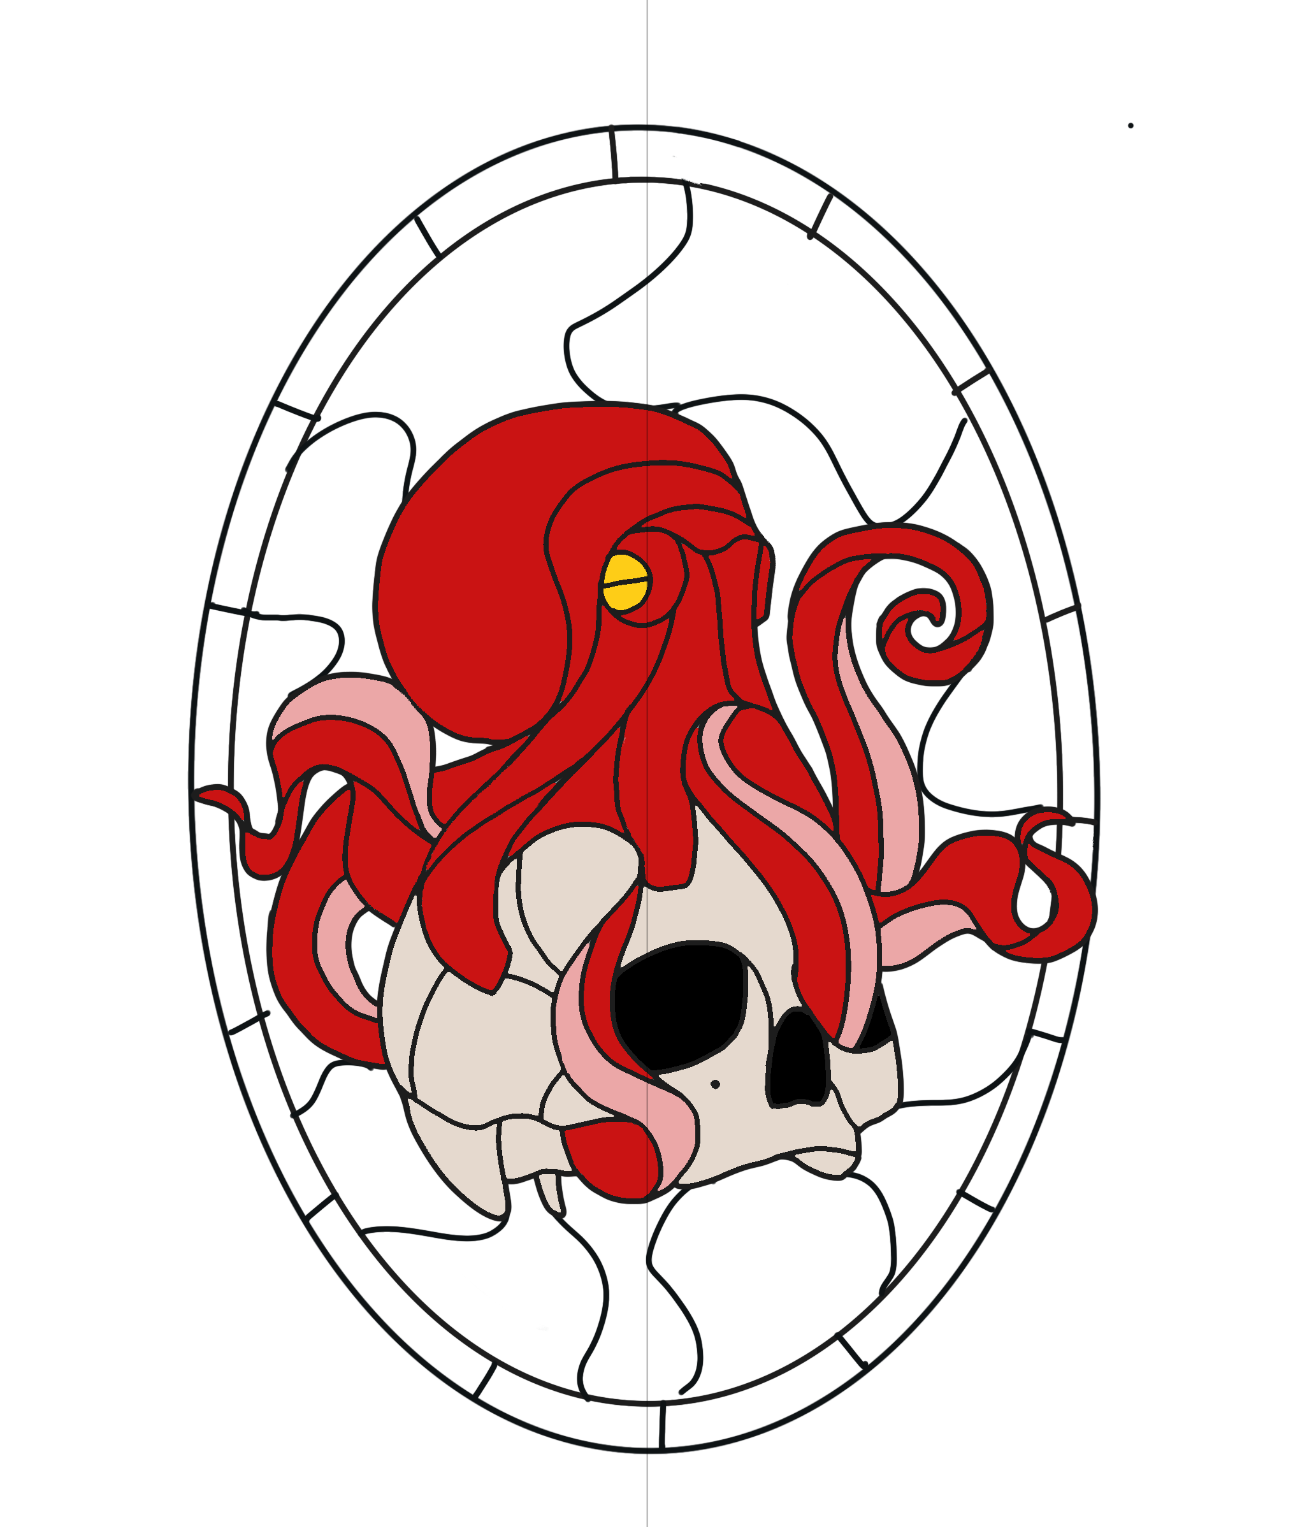
Cephalopod and Cranium
This was the first stained glass piece I’ve made after a four year break. A lot of lessons were (re)learned and many mistakes (re)made in this (approximately) 50 hour endeavor.
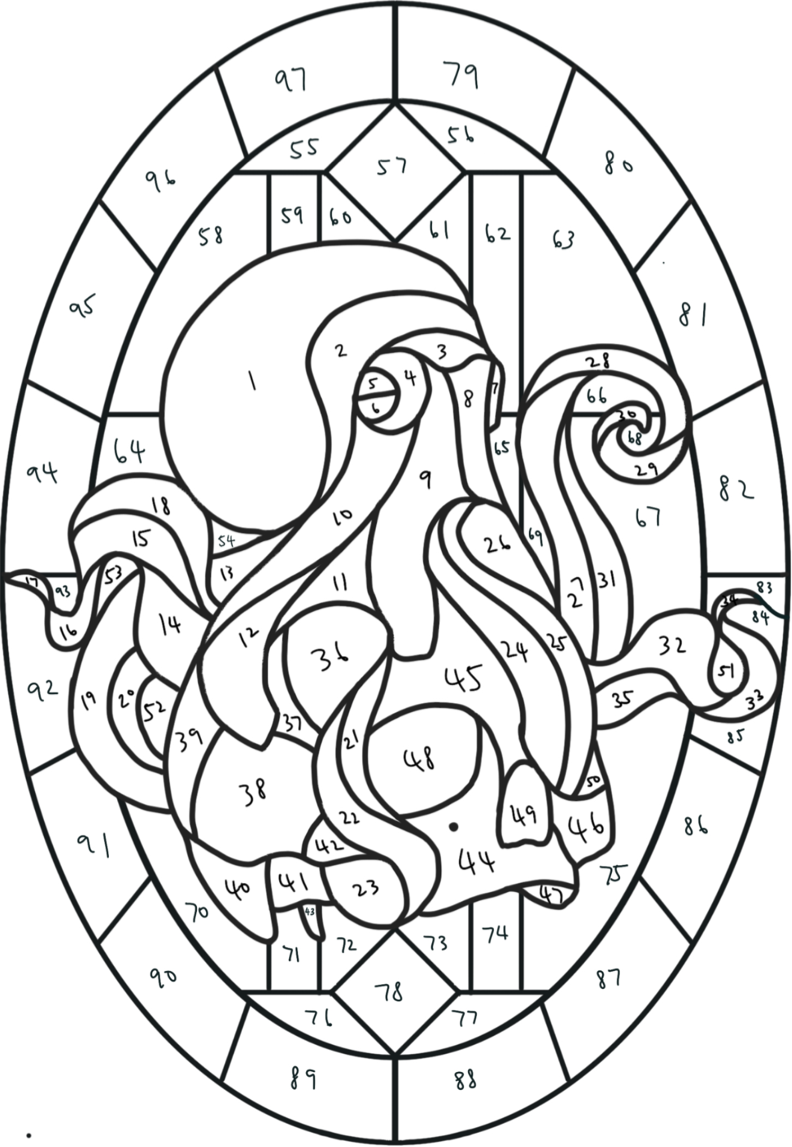
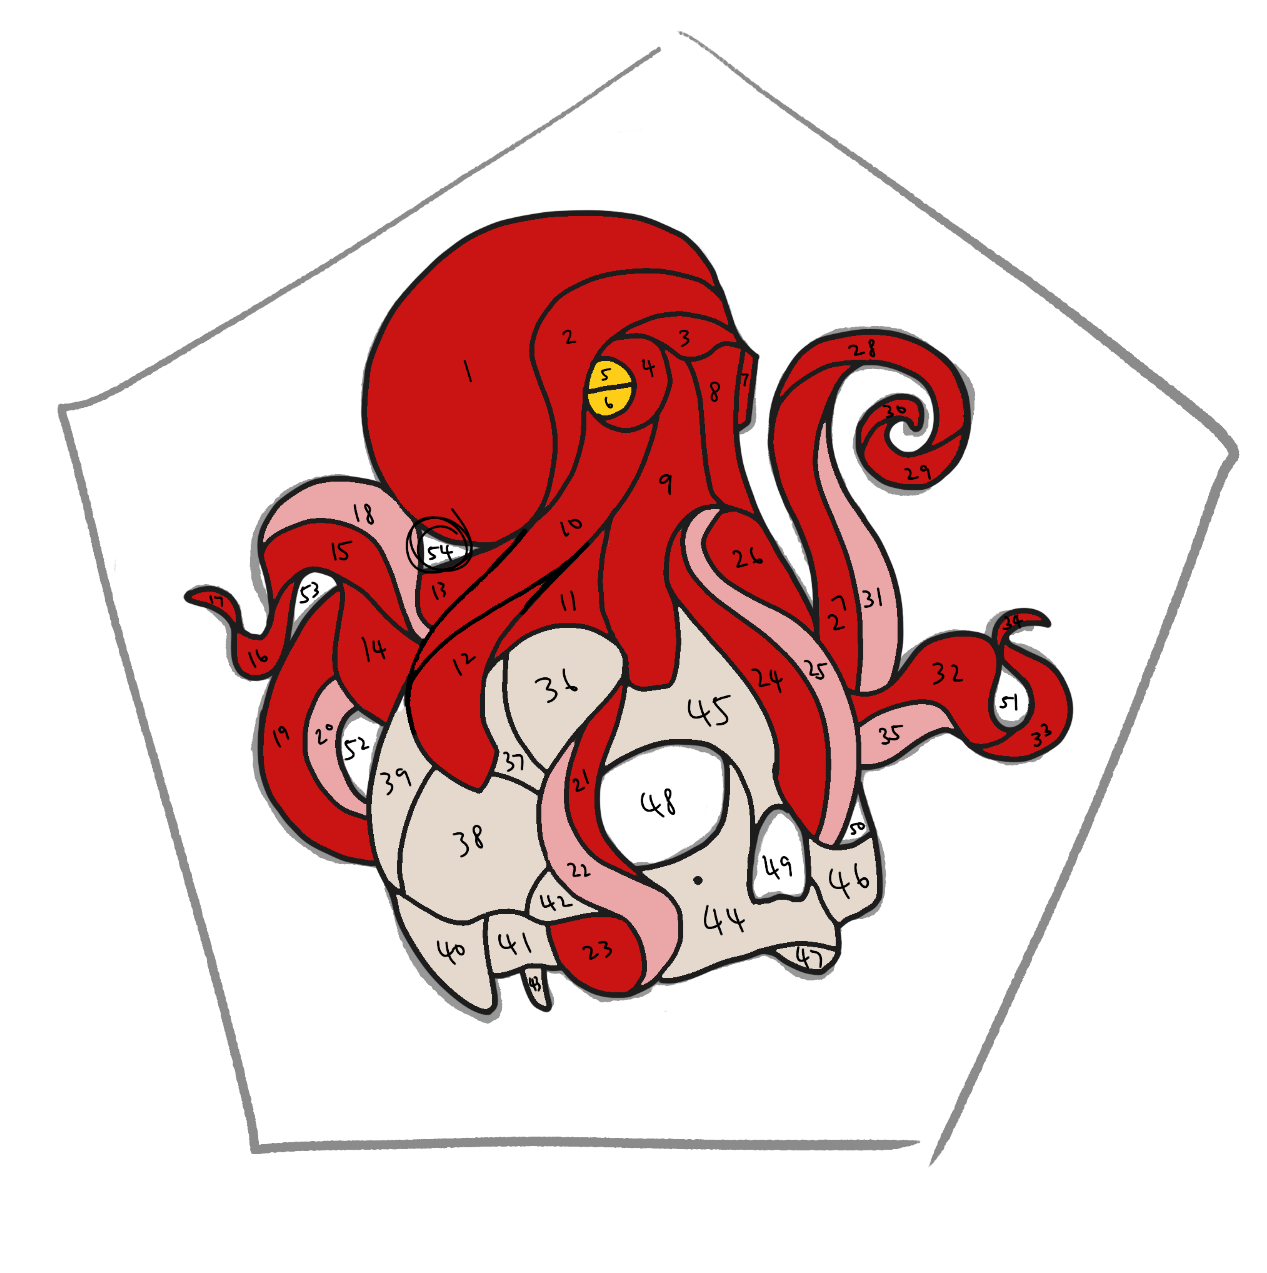
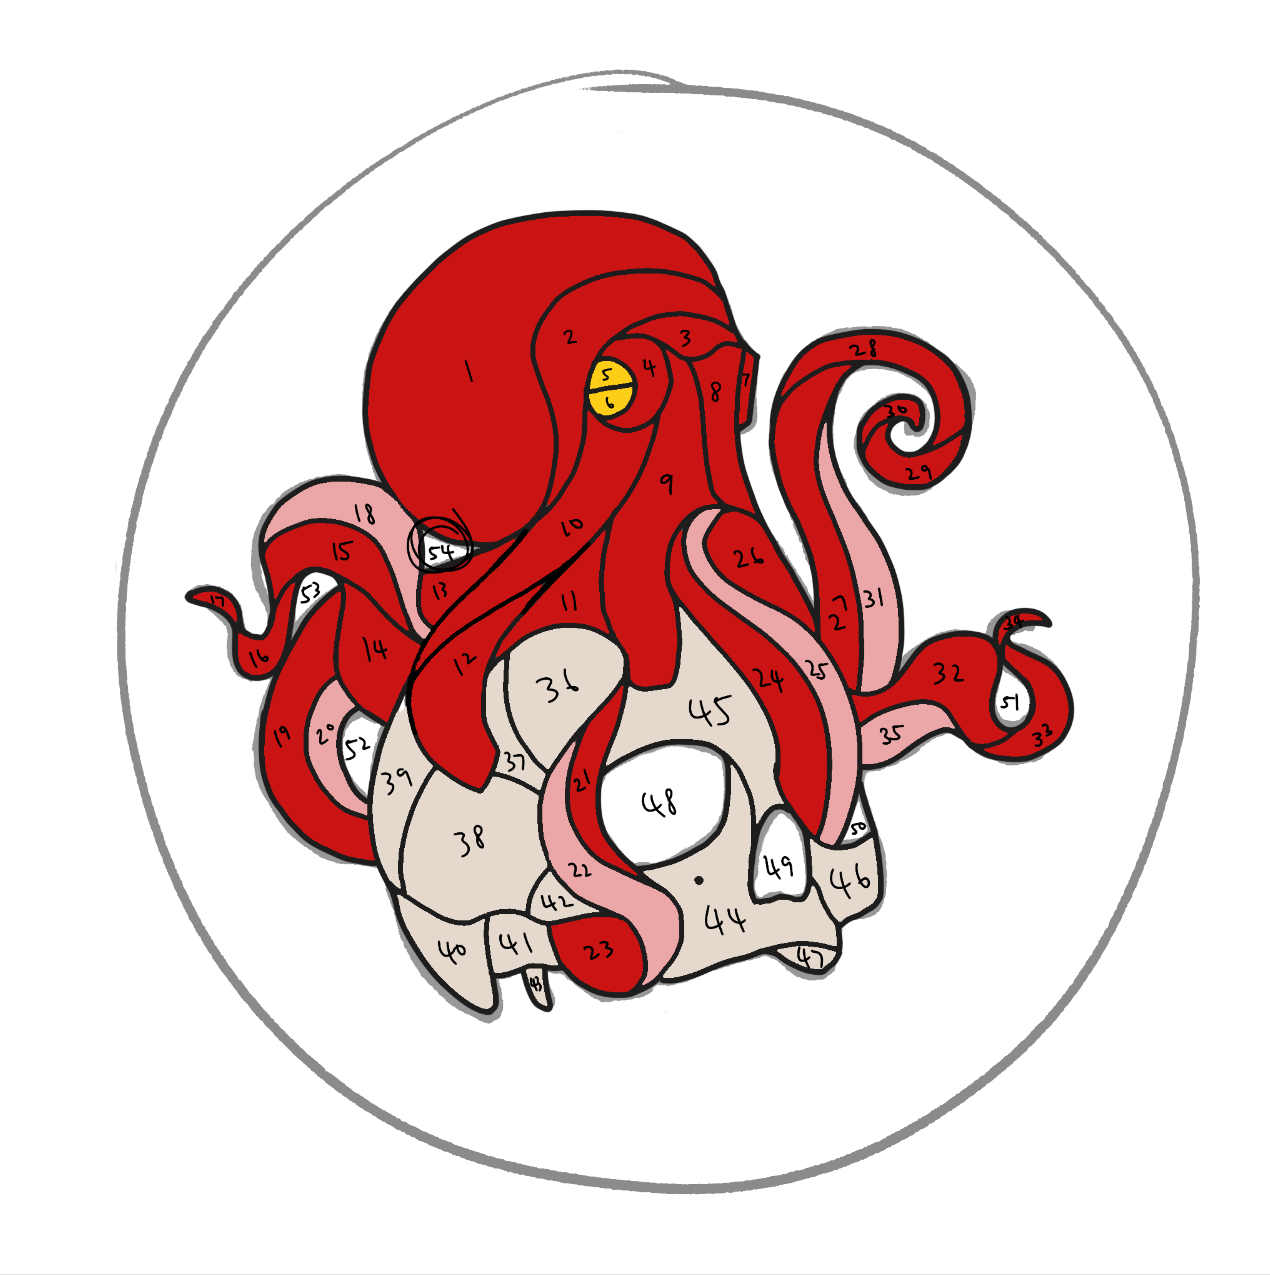
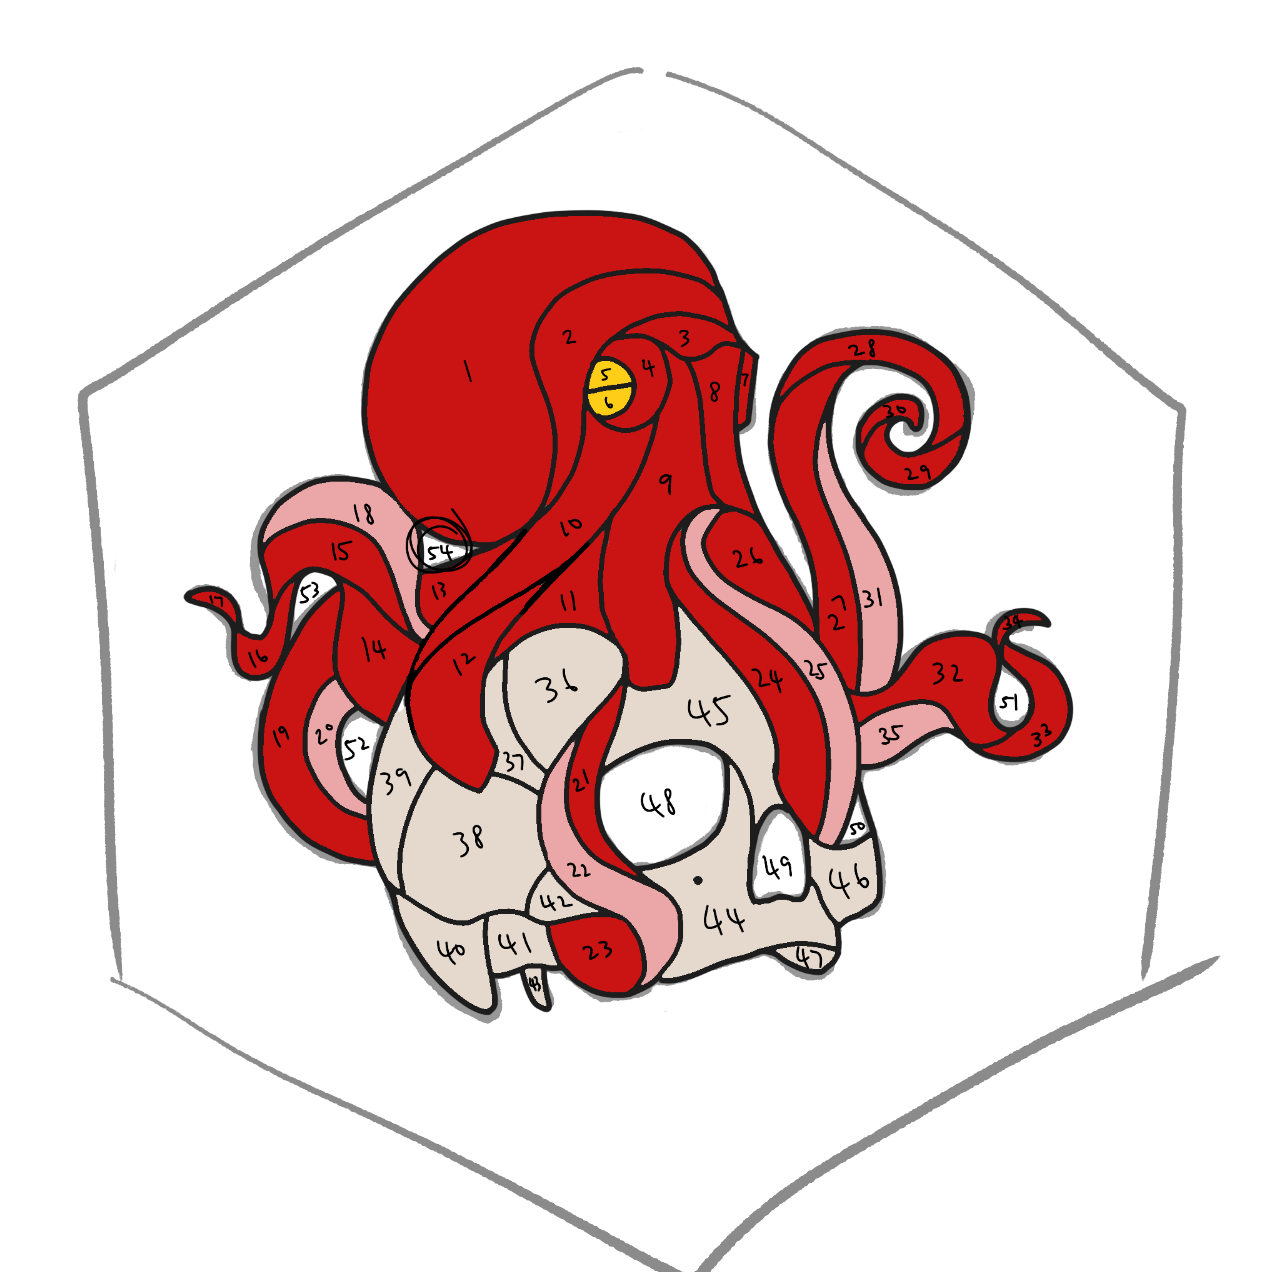
Pattern Prototyping
Shape
Testing out different border shapes for the octopus.


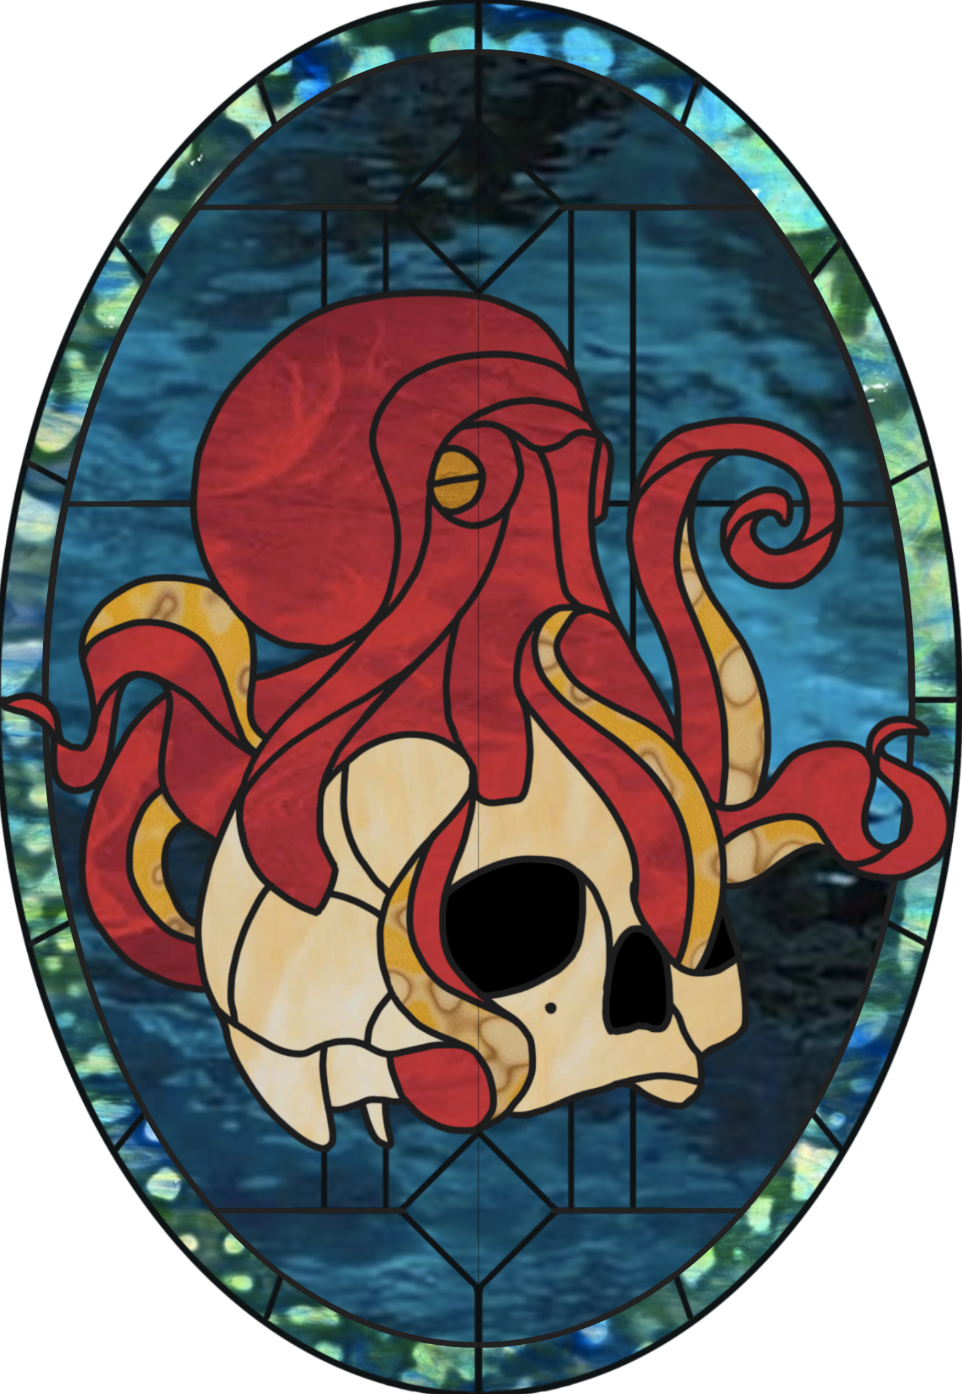
Lines
Prototyping different ways of breaking up the background.
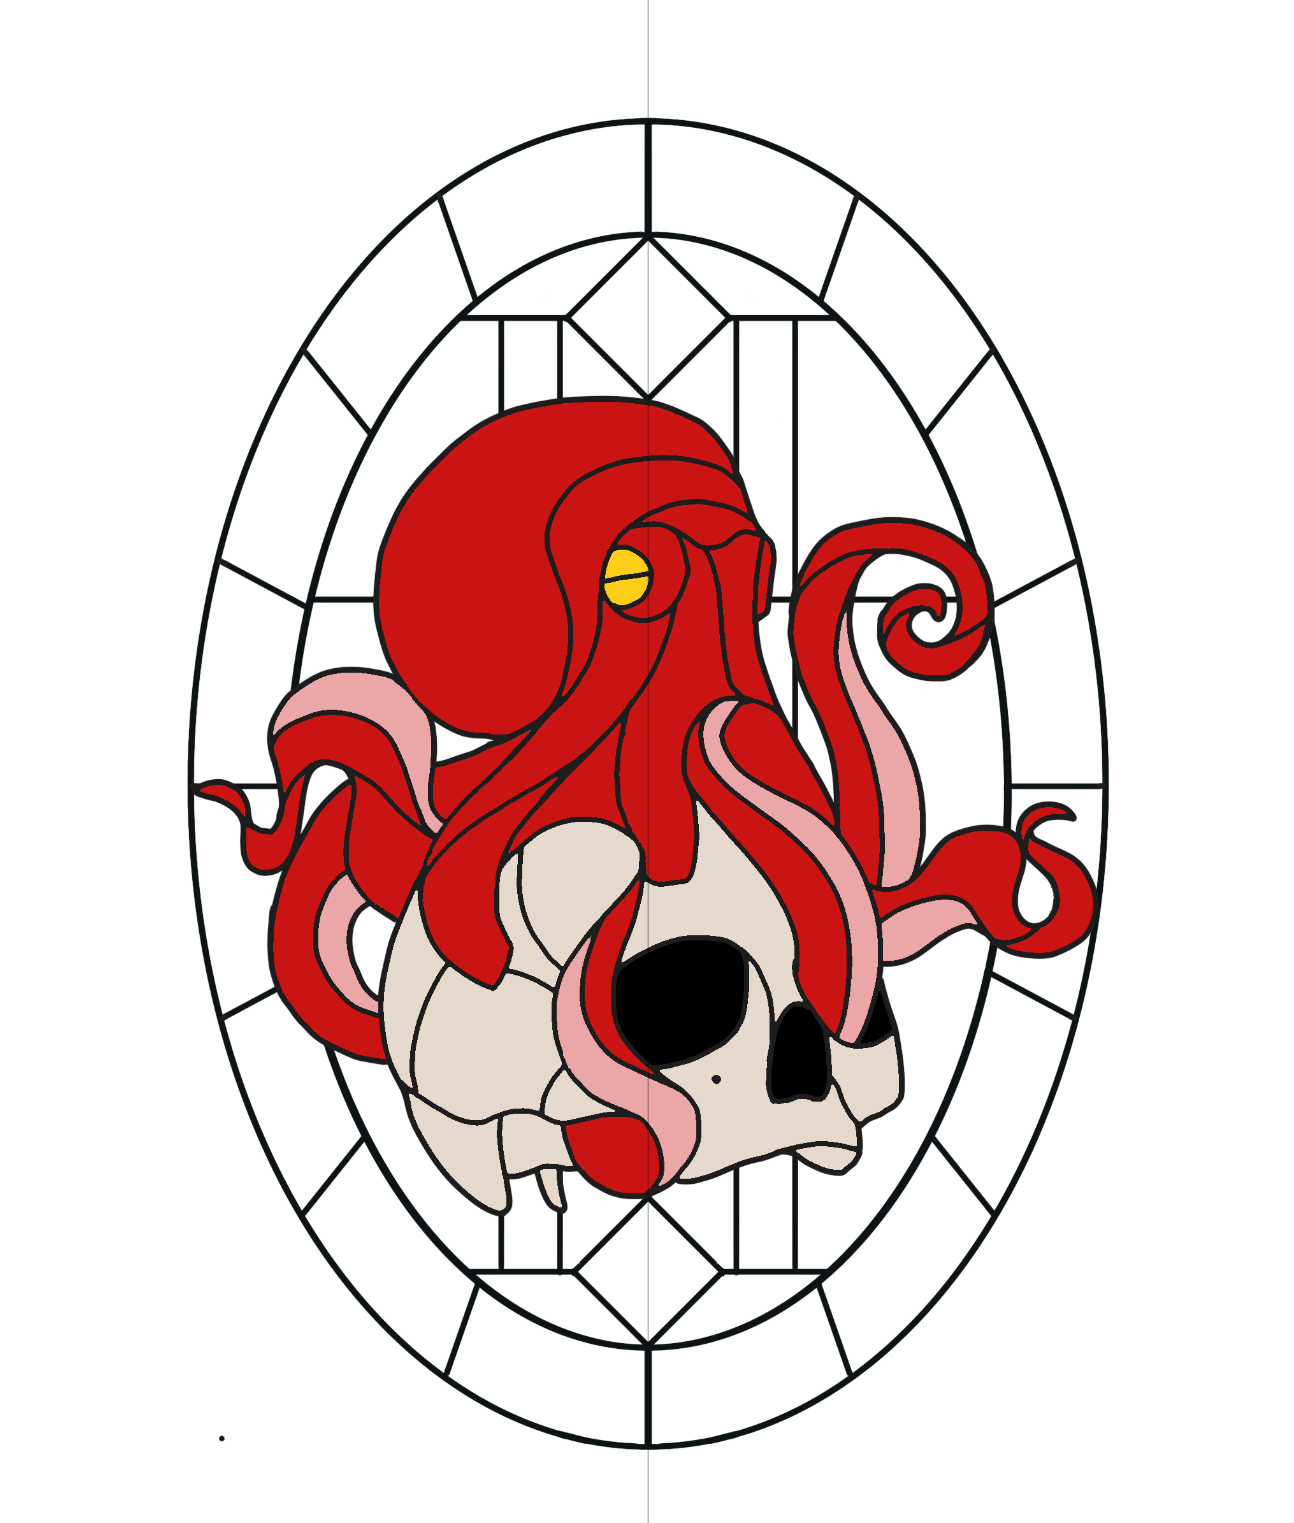

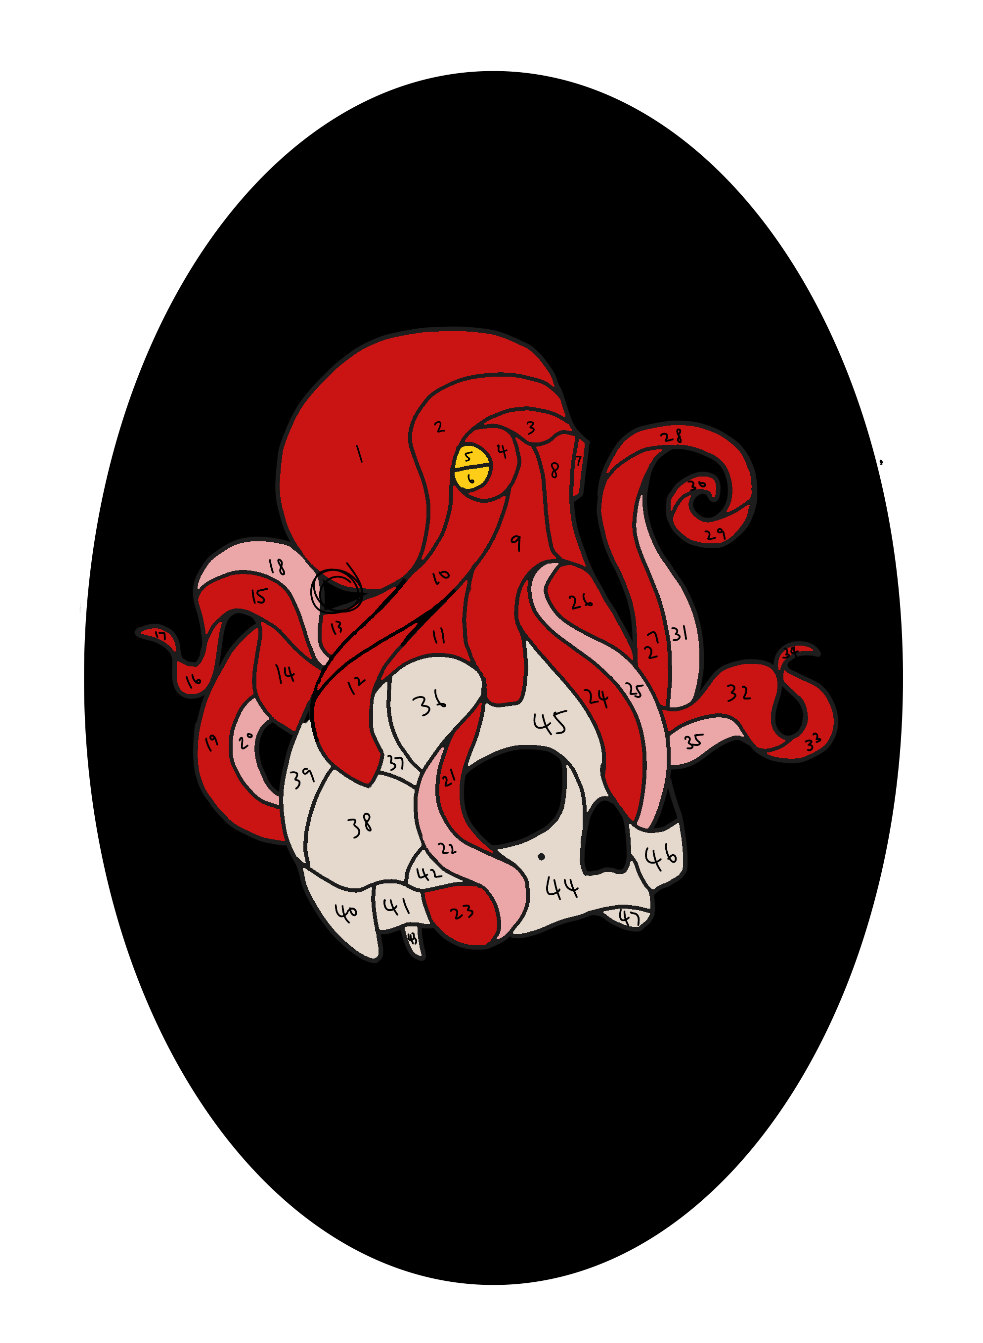
Color
Choosing glass colors with minor pattern modification.


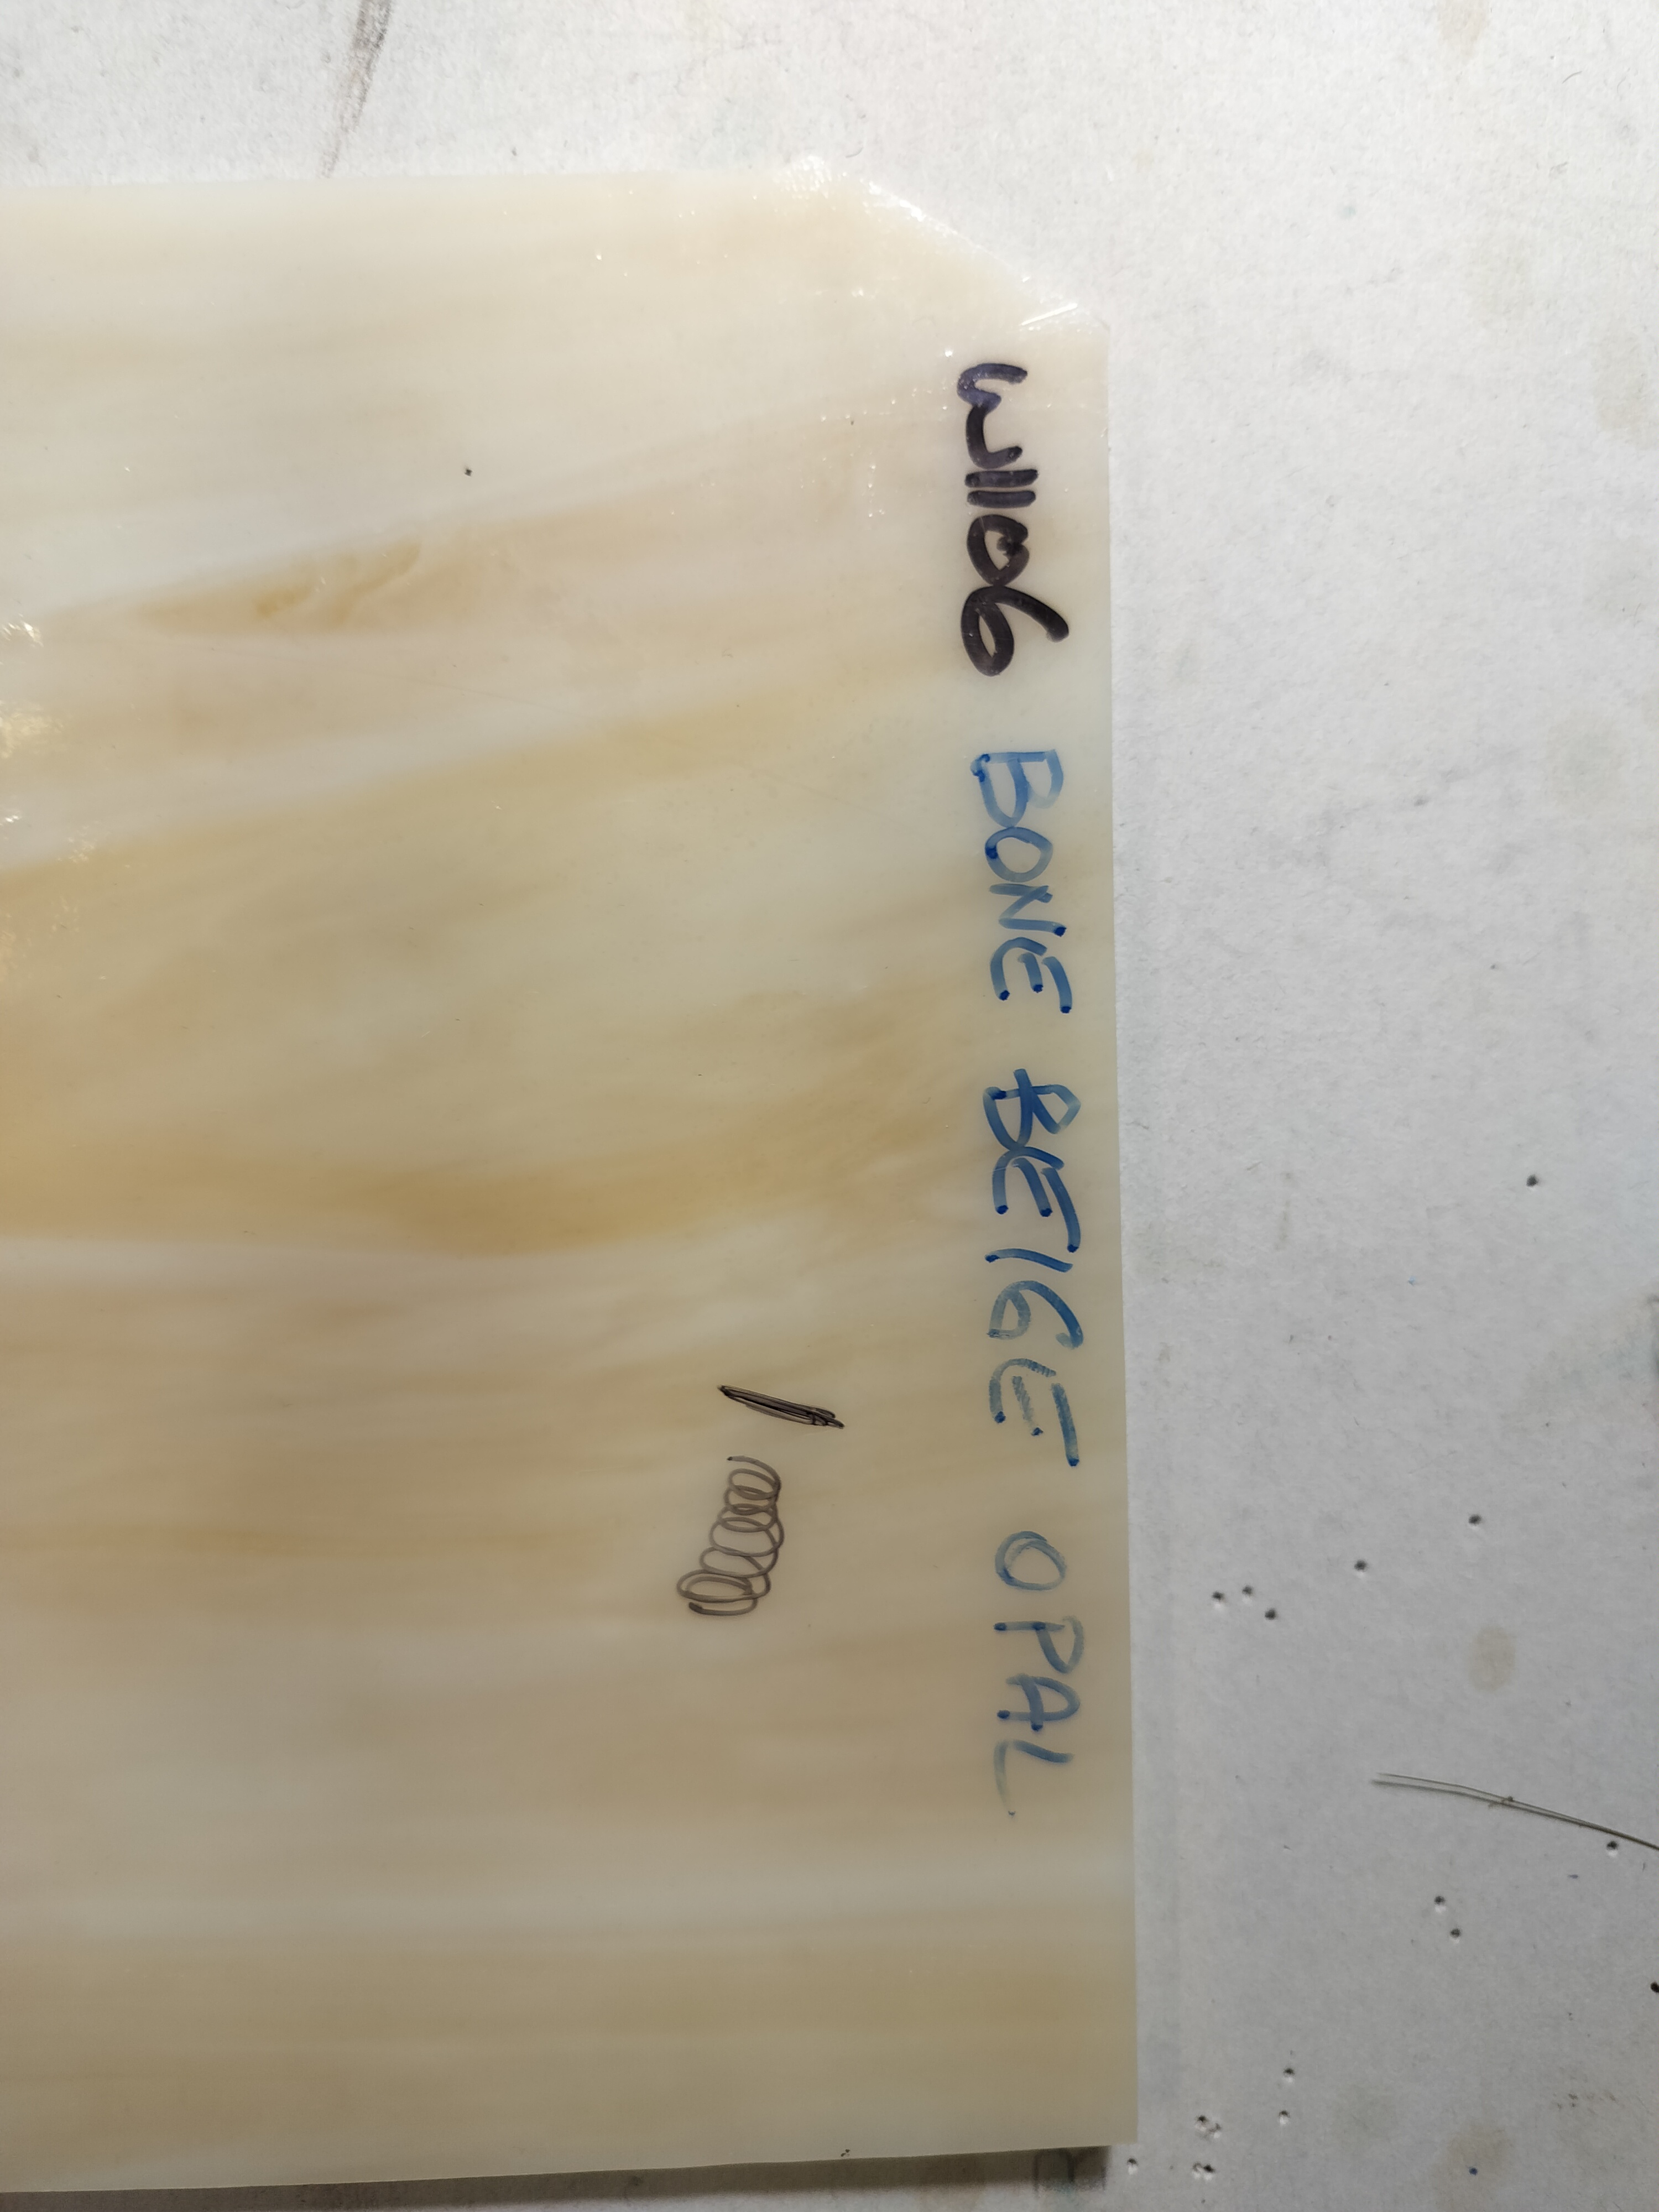
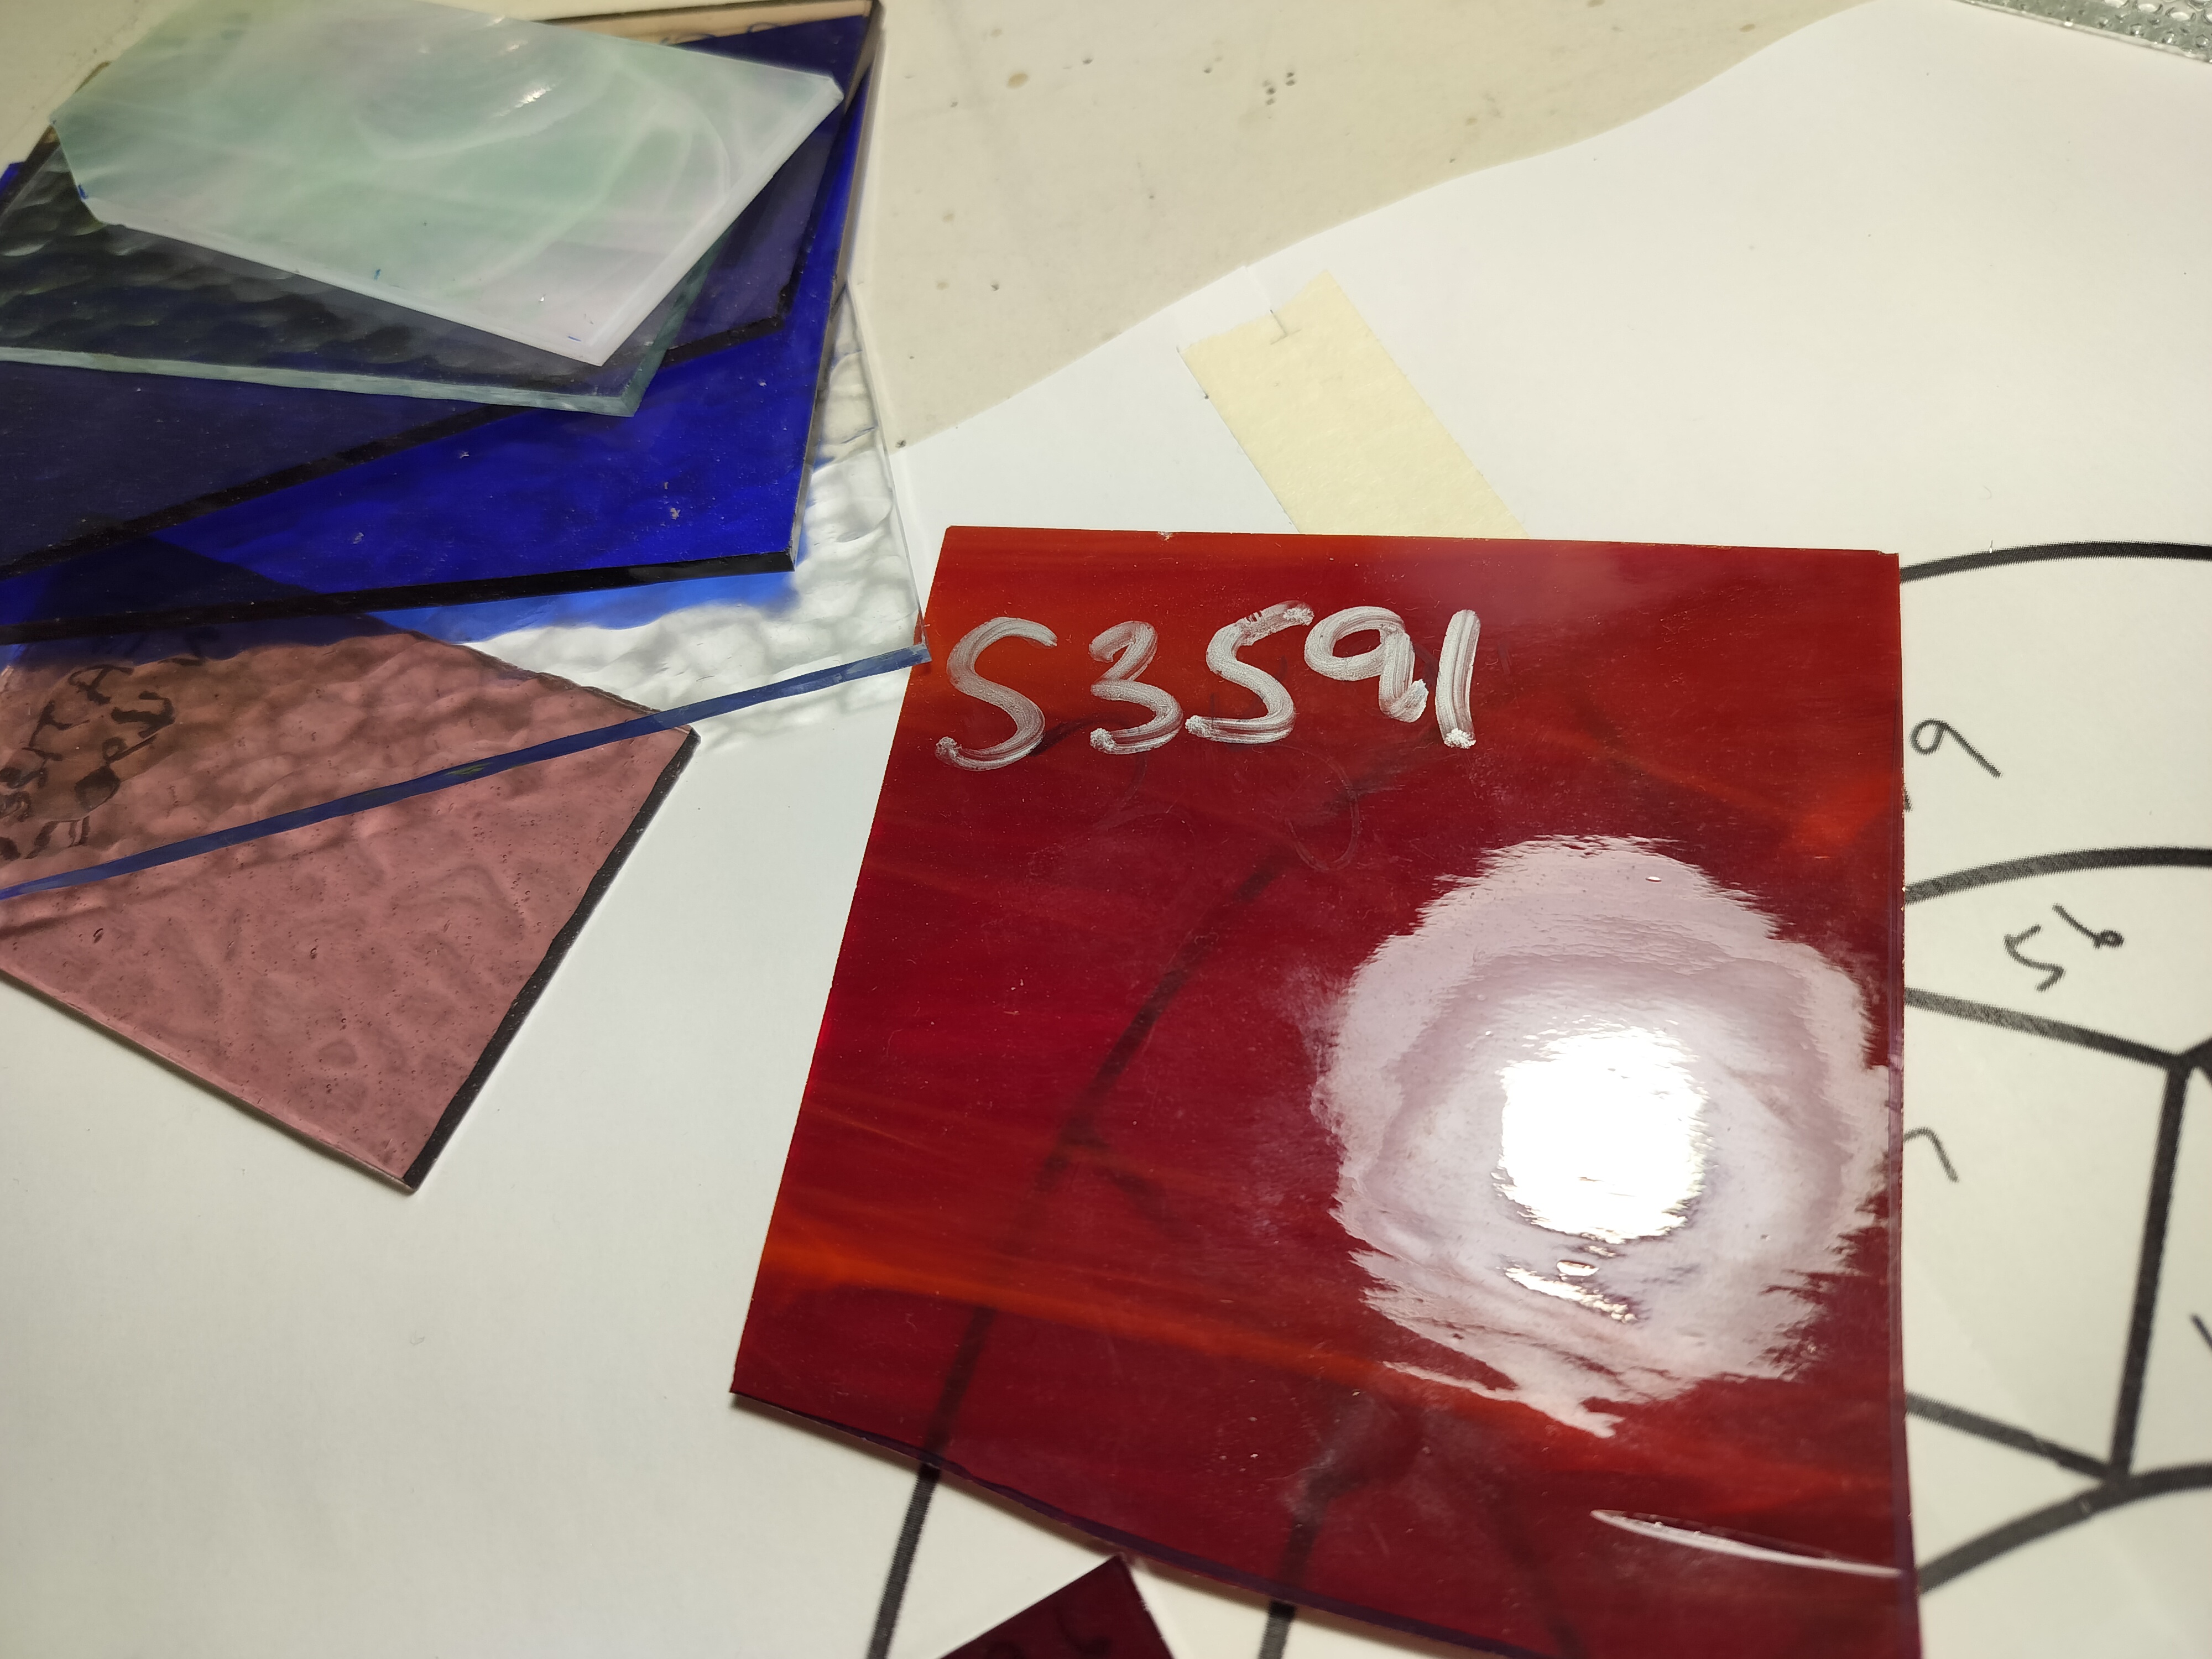
Process
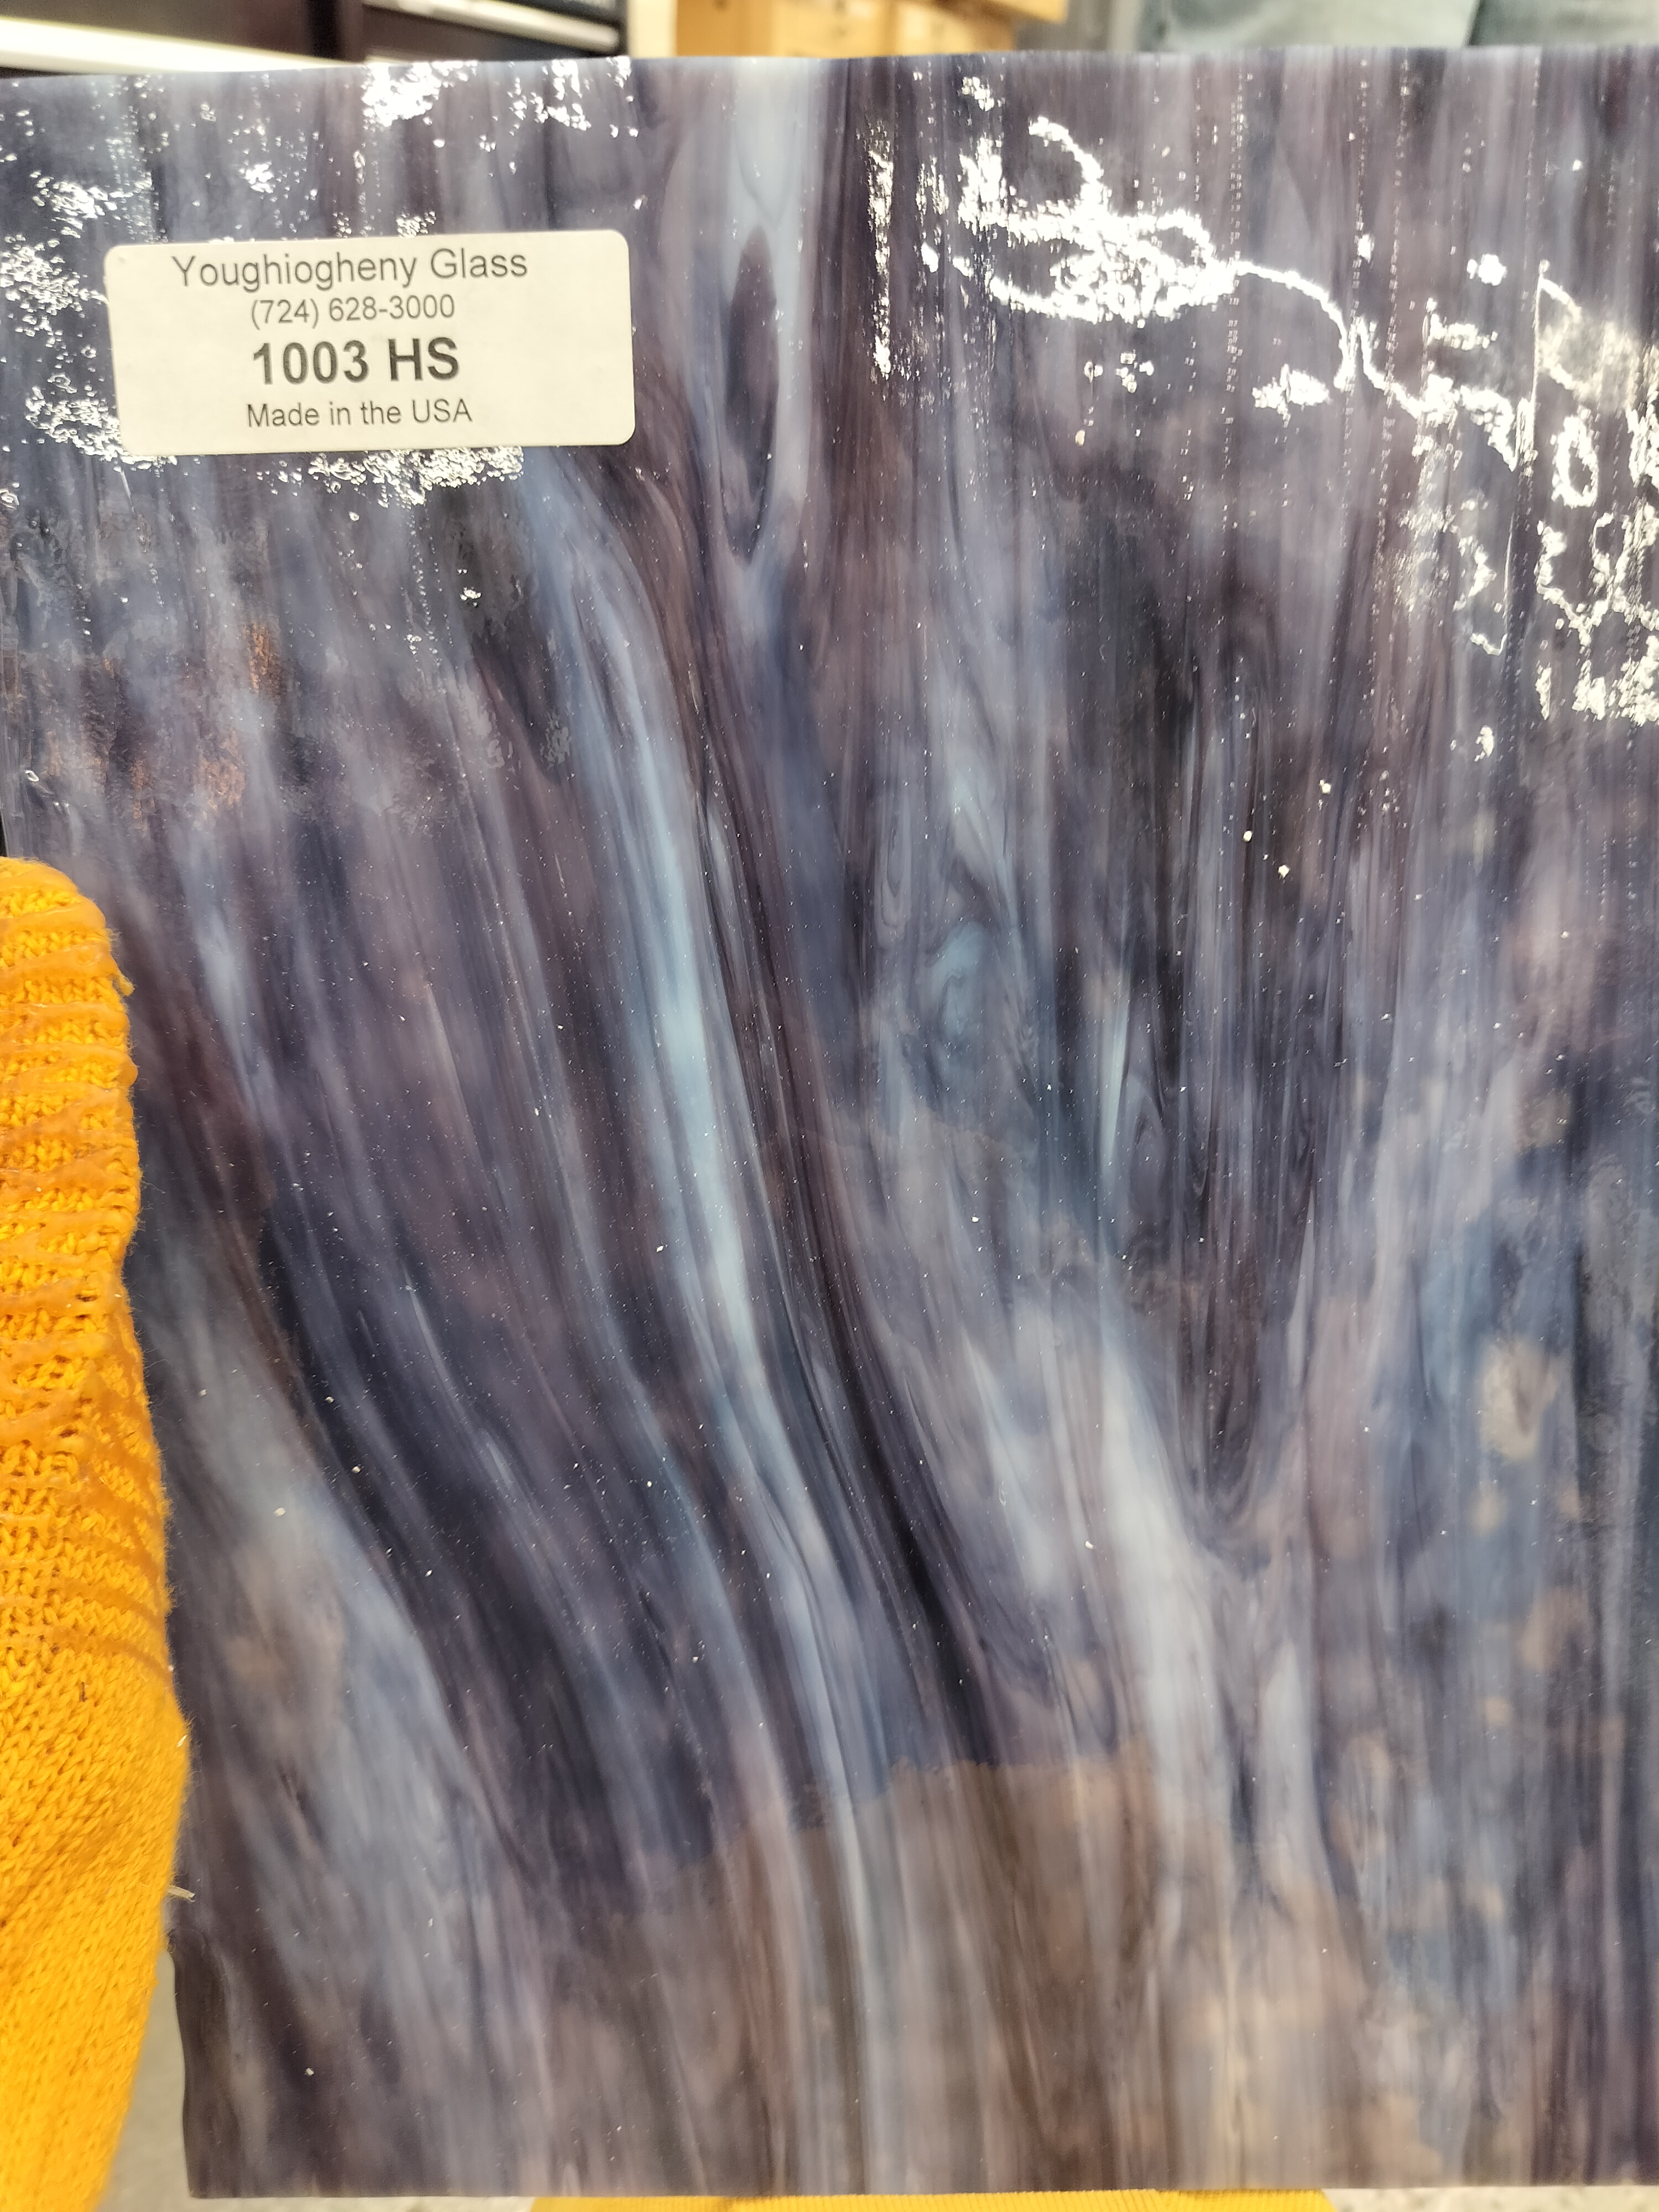
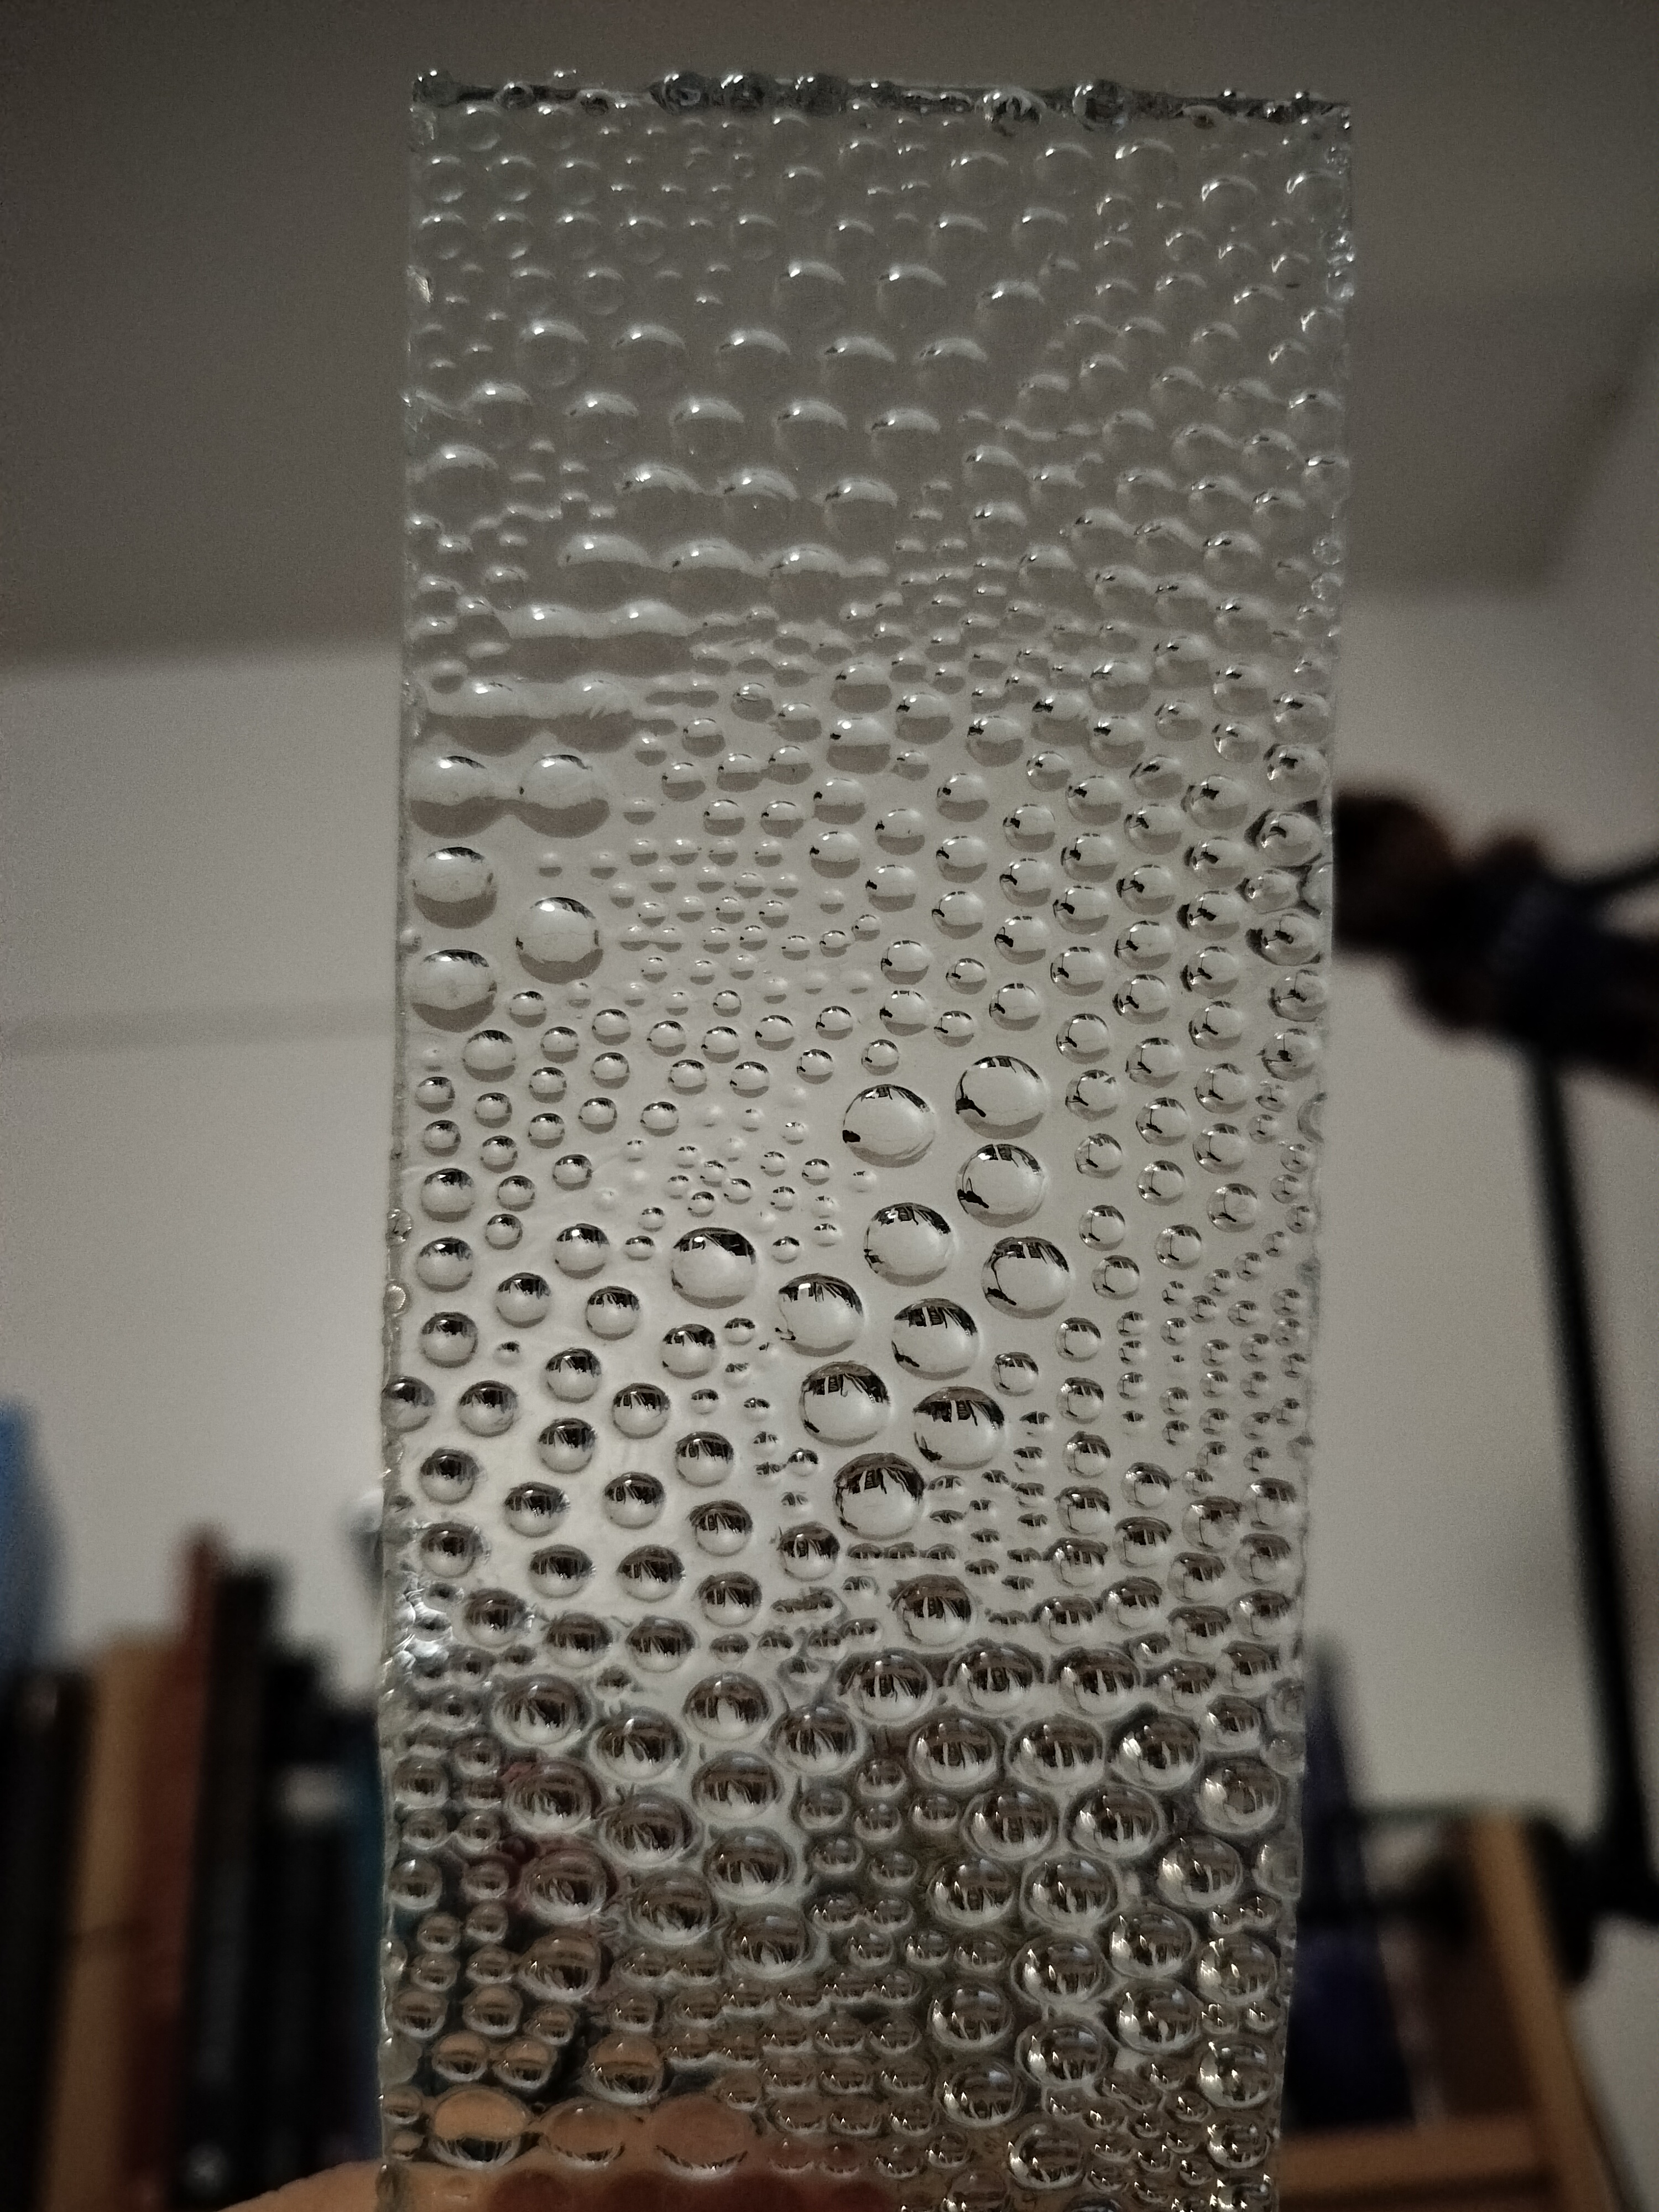
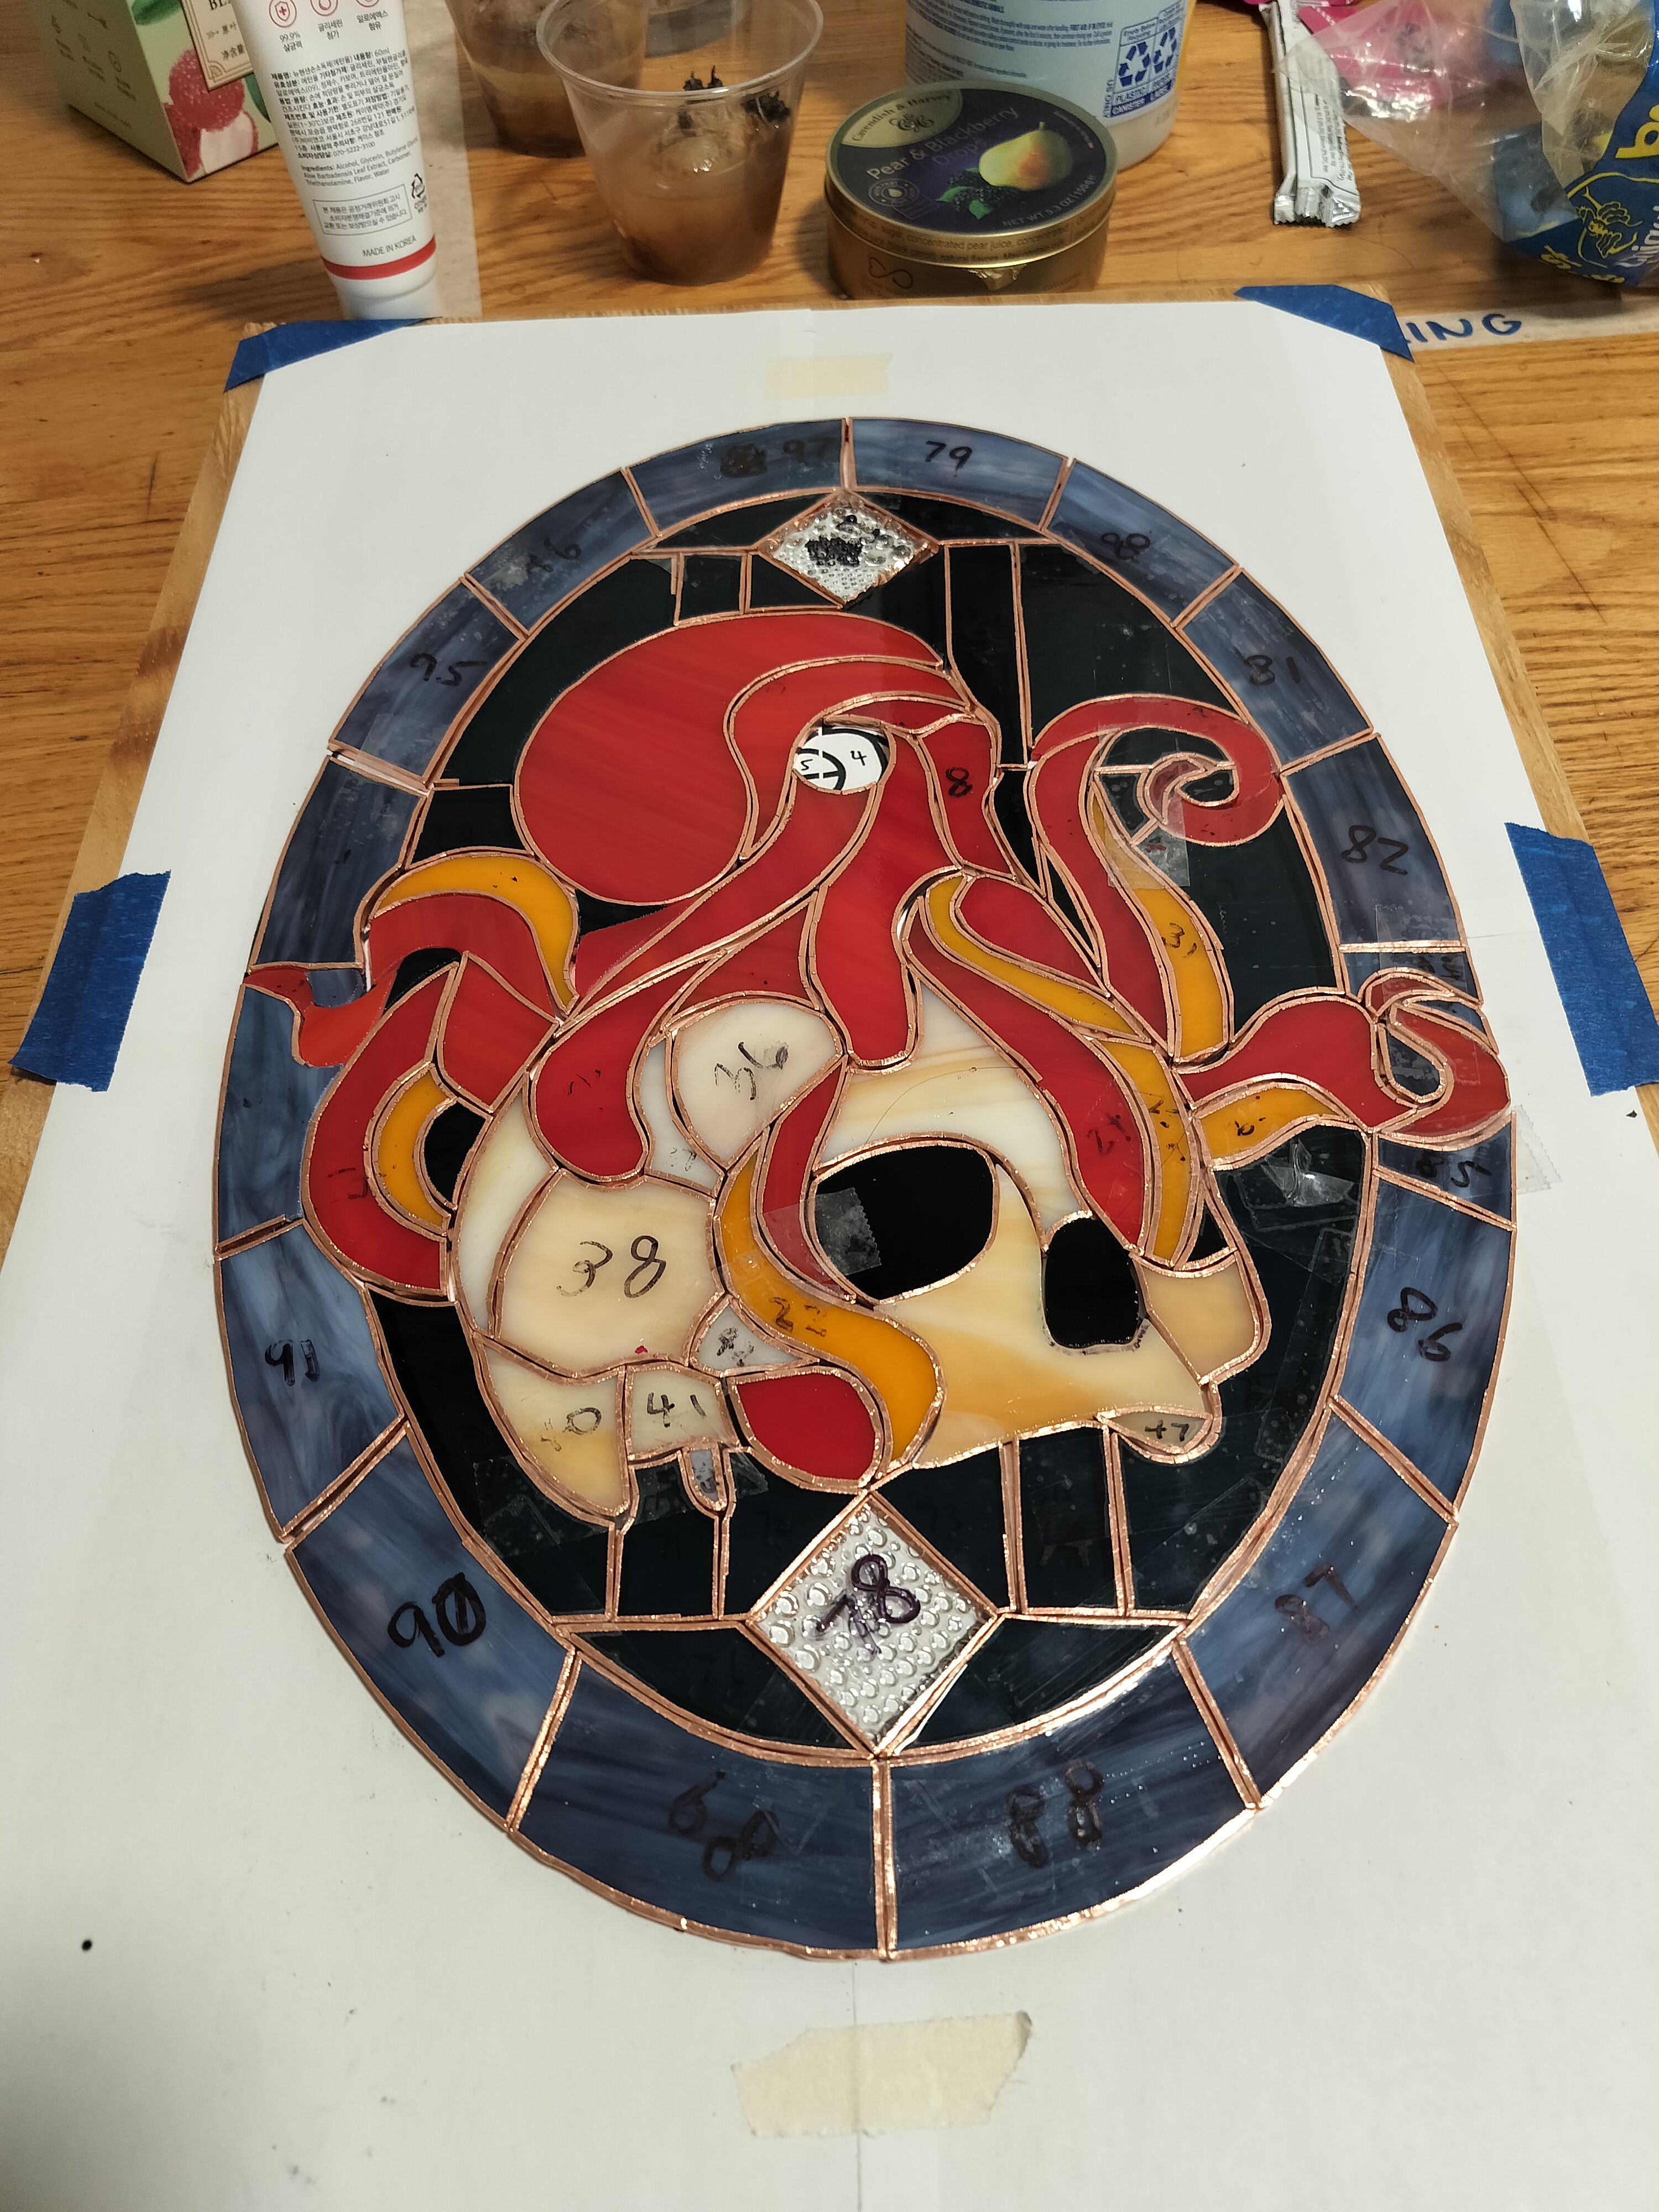
1) Choosing and cutting glass
It's important to see the glass for yourself or photos of it under different light conditions! Catalogue photos may often be inaccurate or misleading comapared to the real thing.
2) Copper foiling and ensuring fit
(Not in that order) Make sure the pieces of glass fit together accurately before copper foiling!
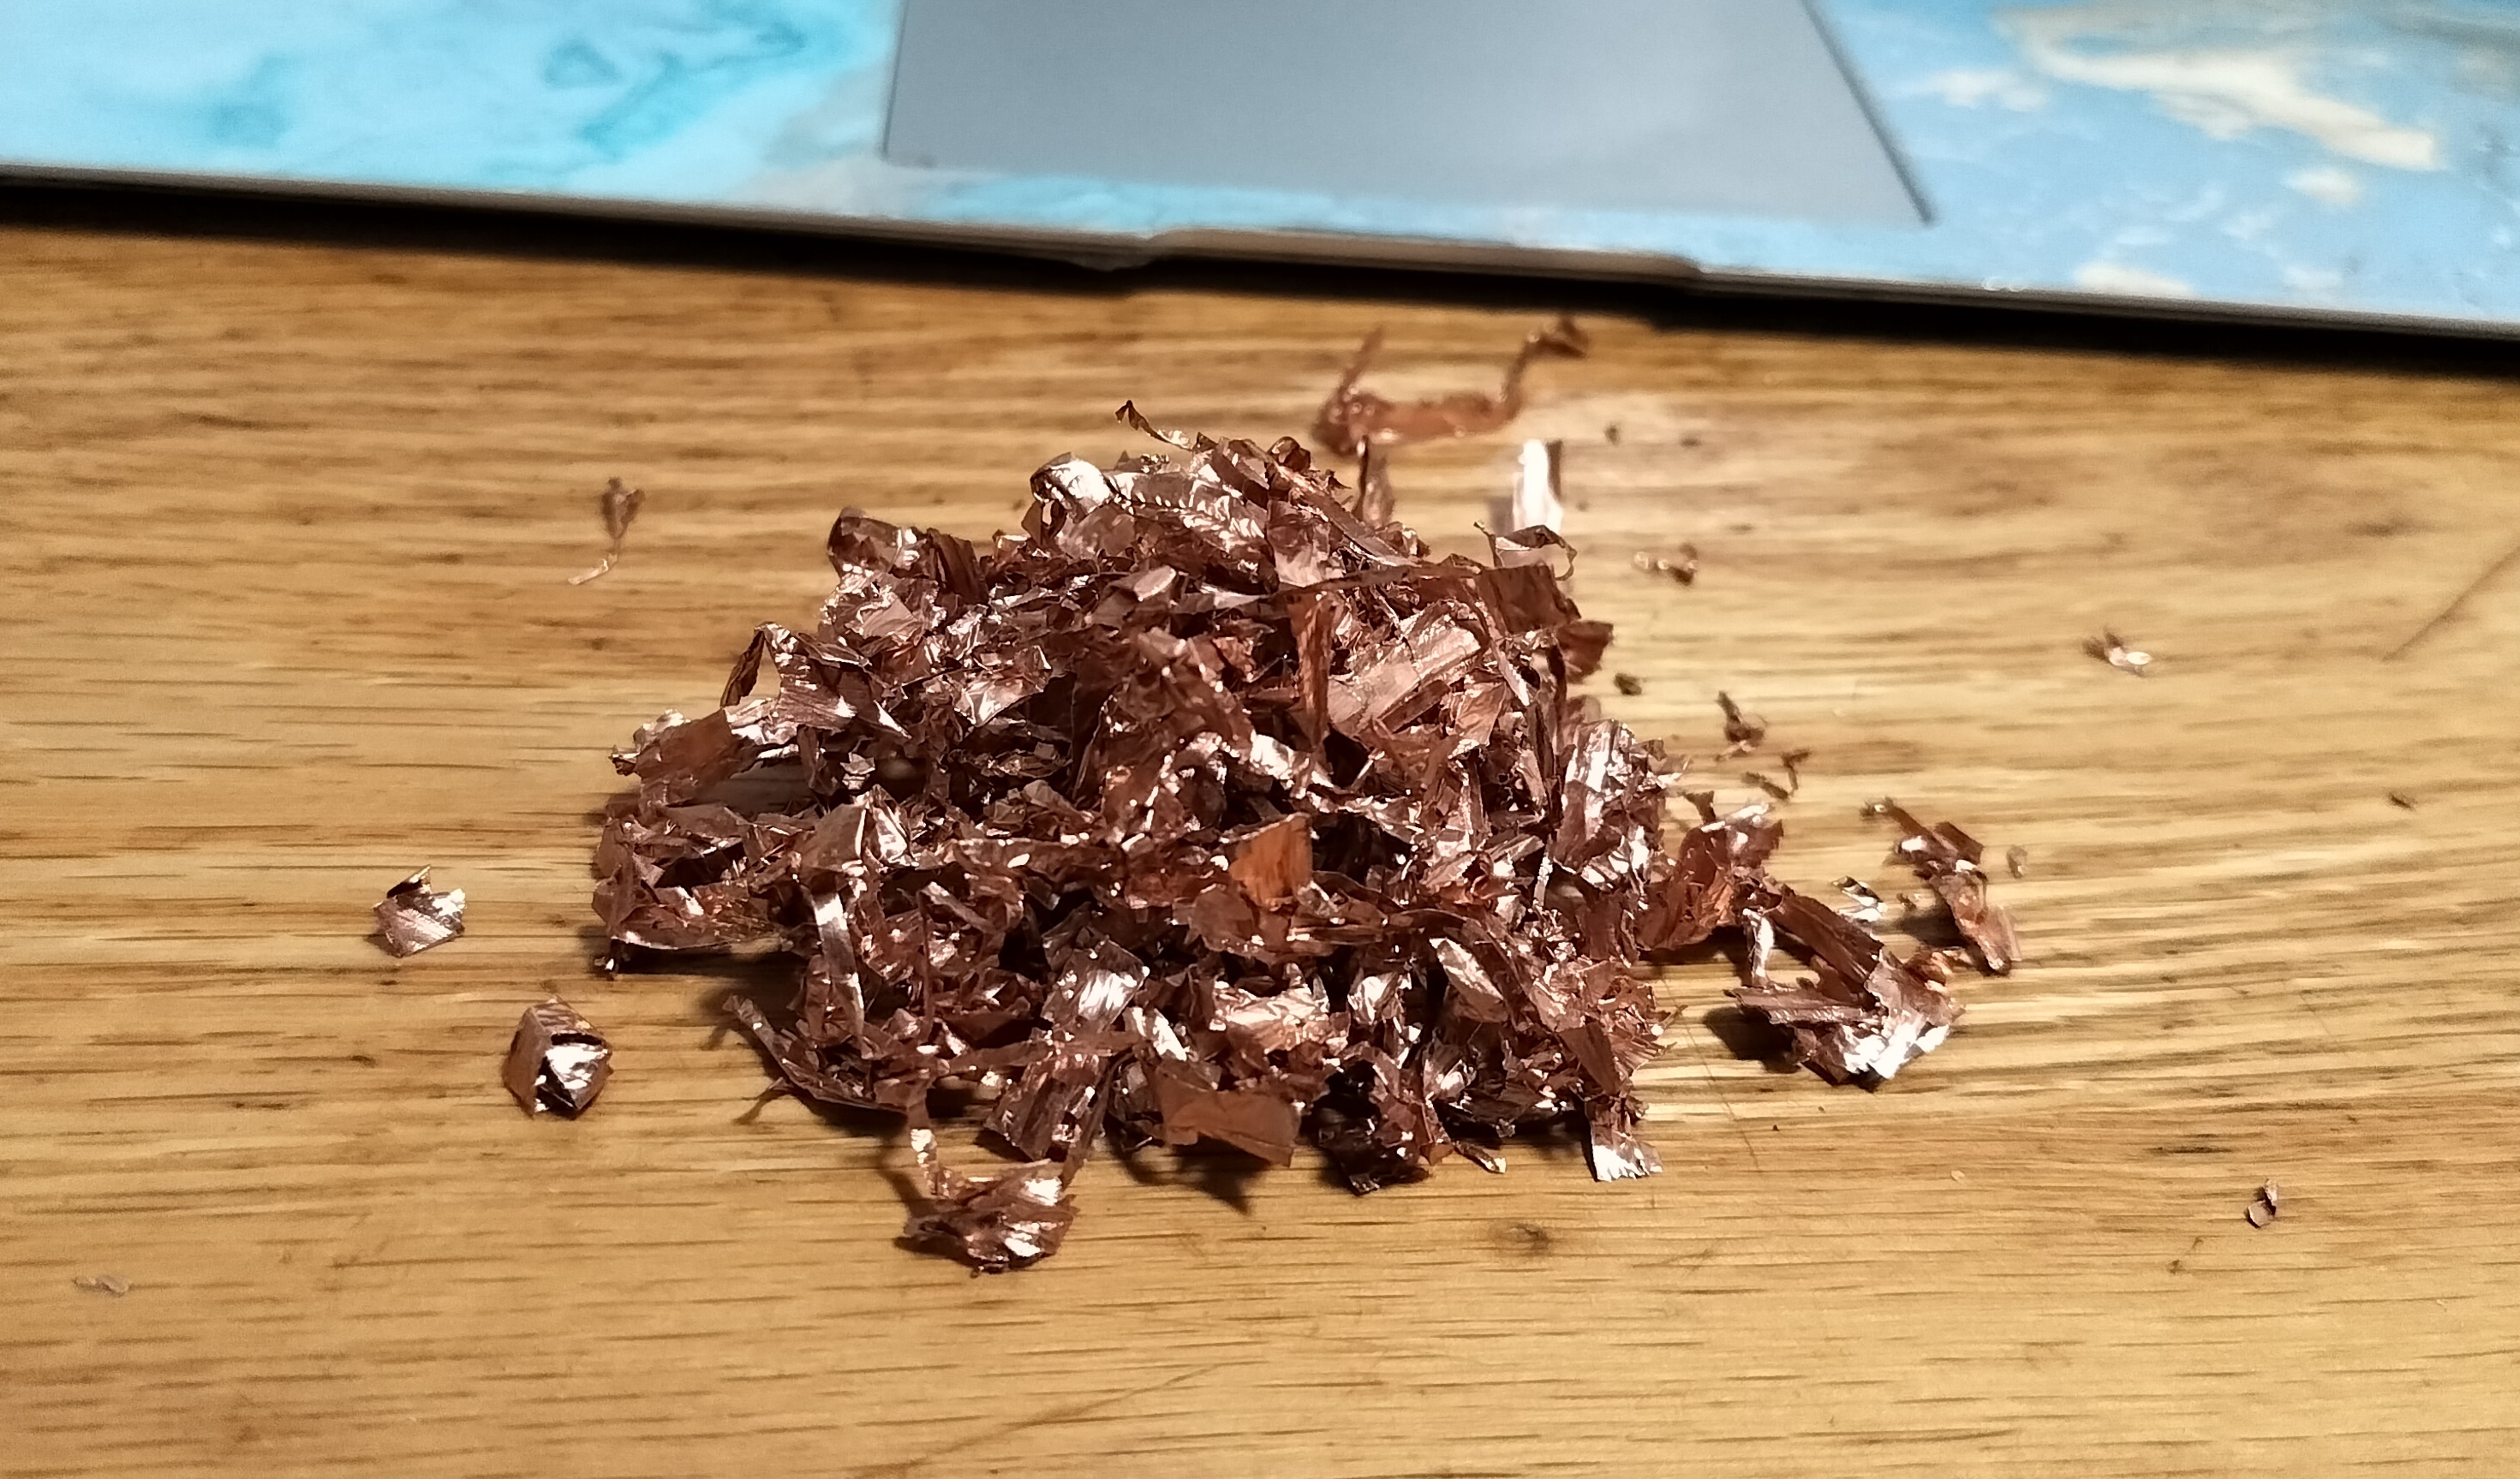
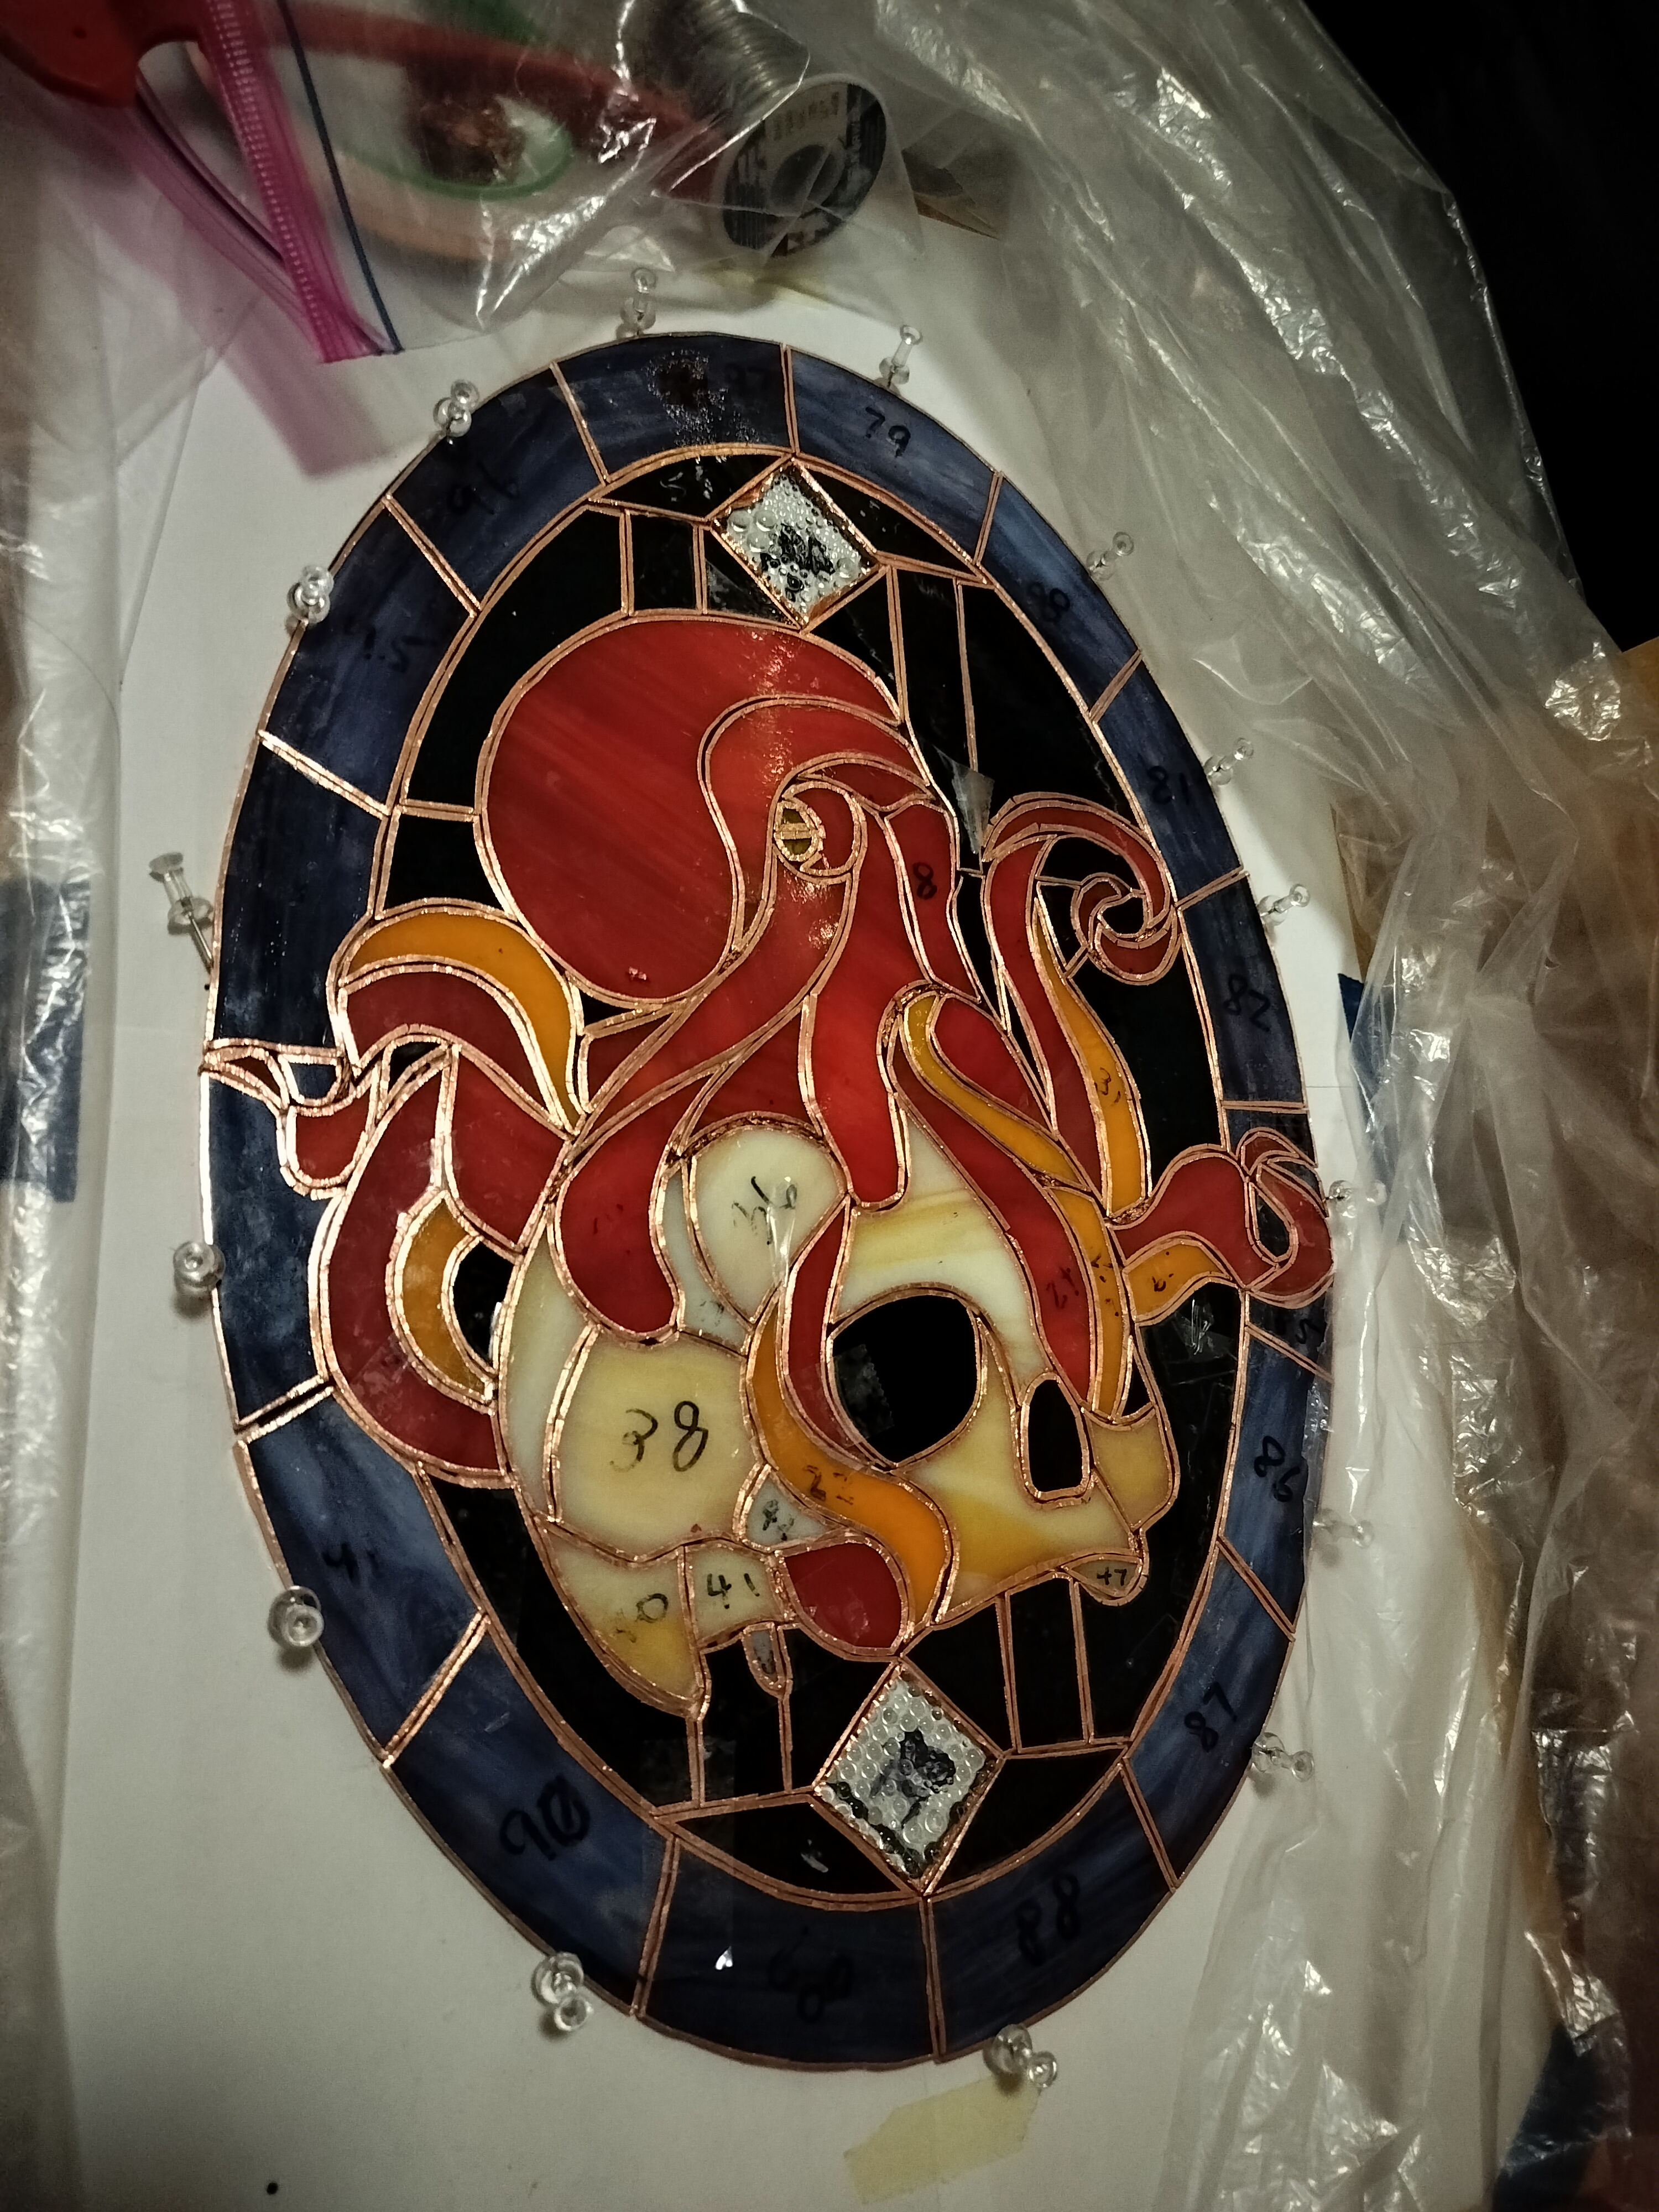
2.5) Ensuring fit and re-doing the copper foil :/
See pile of foil for the consequences of being too hasty: You get the privilege of picking off the foil, re-grinding the glass, and re-foiling it; thereby wasting hours of your sleep and lifespan.
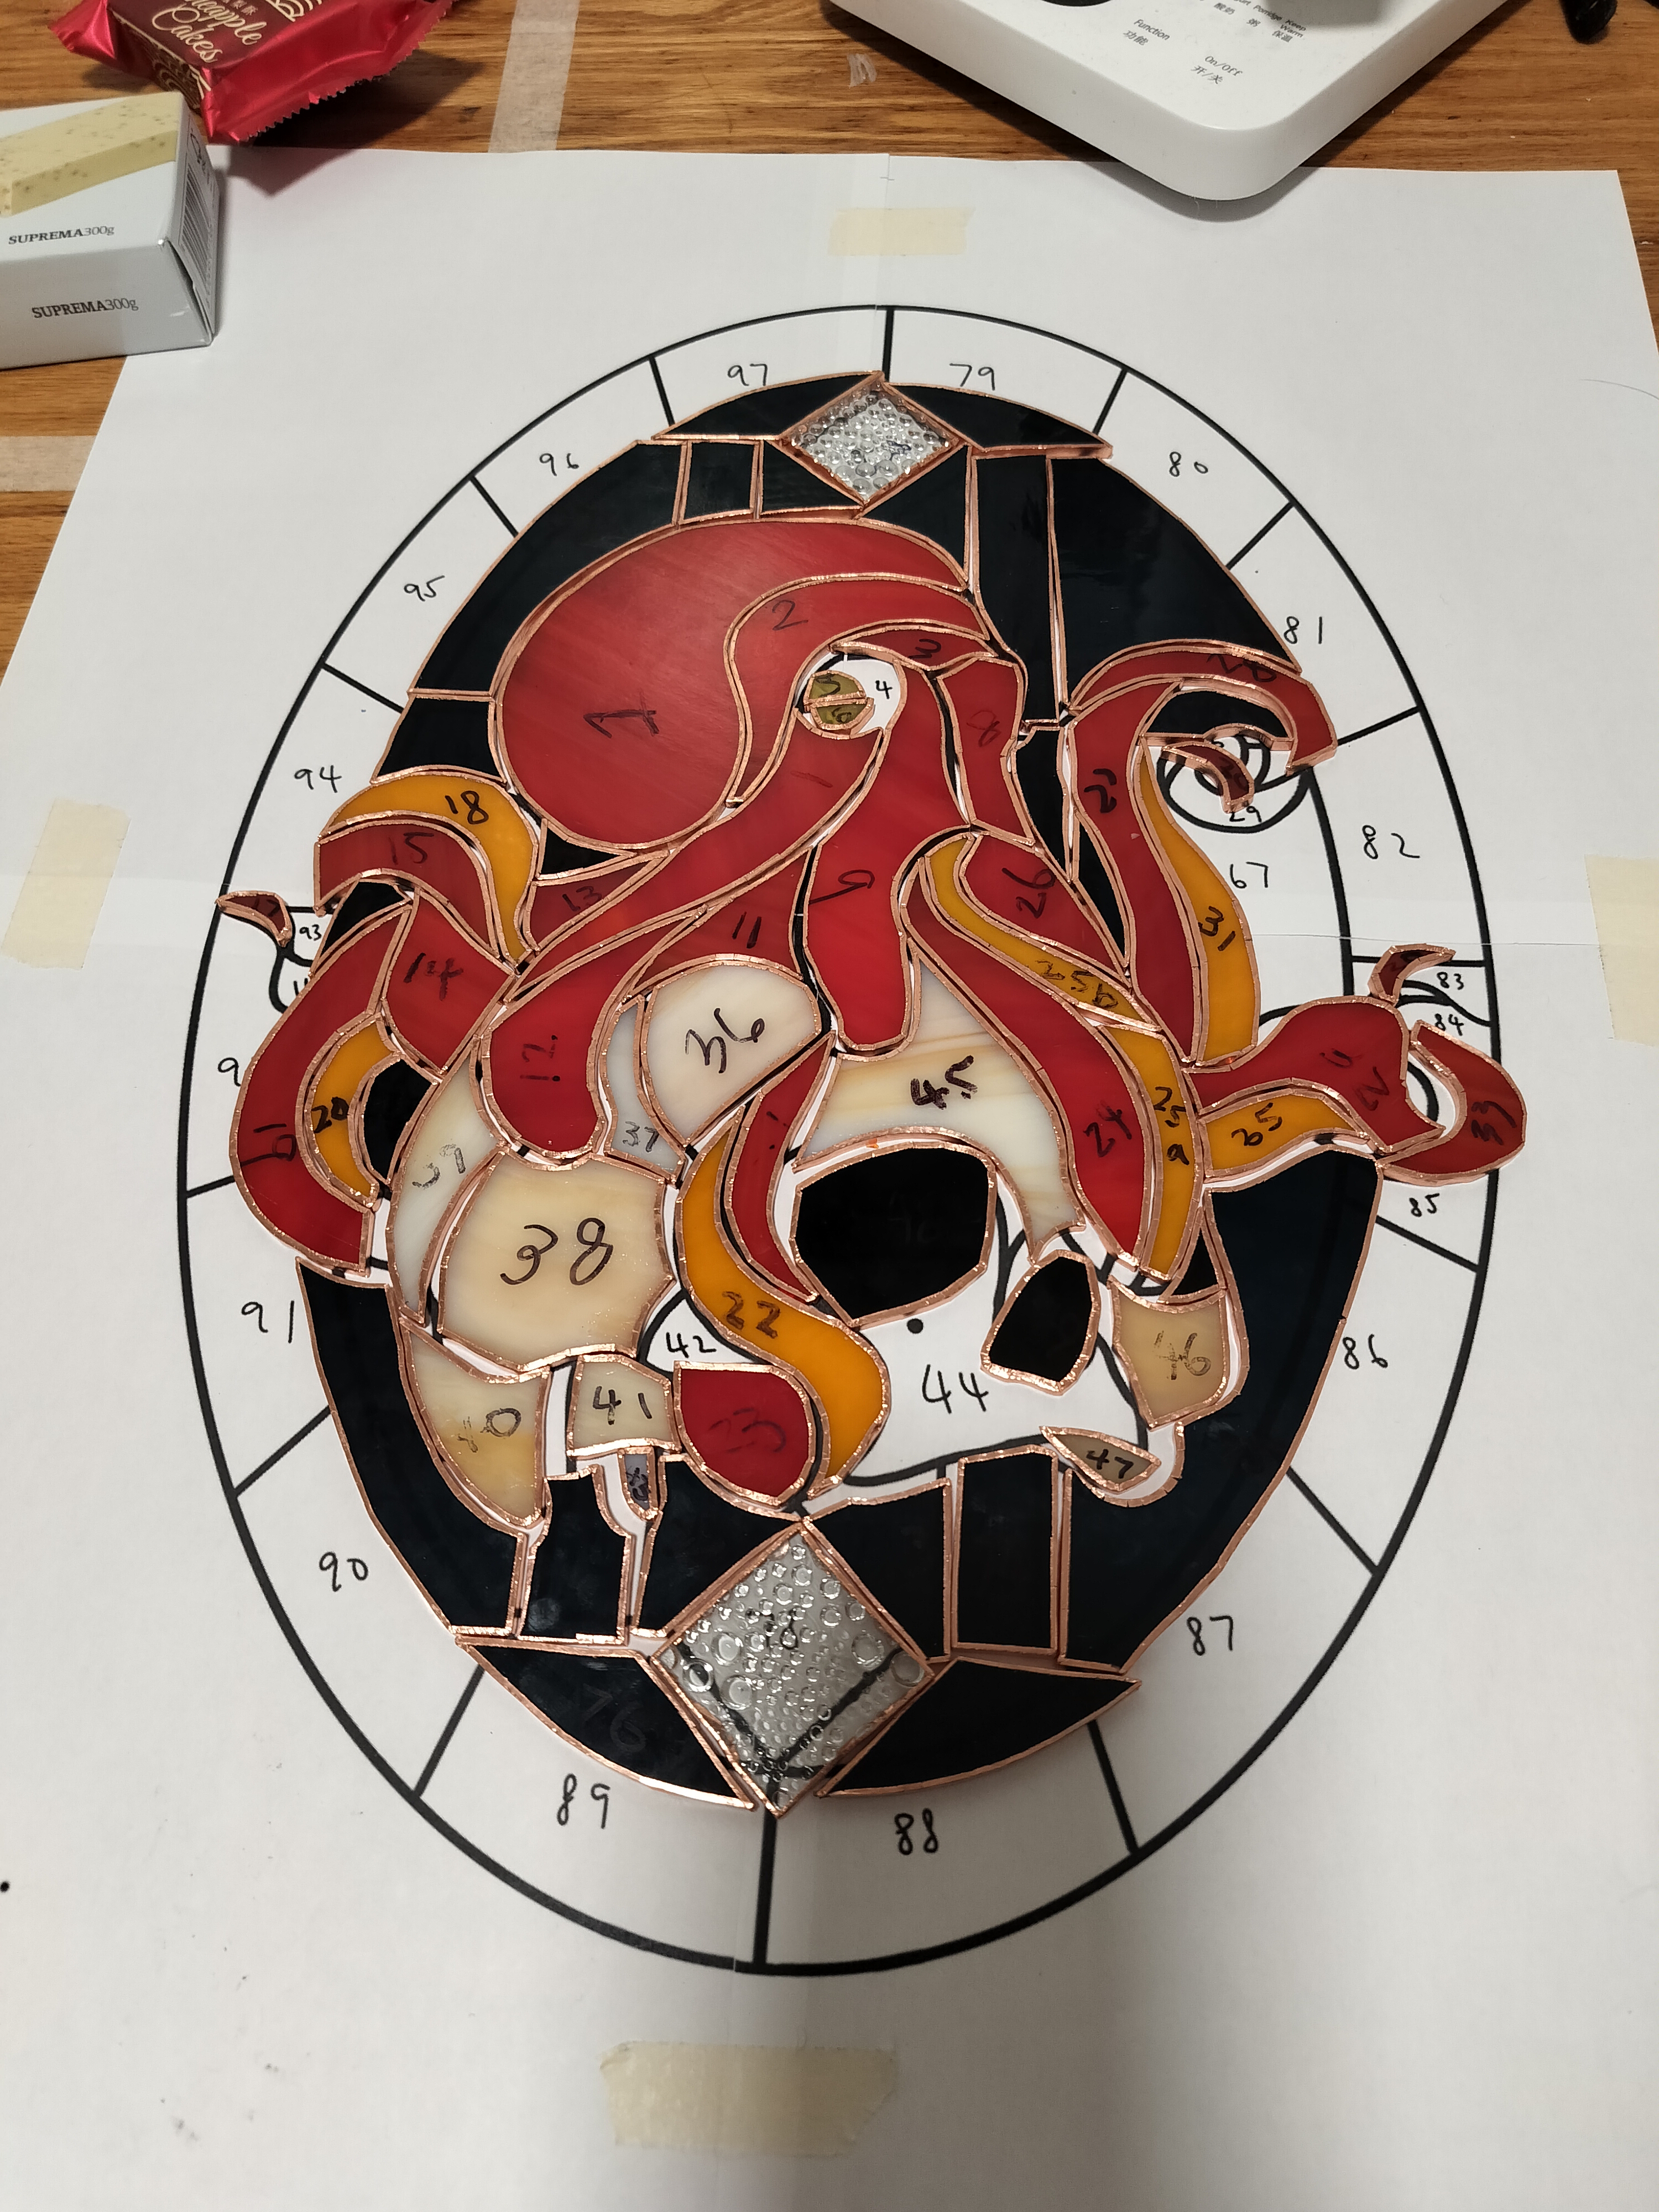
3) Pinning (and taping, manuevering, and wrestling) the glass in place
Make the pieces fit! Somehow! In an ideal situation, pins along the border of the piece should be enough, but if there are some weird spots within, a couple pieces of tape can help the process along. (Just don't melt the tape while soldering)
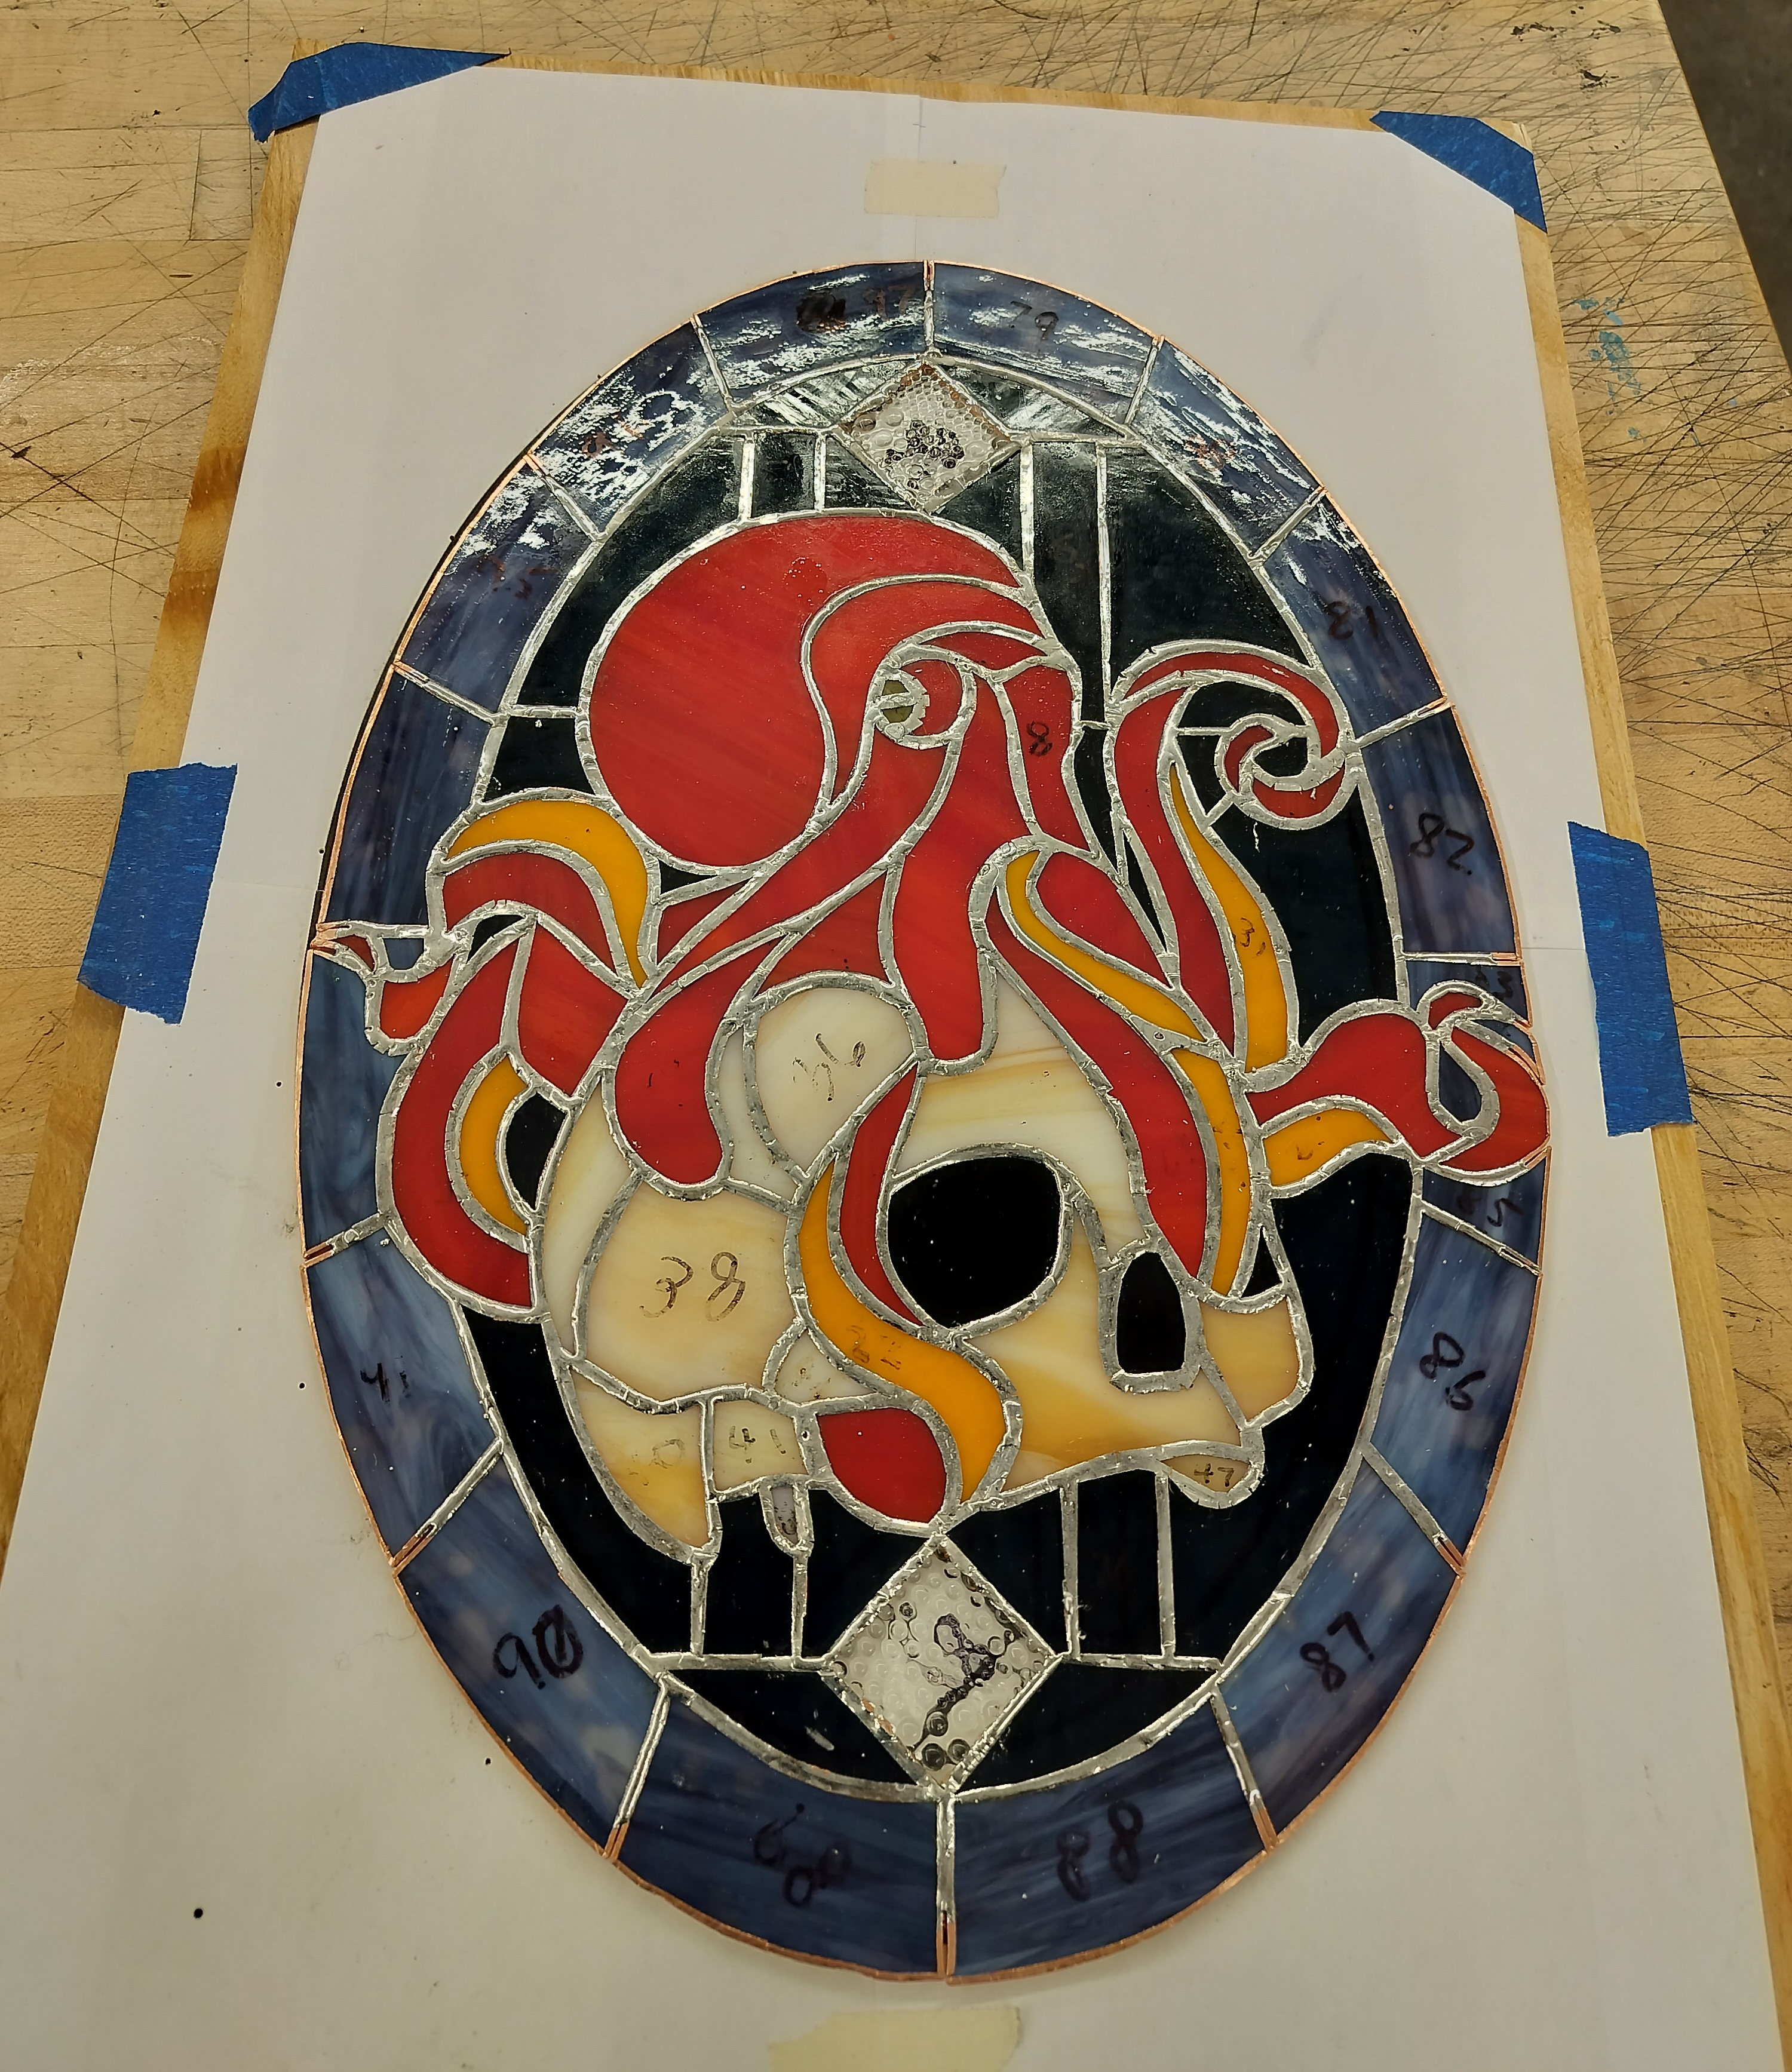
4) Soldering and bordering
It's lead galore! Solder together all the pieces by tacking, tinning, and beading (in that order). Leave some space near the edge of the piece to fit a lead came (border) around it. It gives the work a cleaner finish and additional stability.
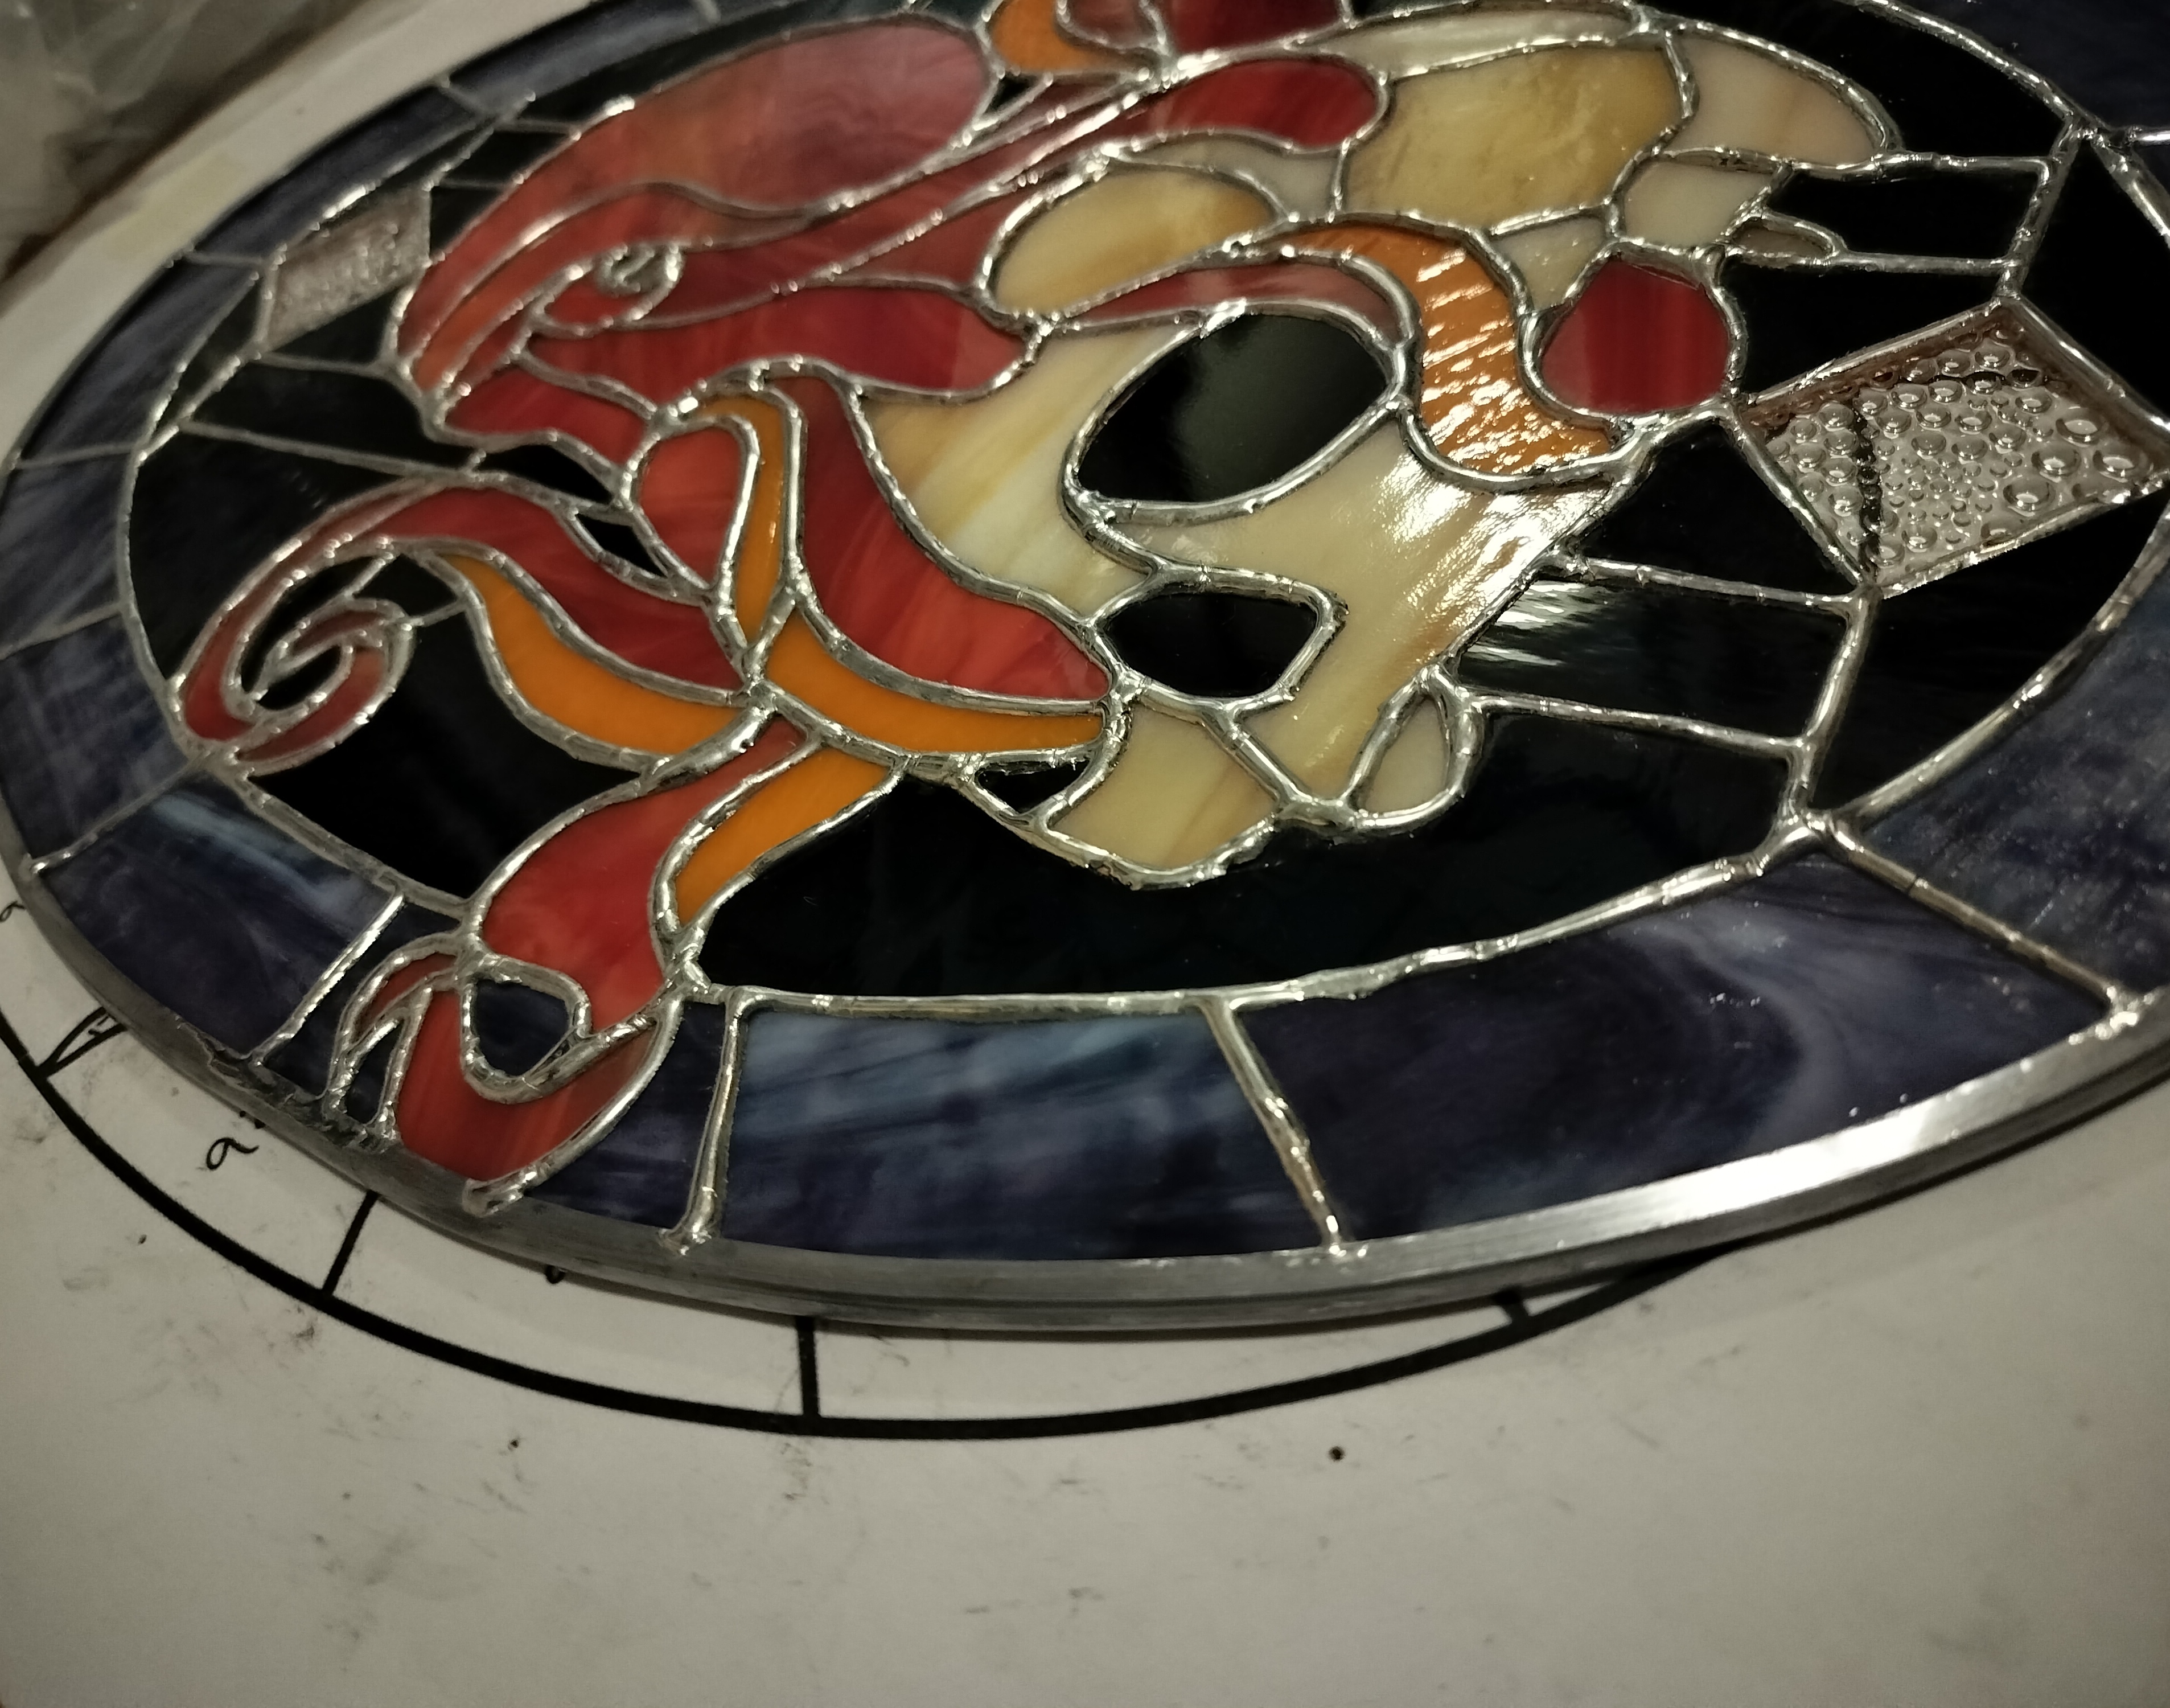
5) Patina
Using a patina solution, you can turn the silver lead solder either black or copper colored. A black patina is most commonly used and is also helpful in hiding imperfections in soldering! For best results, brush the solder lines and border with a wire brush first to remove surface oxidation.