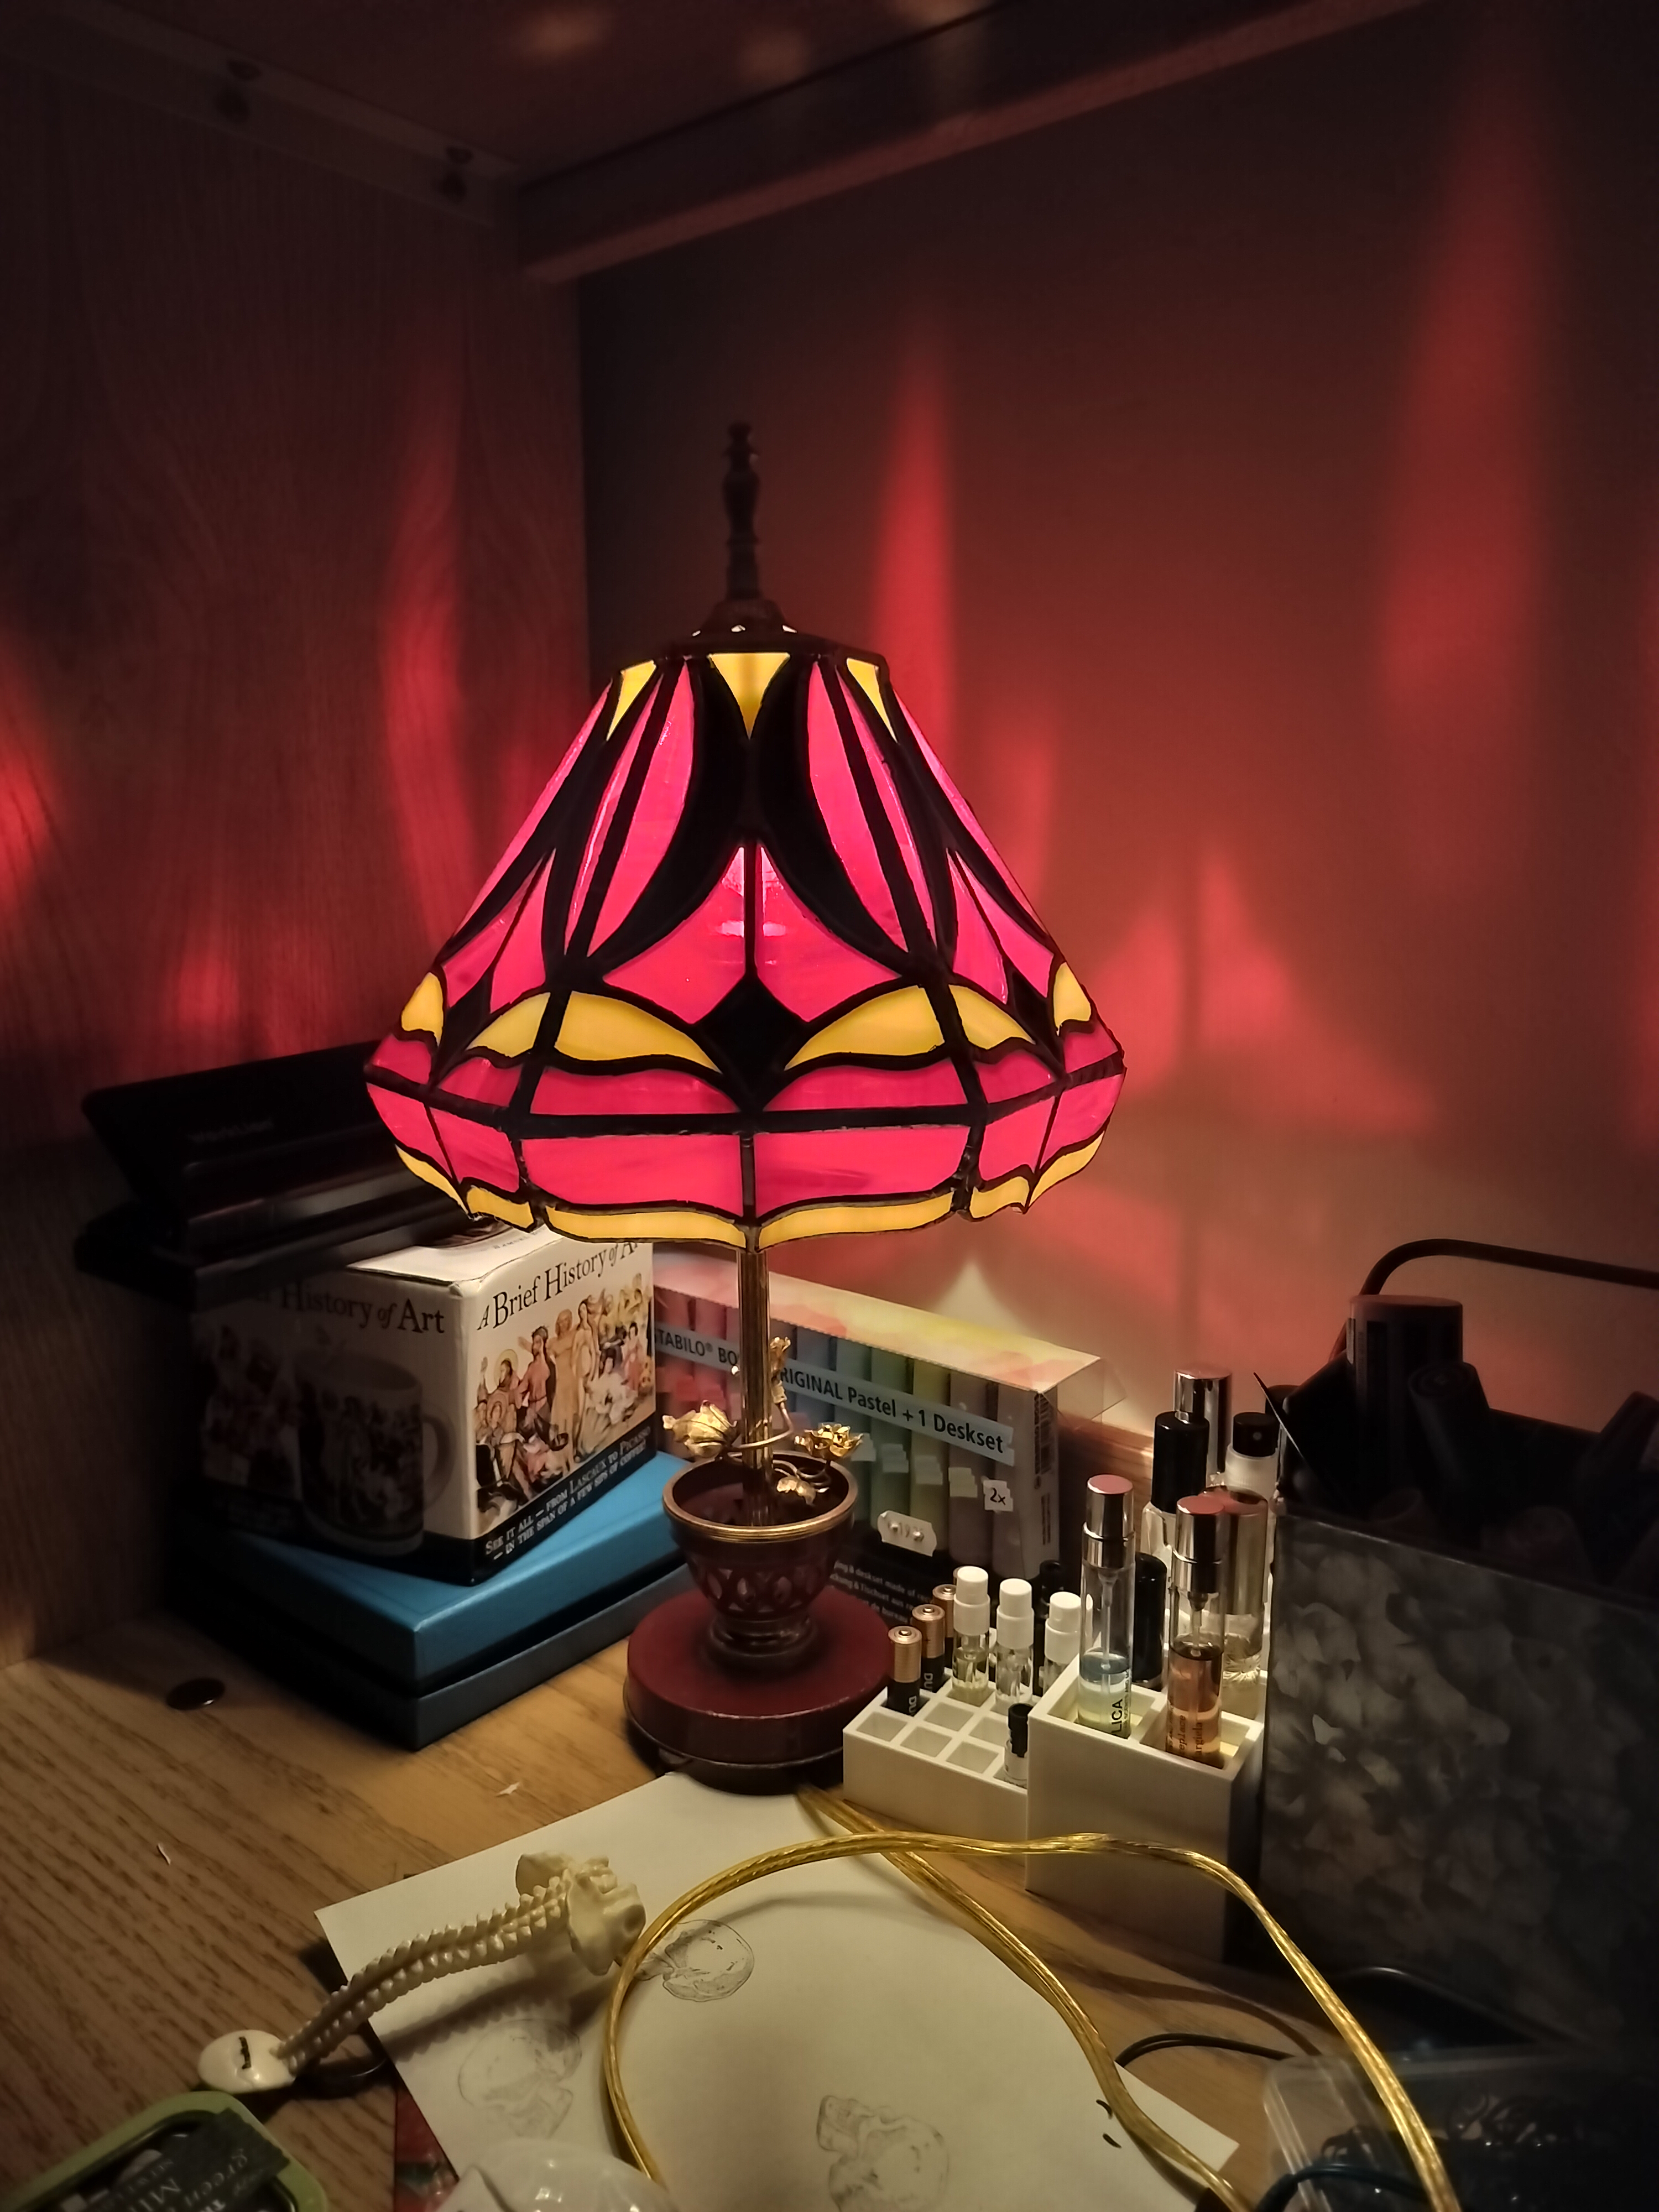
Stained Glass Lampshade
This project was started on an impulse! I had a few sheets of glass I was trying to use up and this seemed like the perfect project. I looked at a variety of videos and tutorials and this youtube series is a great place to start.

Pattern Prototyping
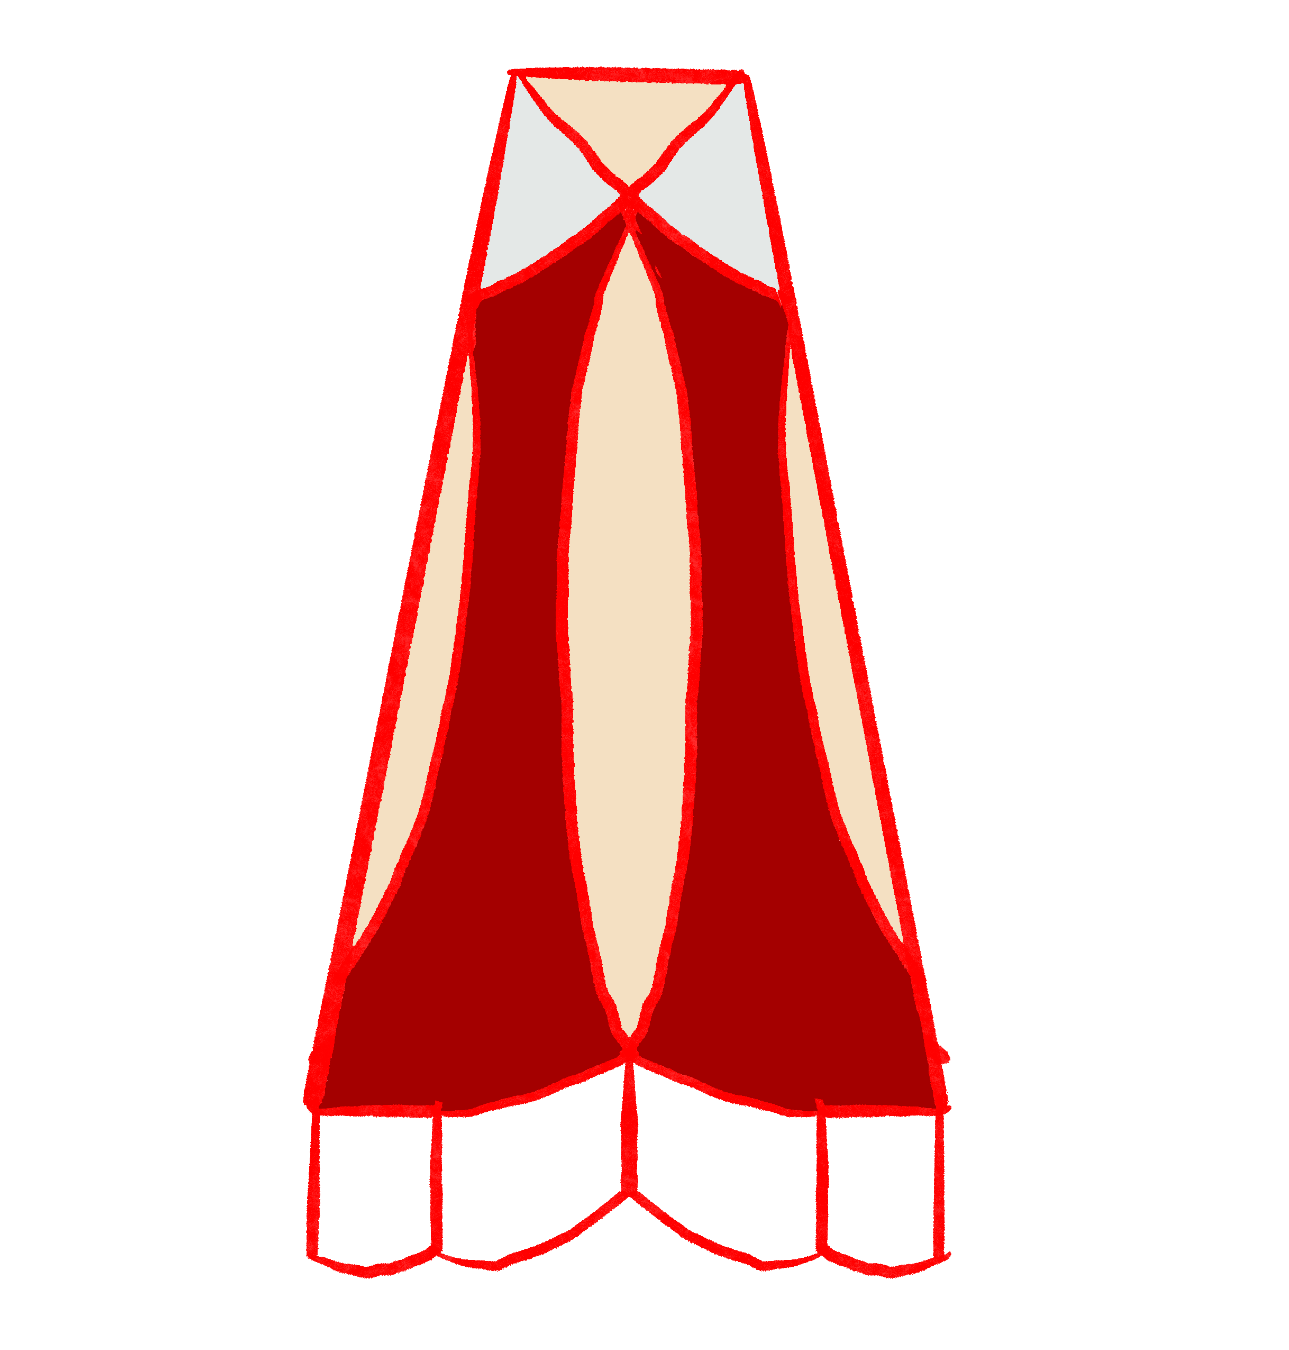
Lines
A variety of drafts. Sticking with my palette of primarily red and pale amber, I played around with slight shape, line, and color.
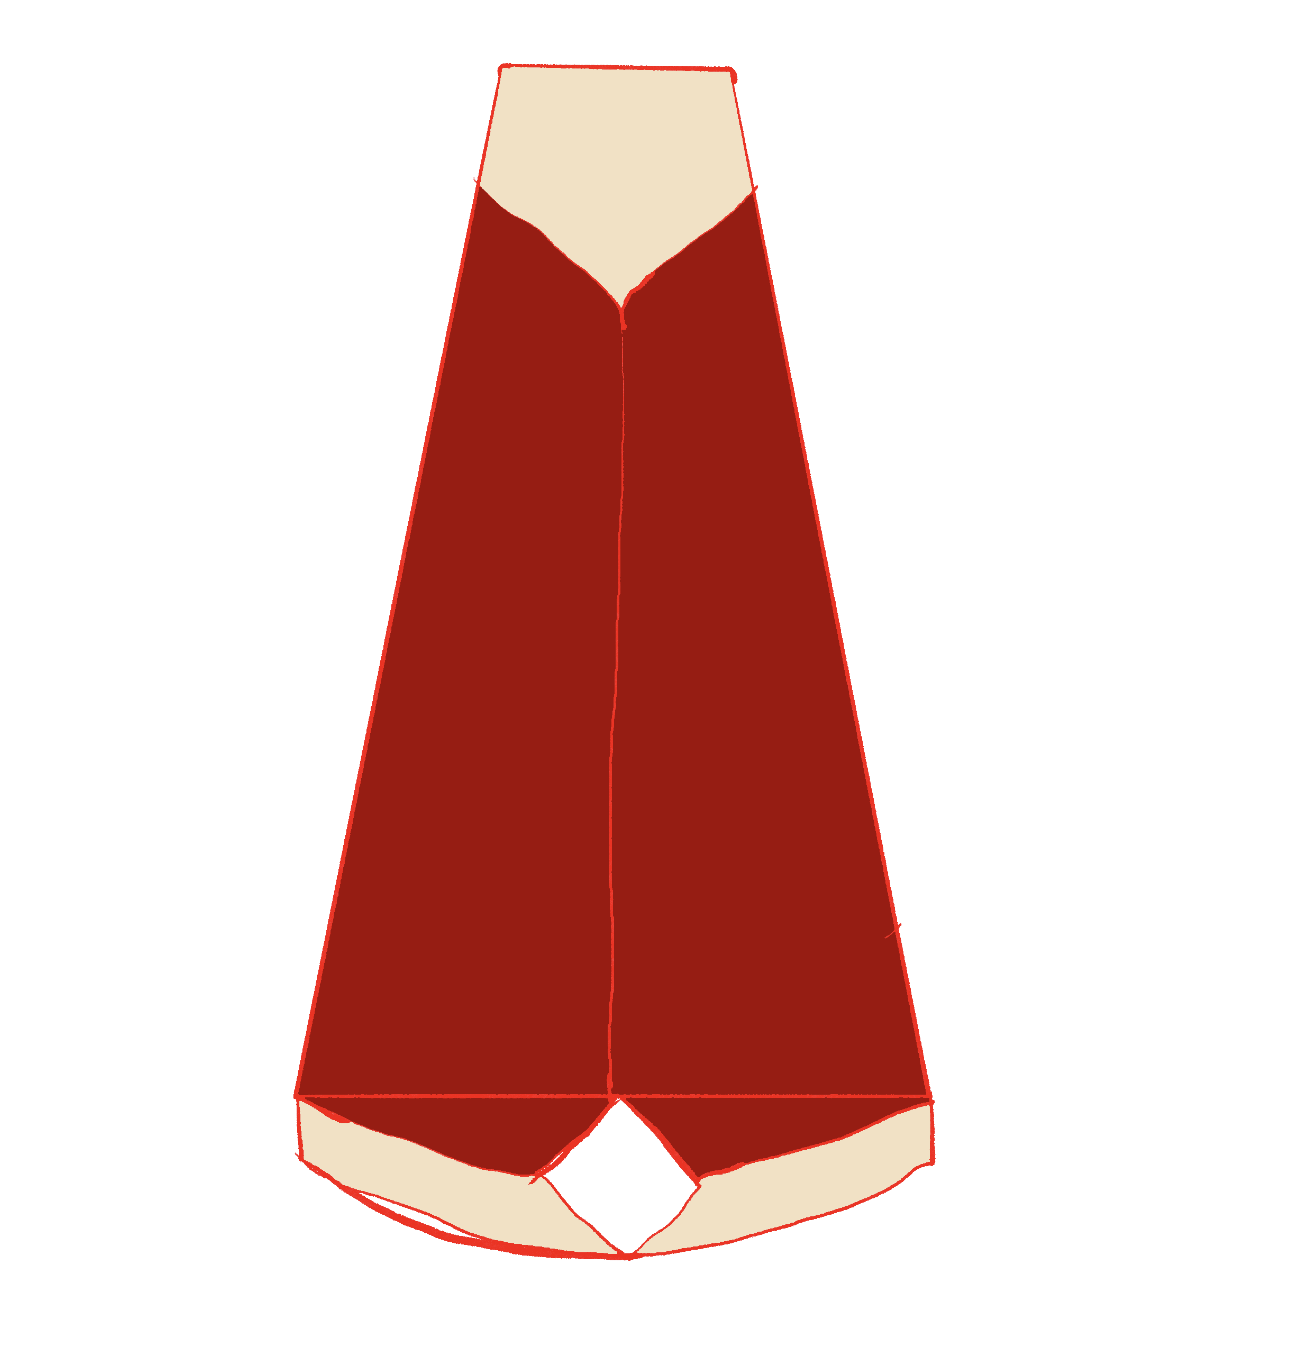
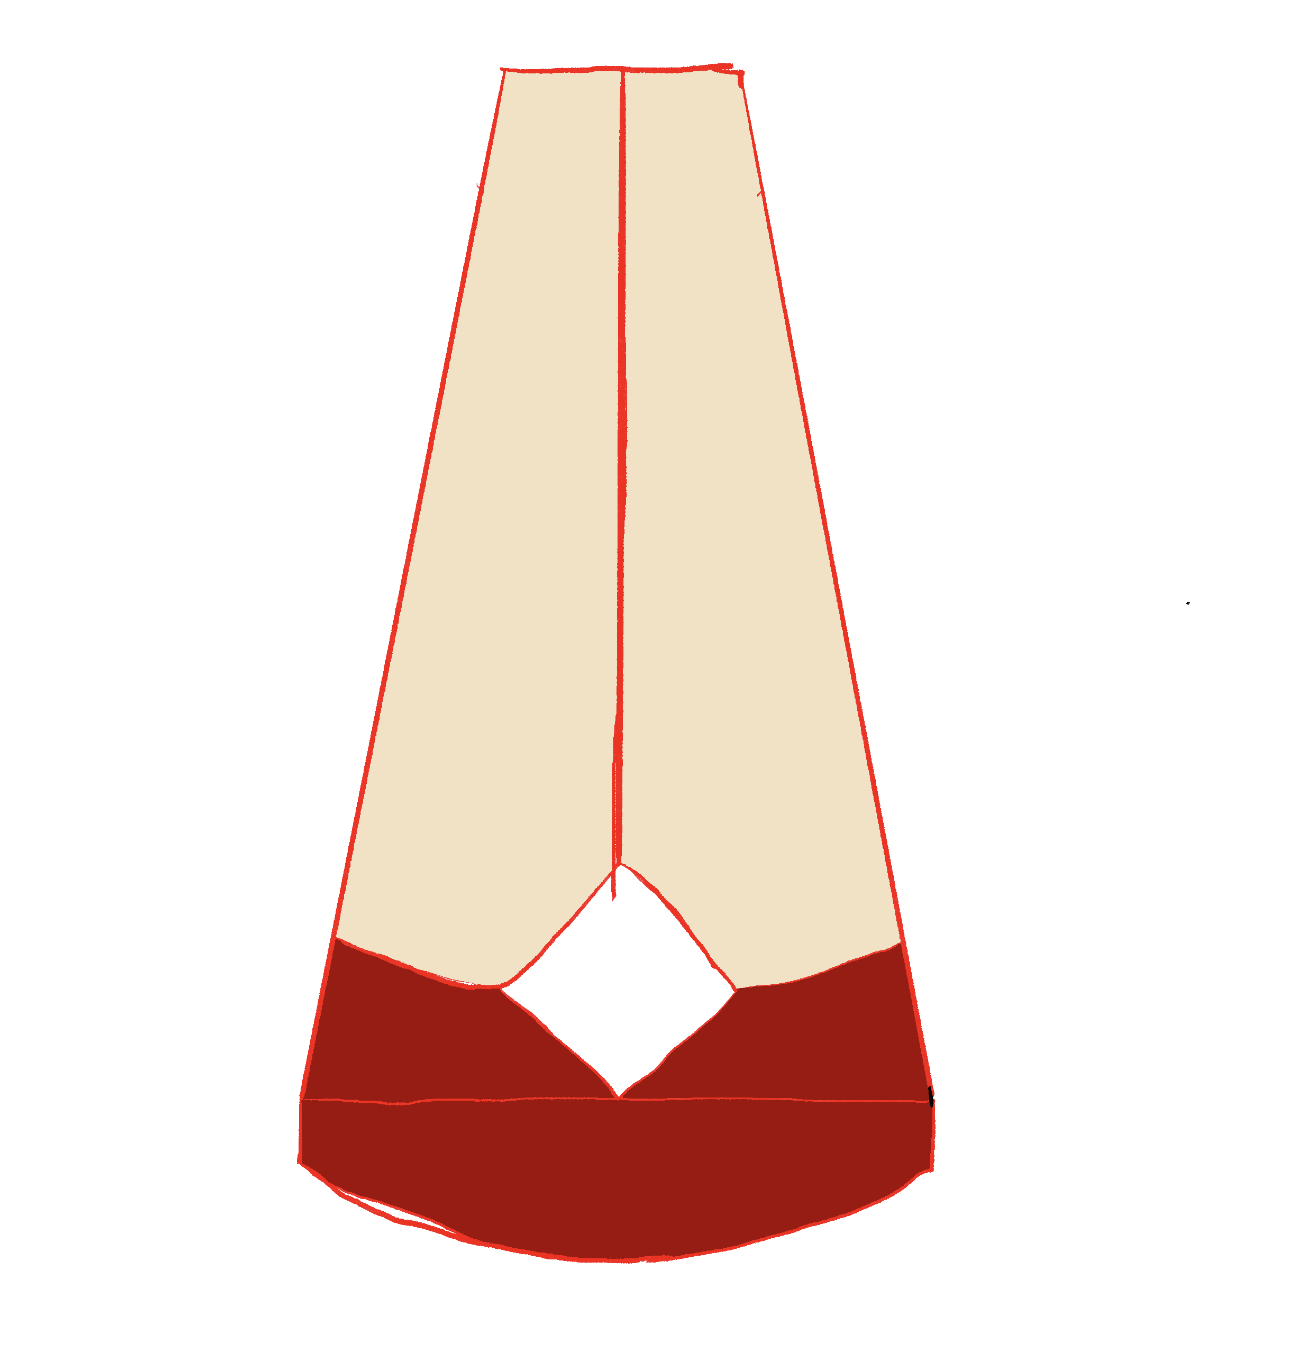

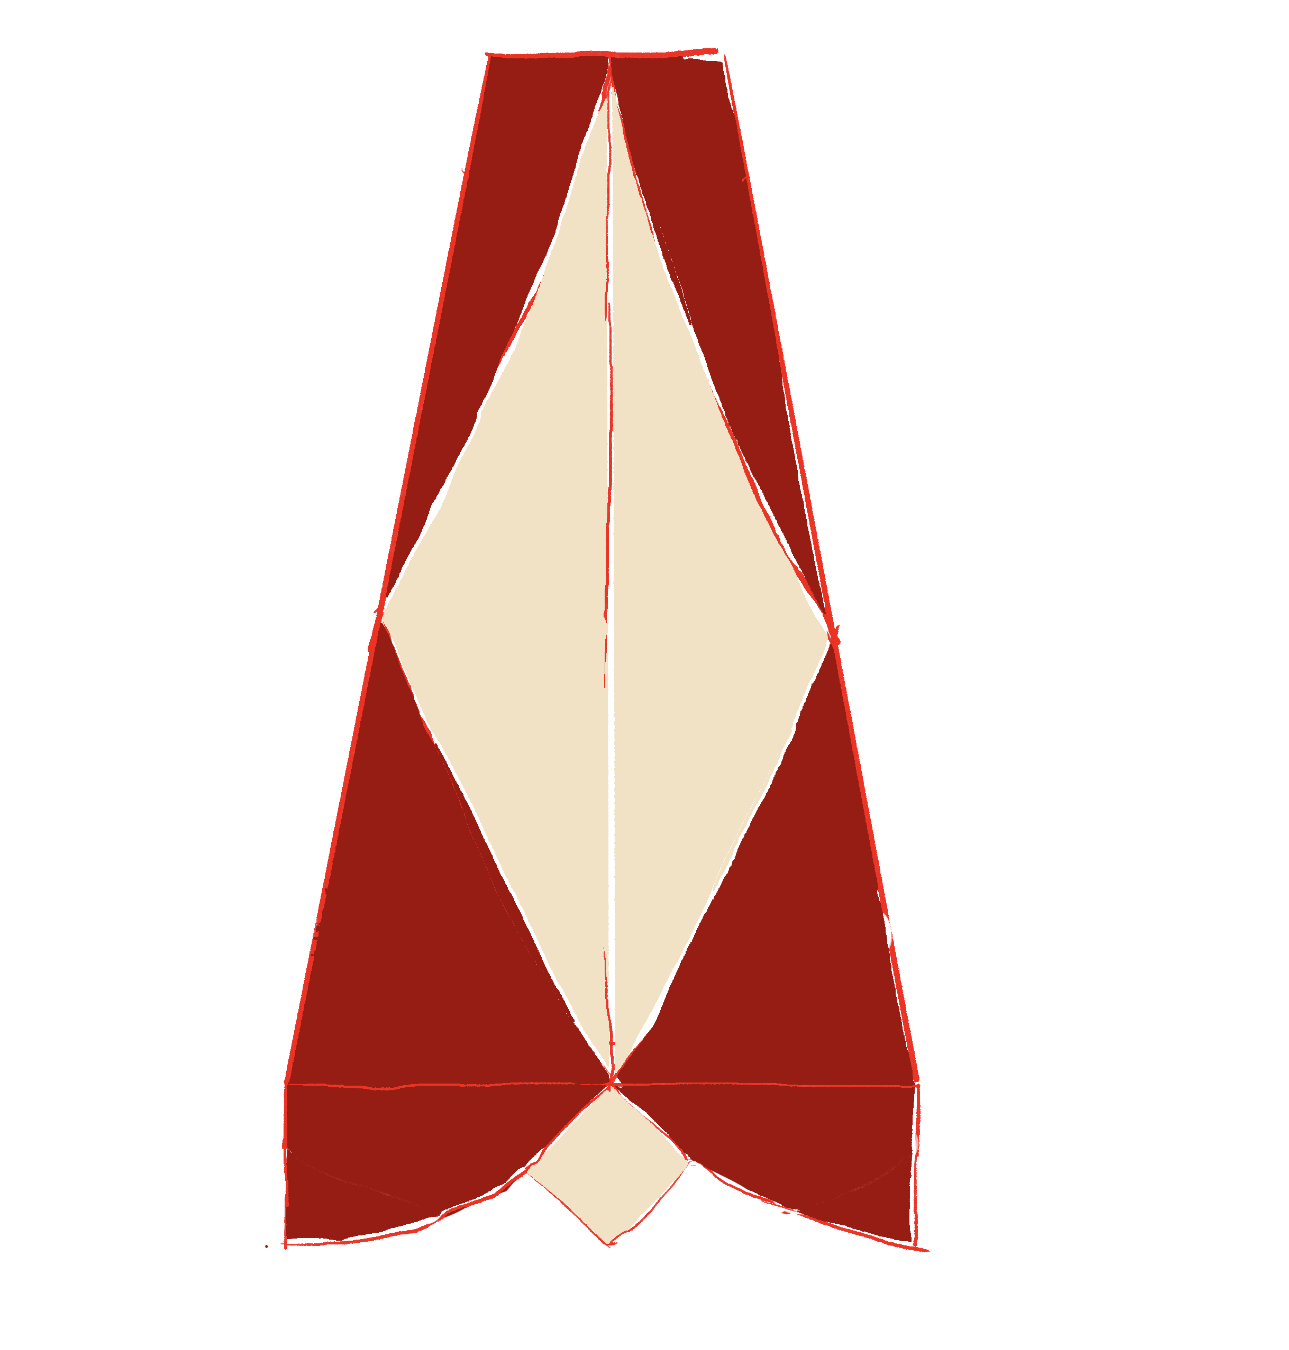
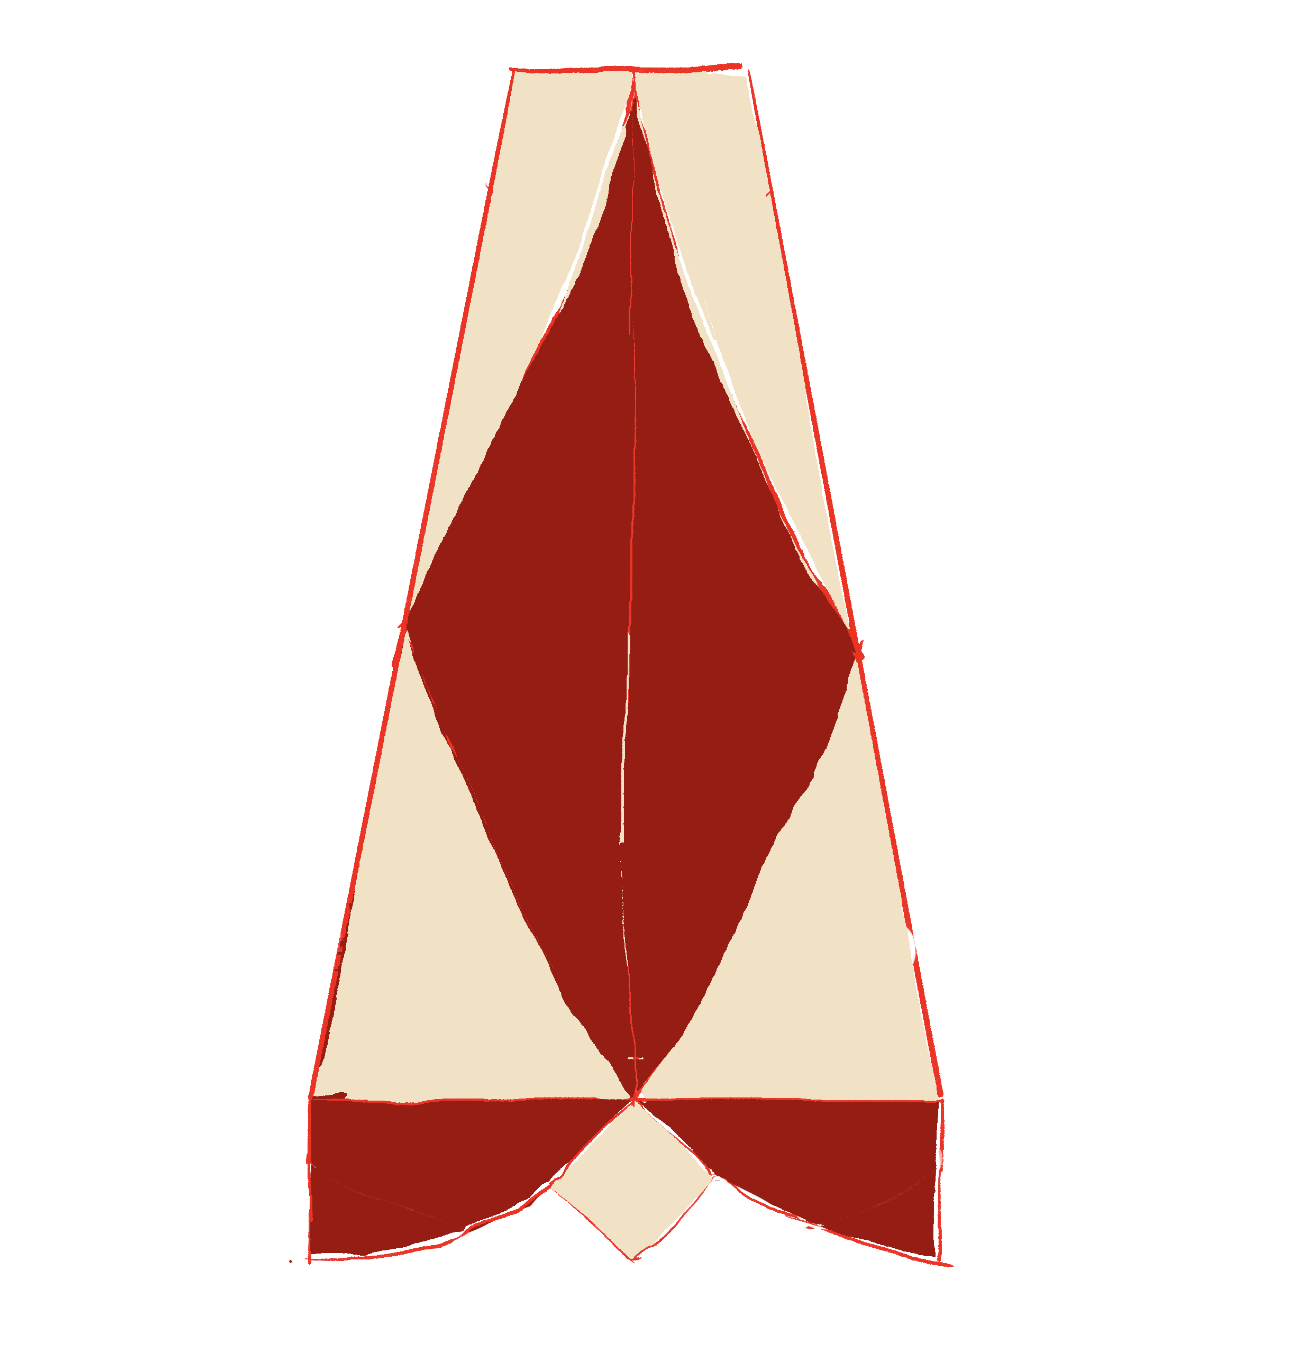

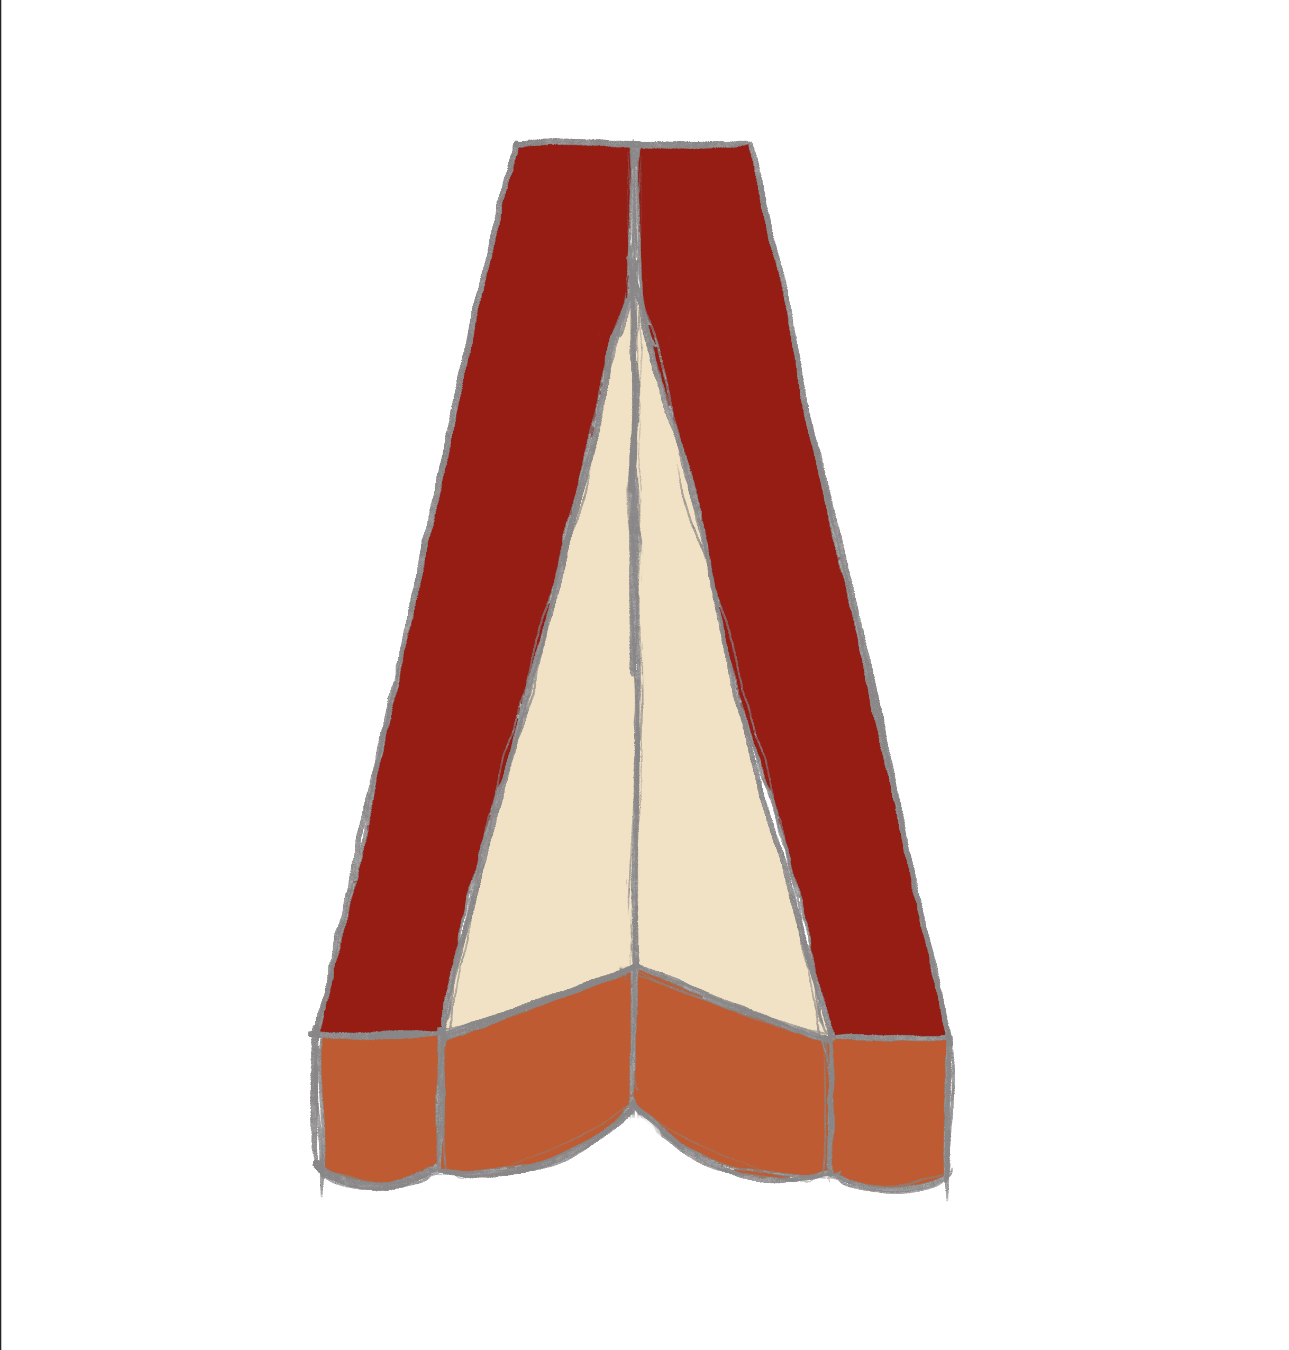
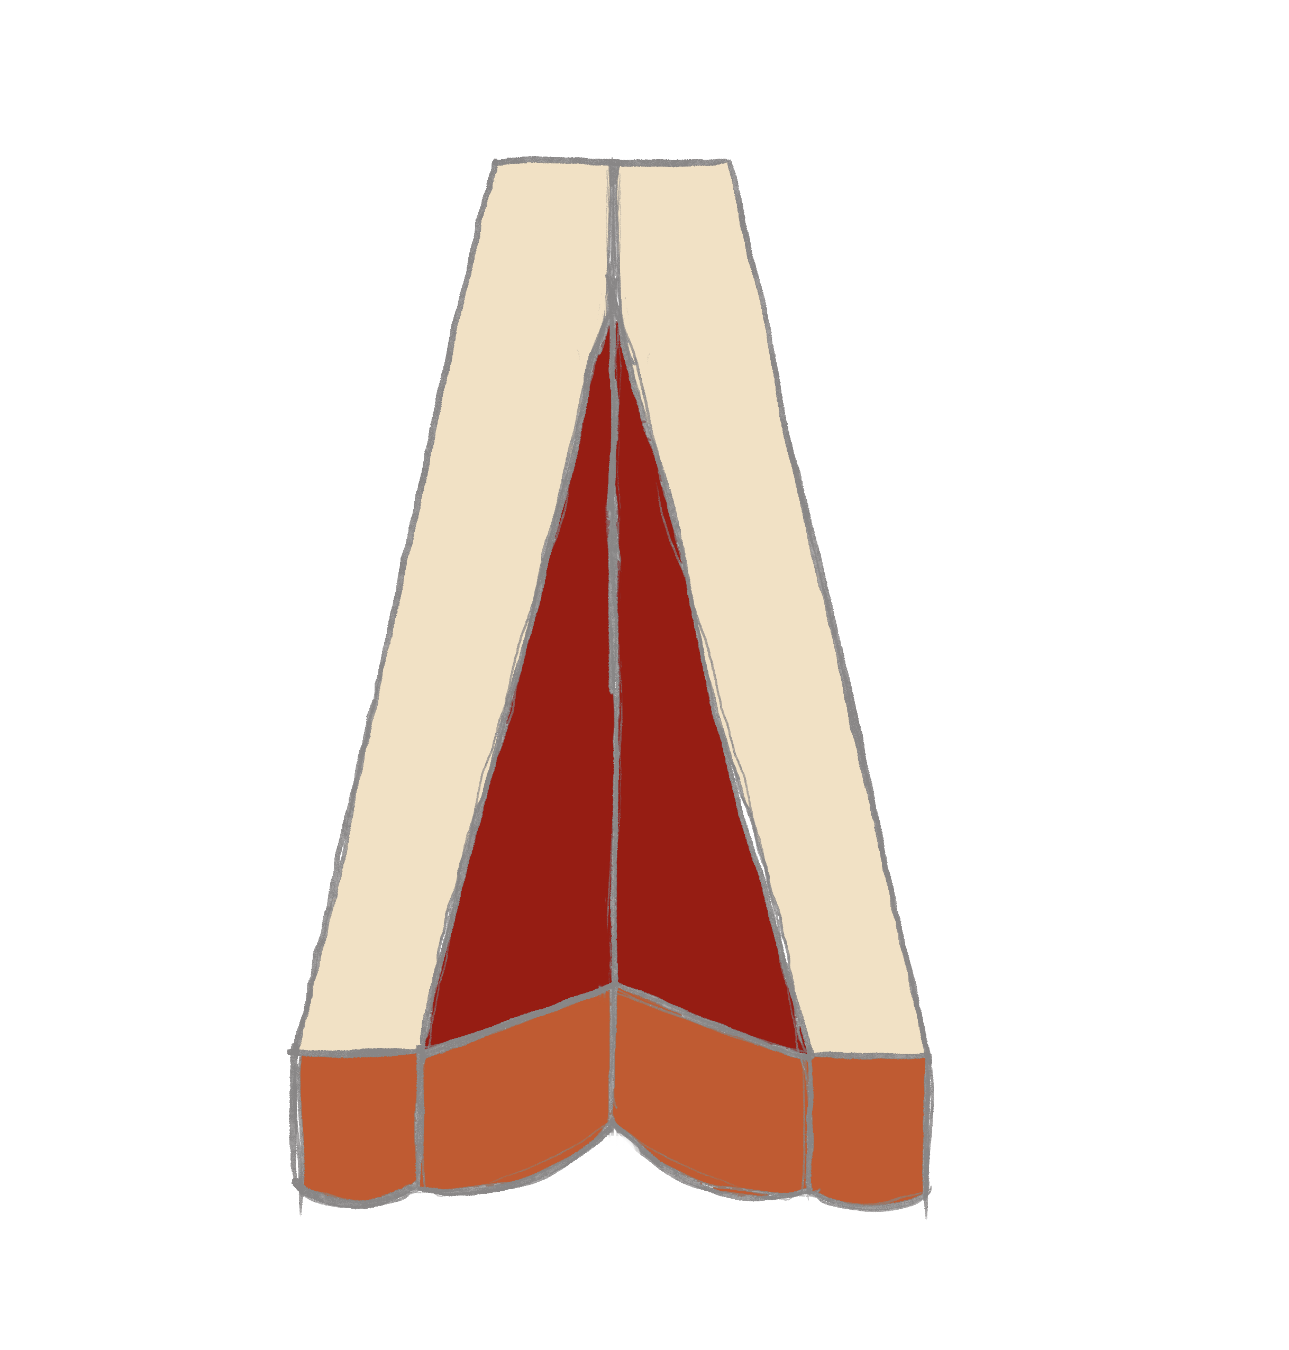
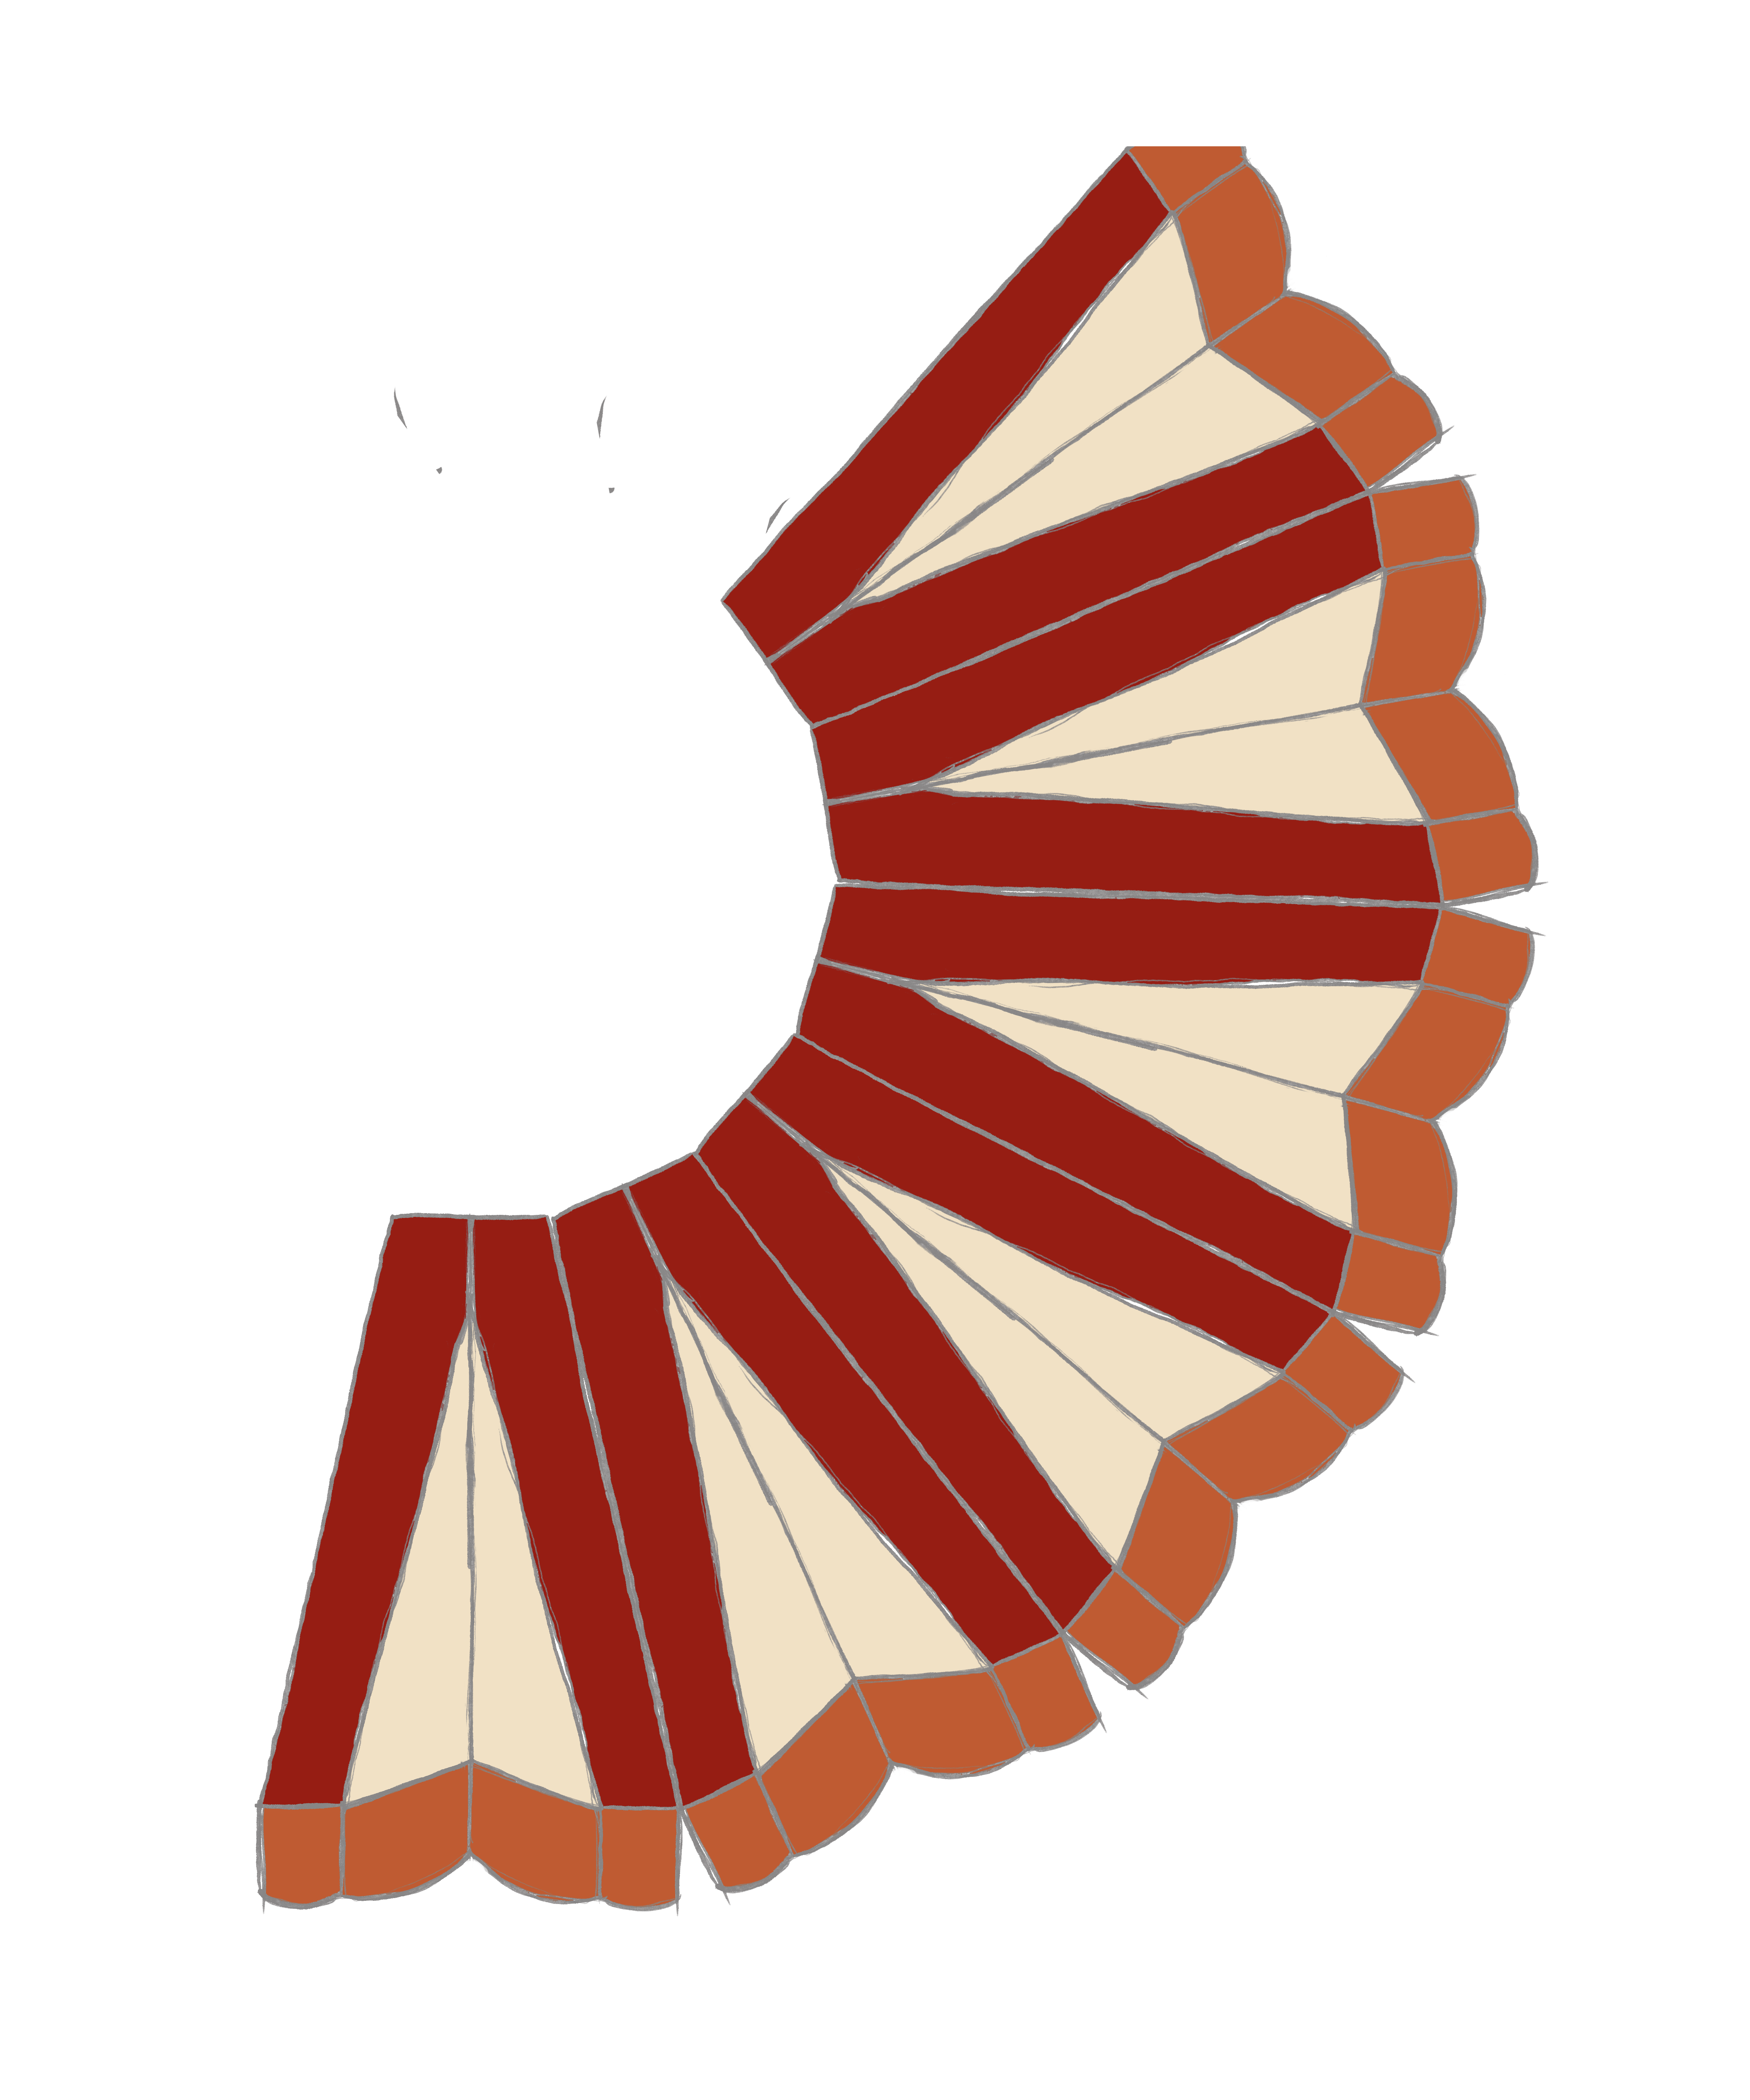
Shape
A single panel may look nice, but it’s important to visualize all the panels together. You may change your mind! (I found that I liked seeing the curvy O’s)
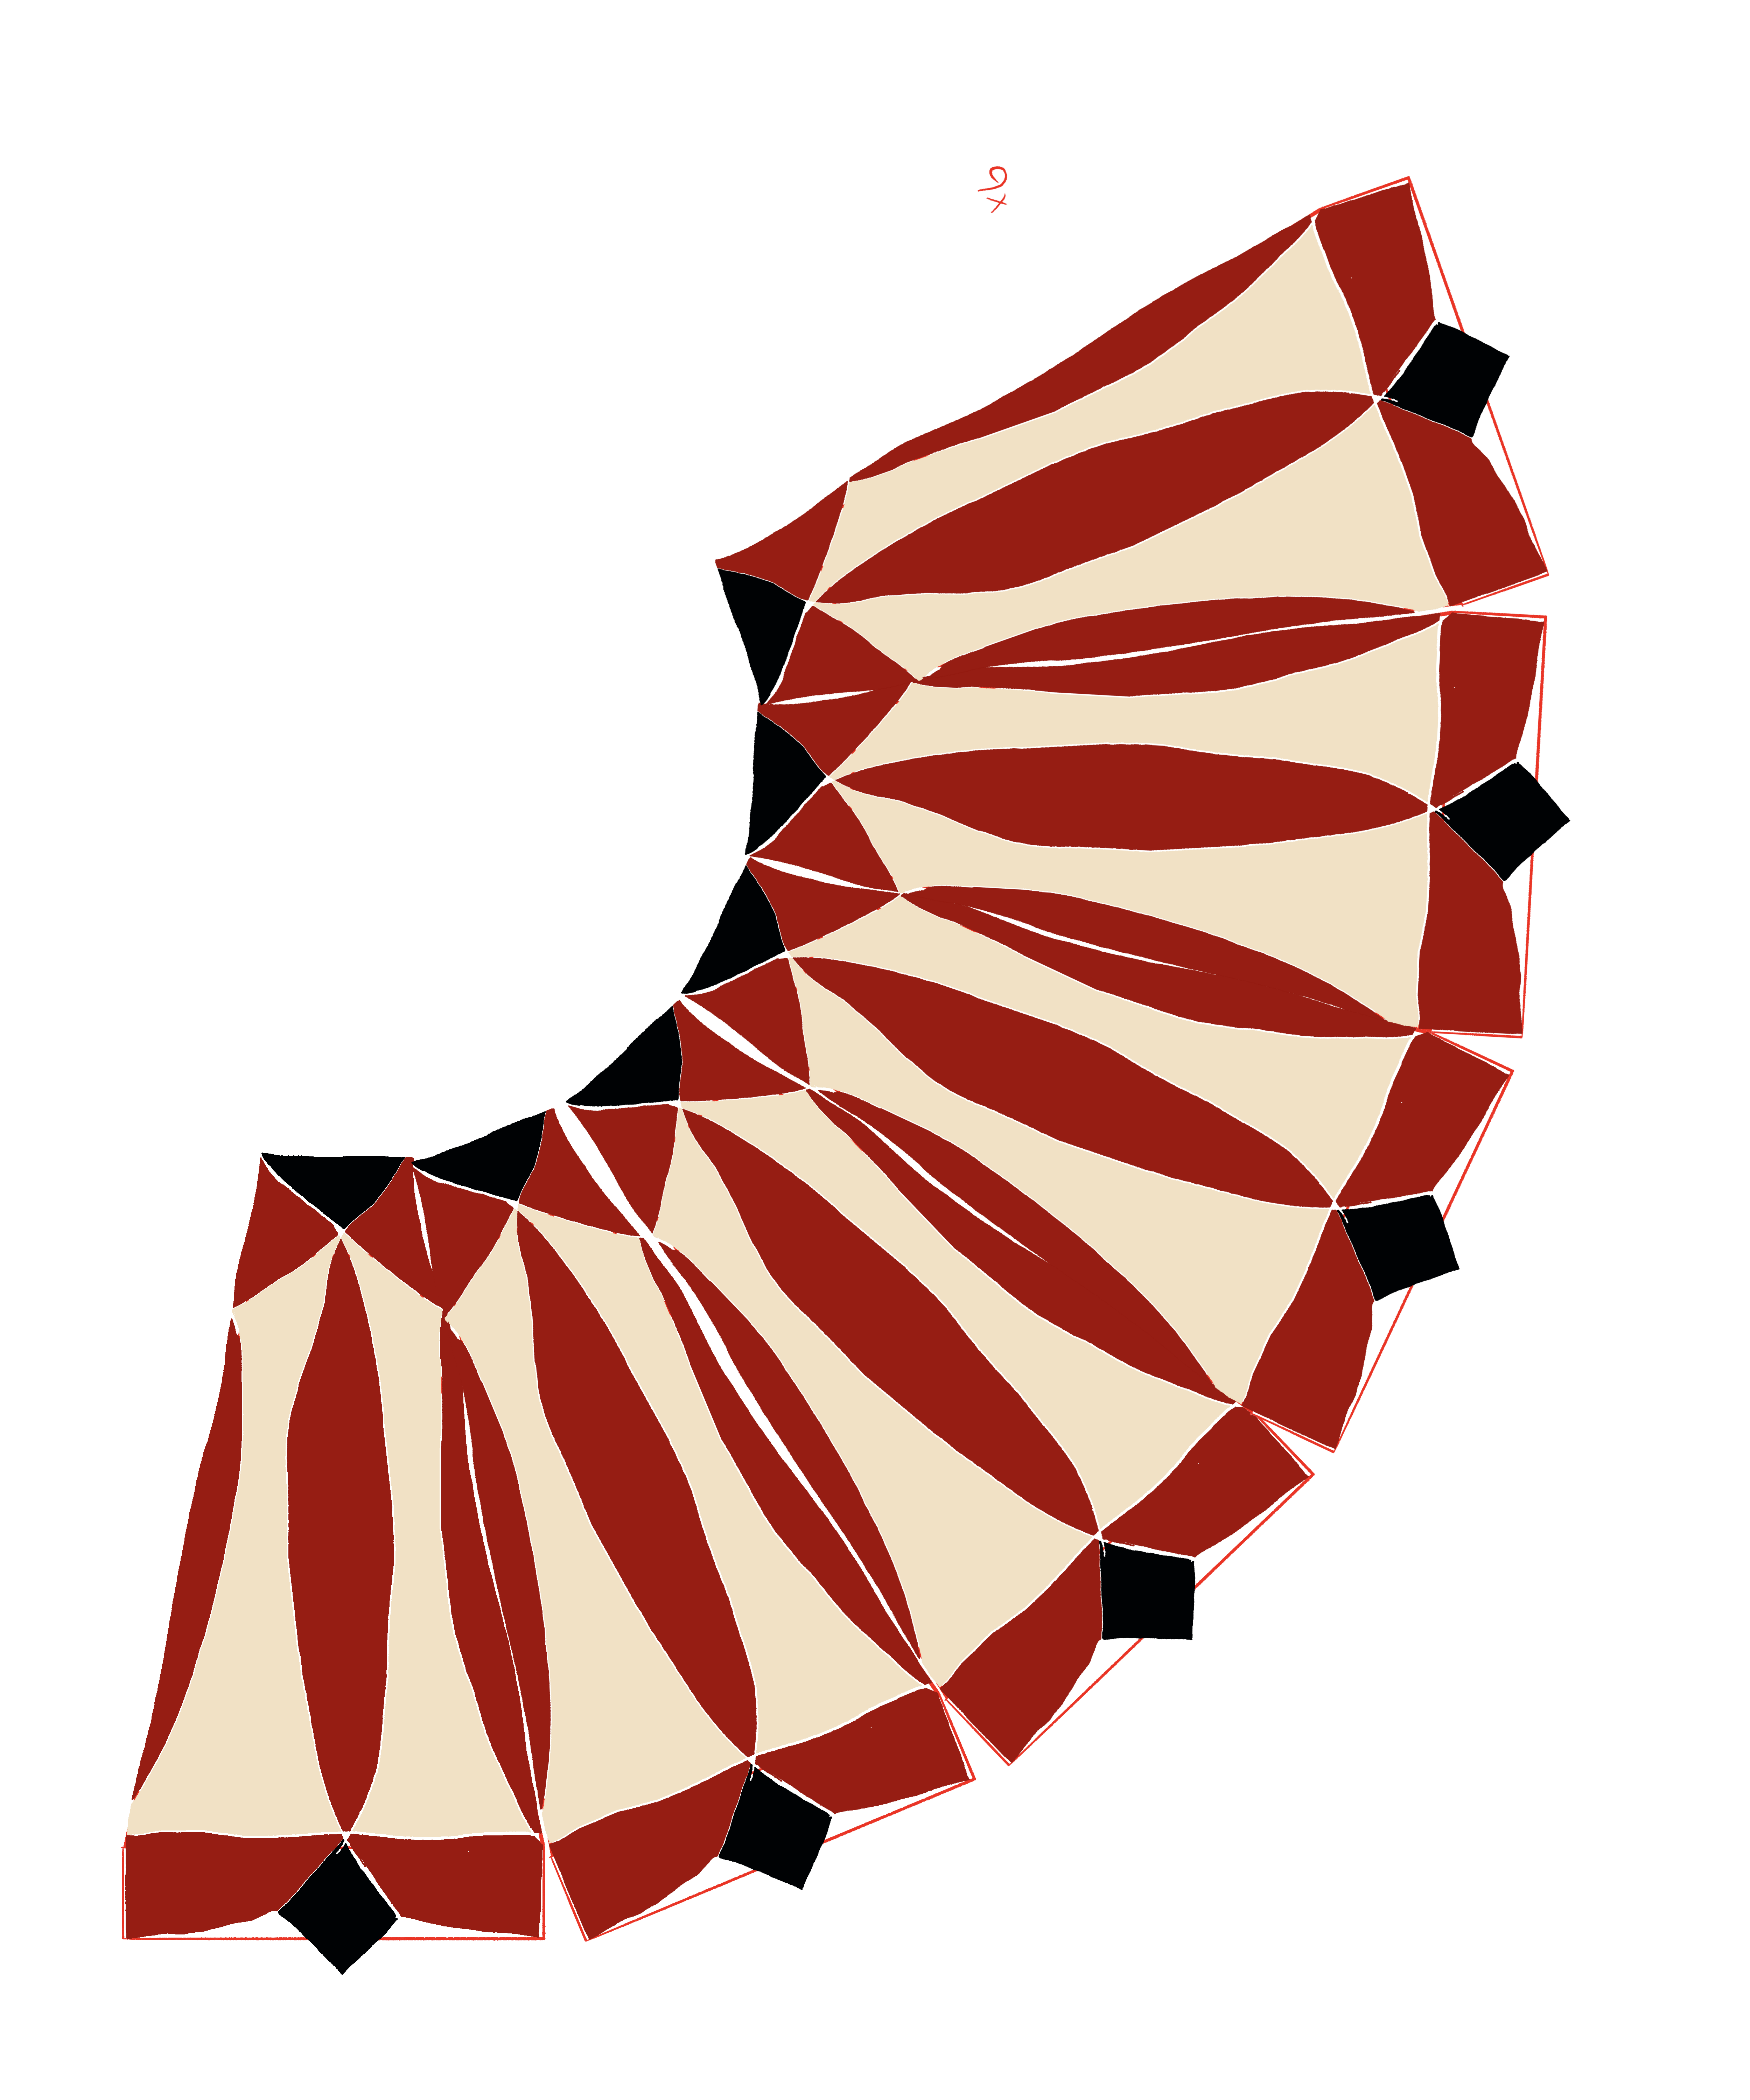

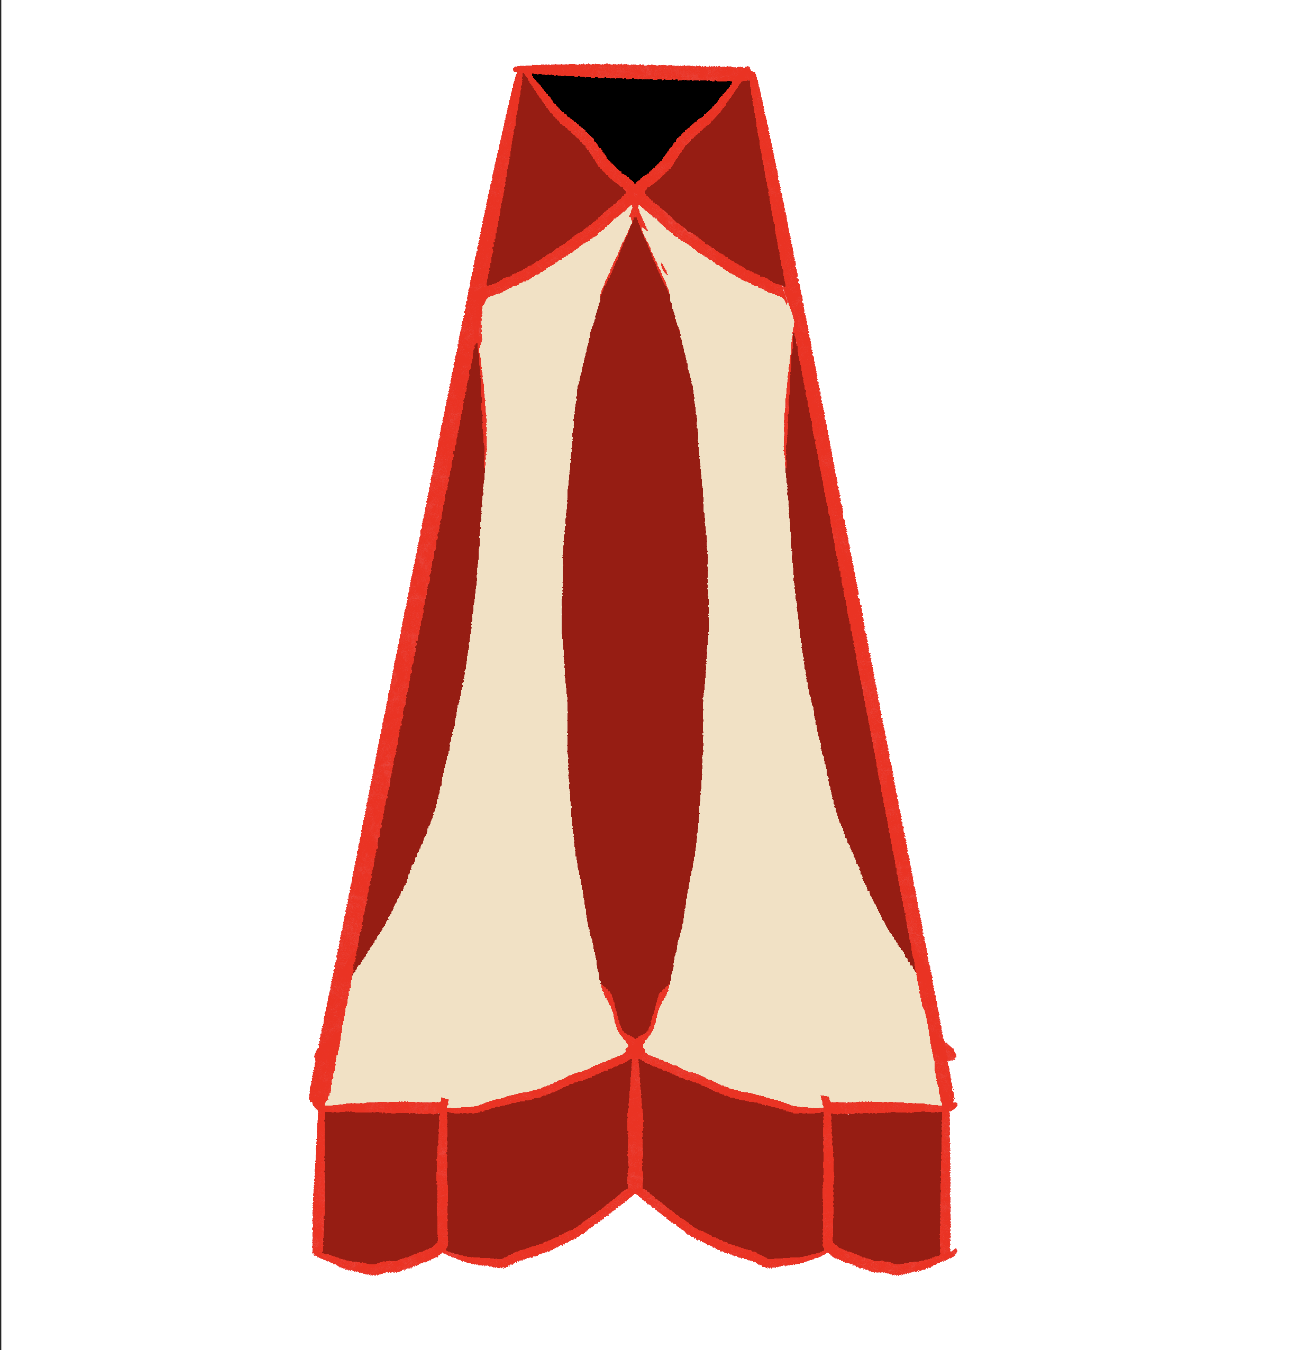
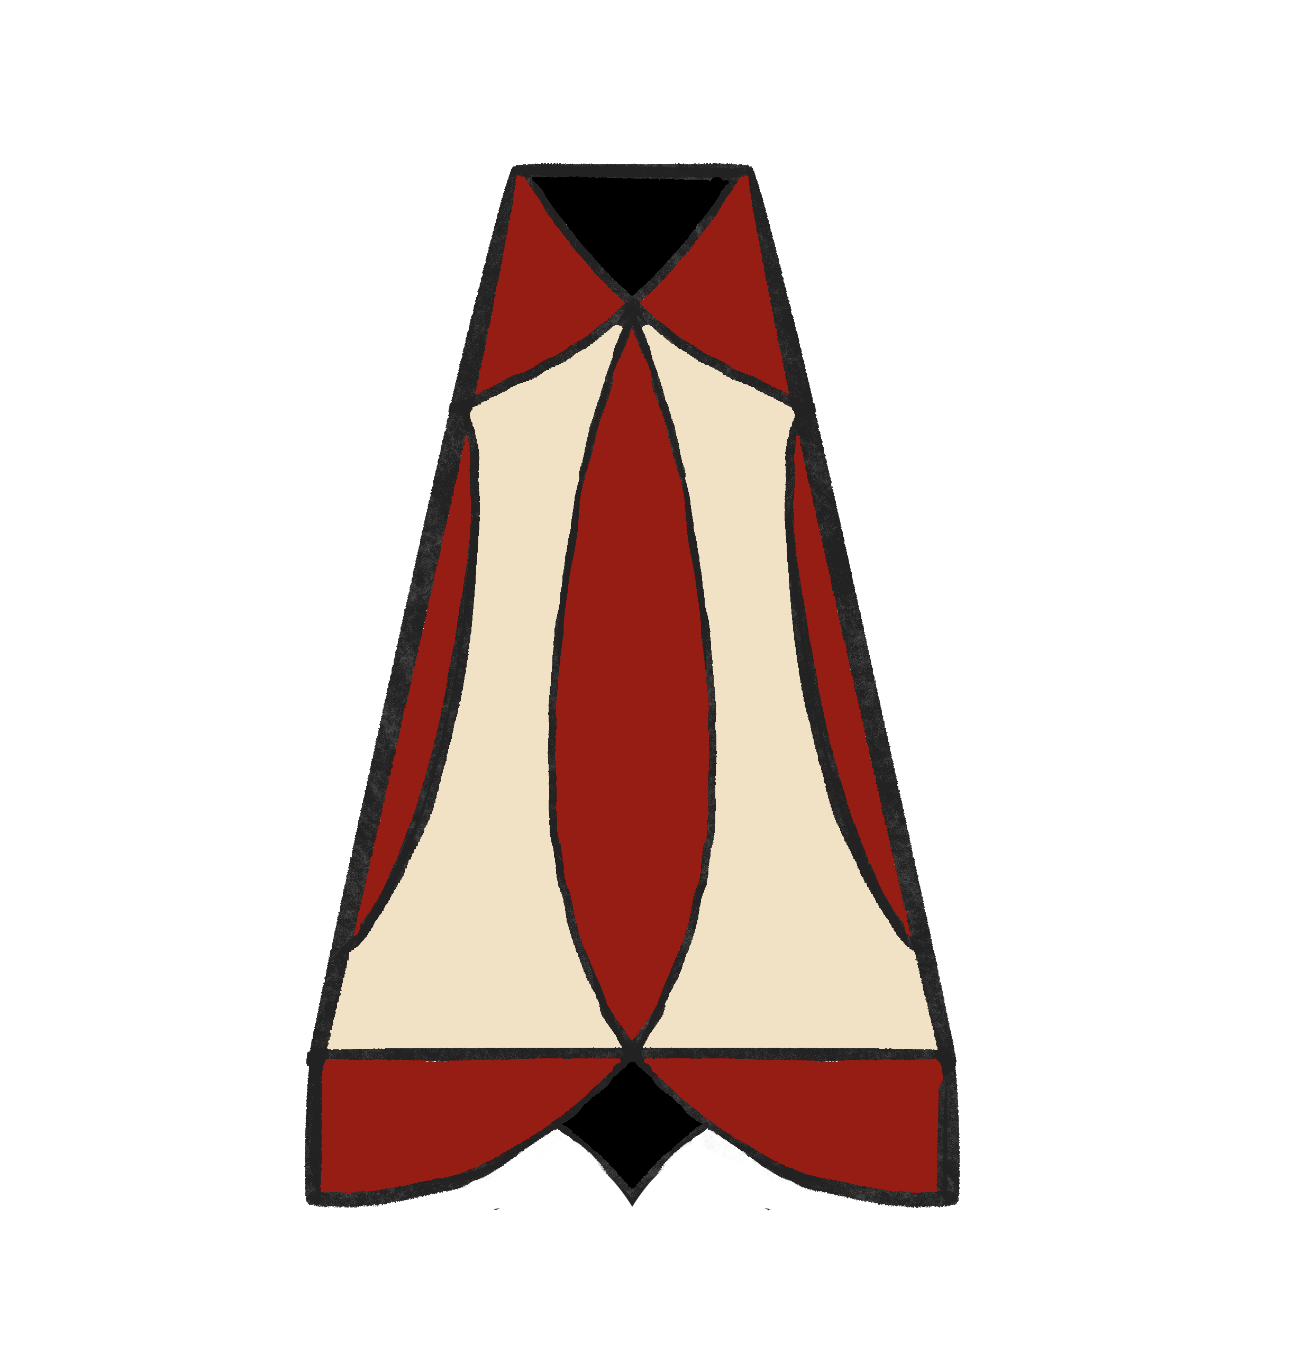
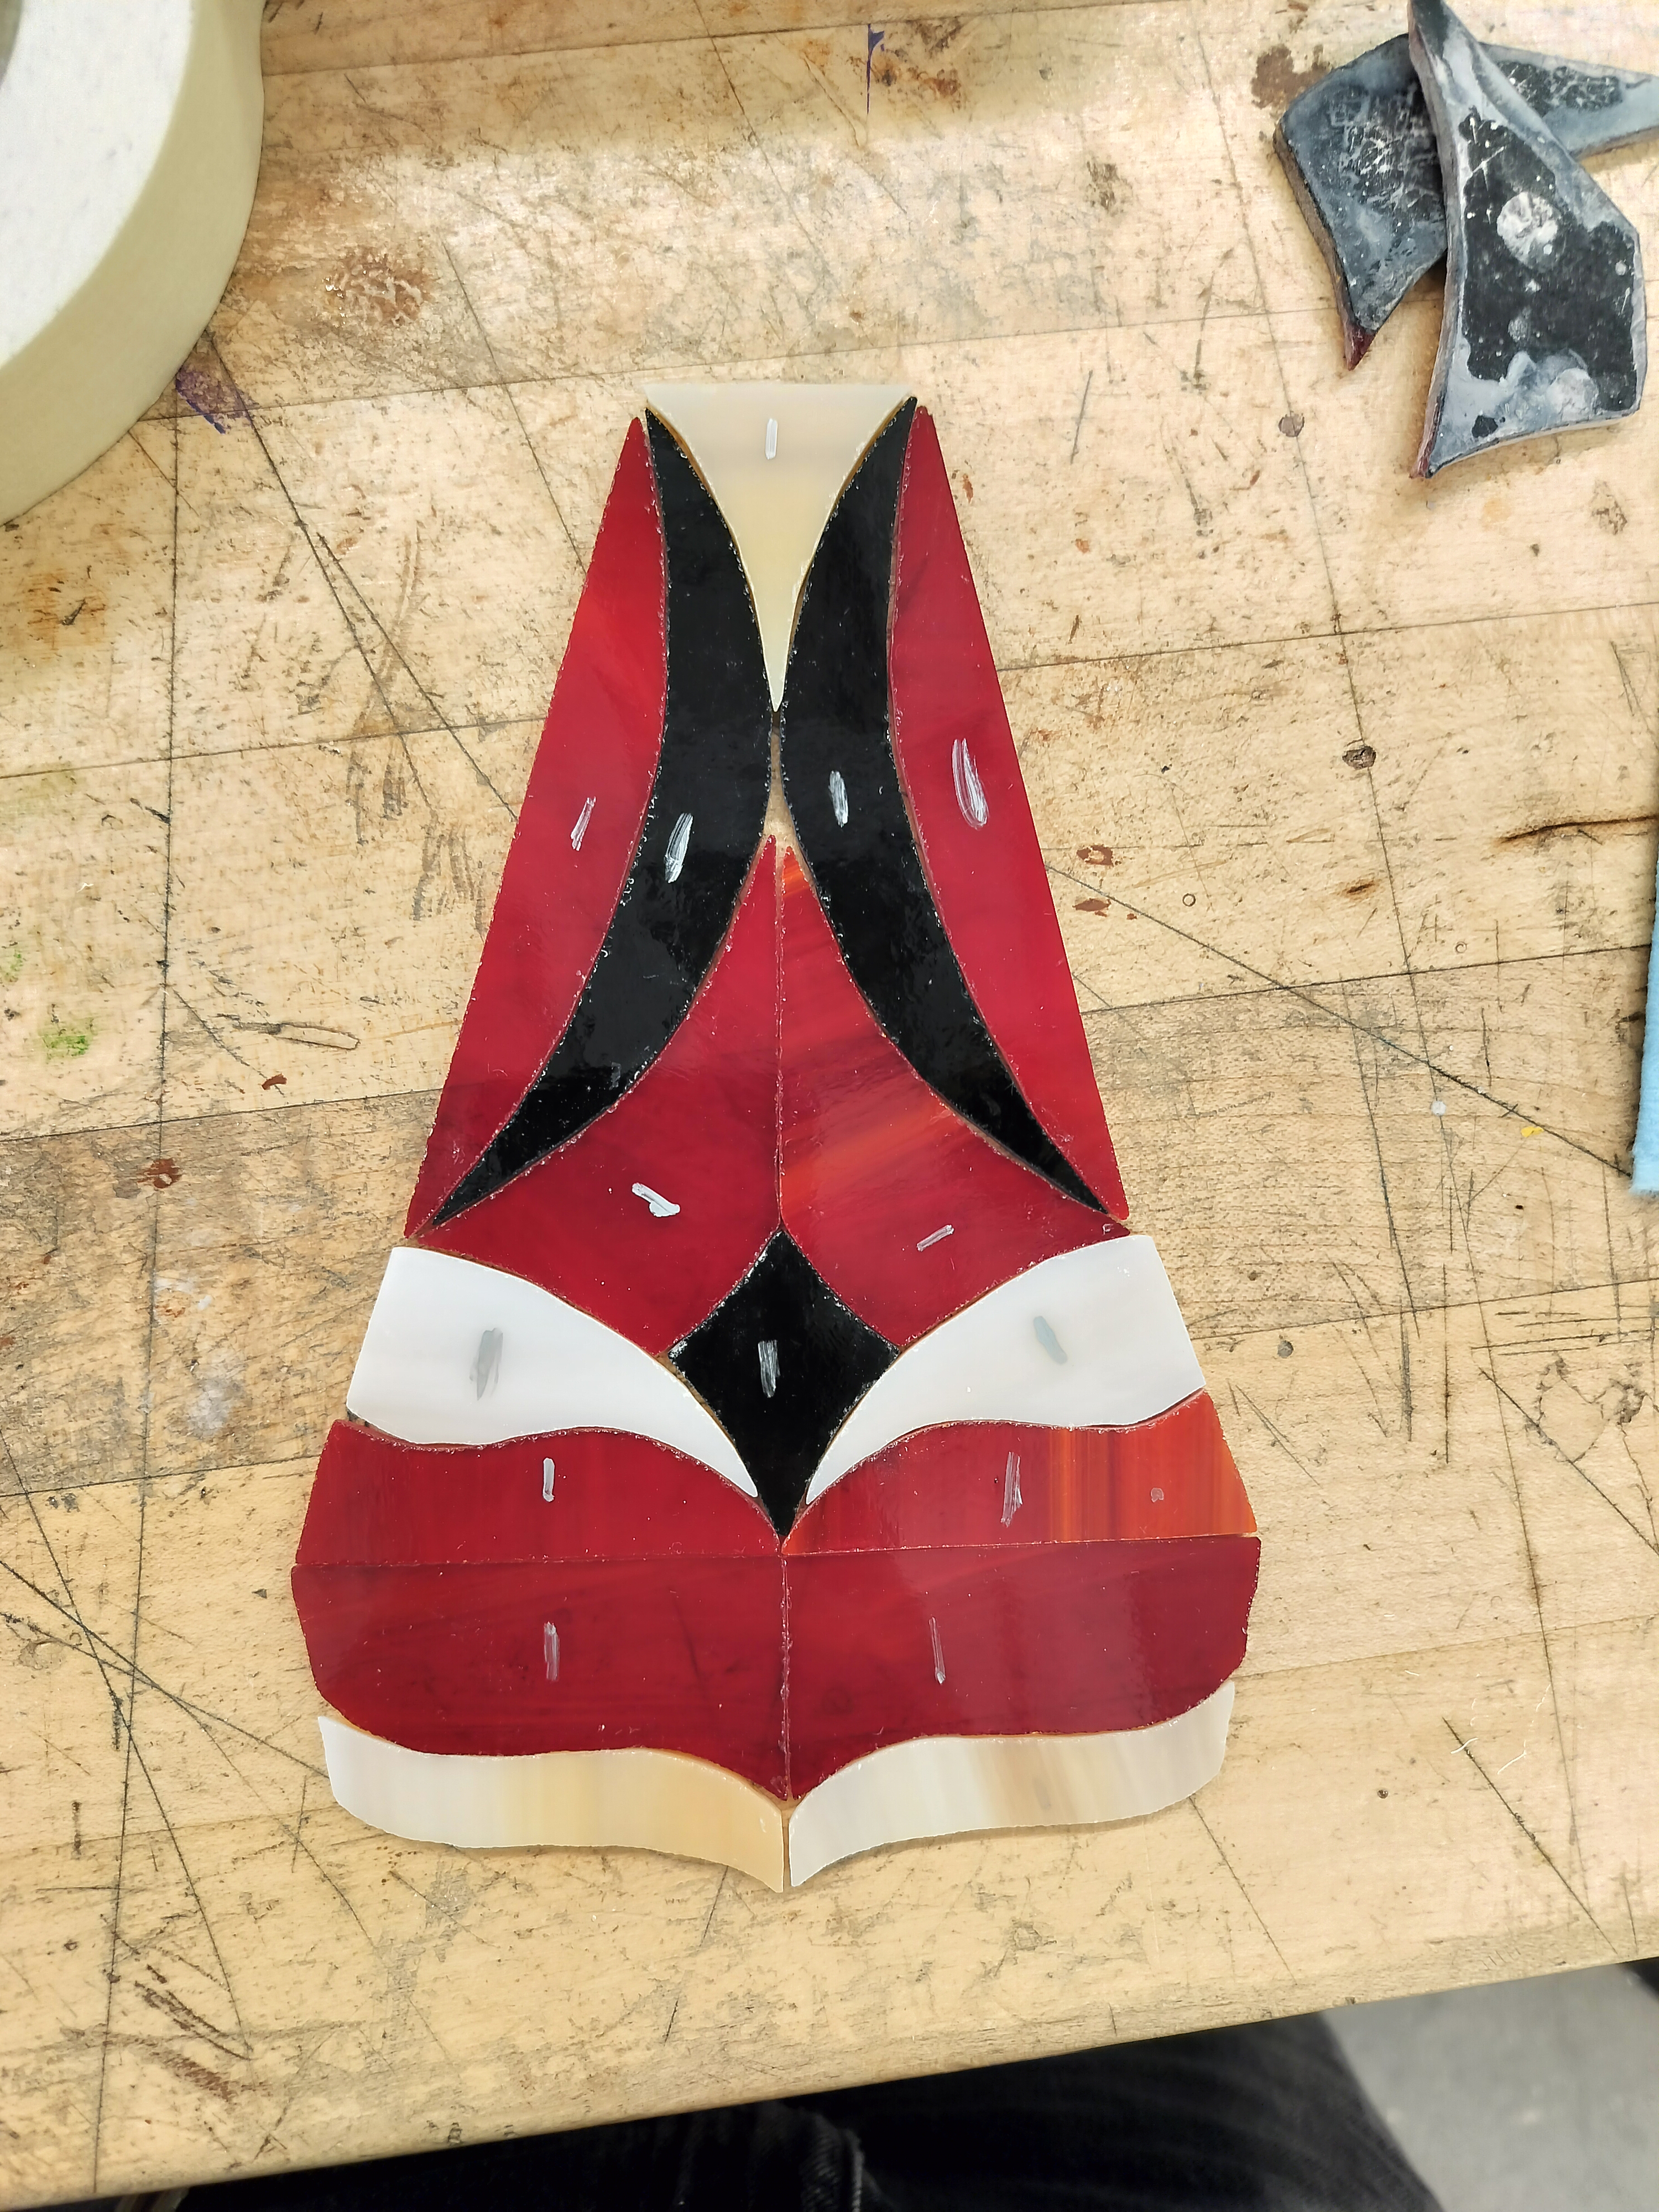
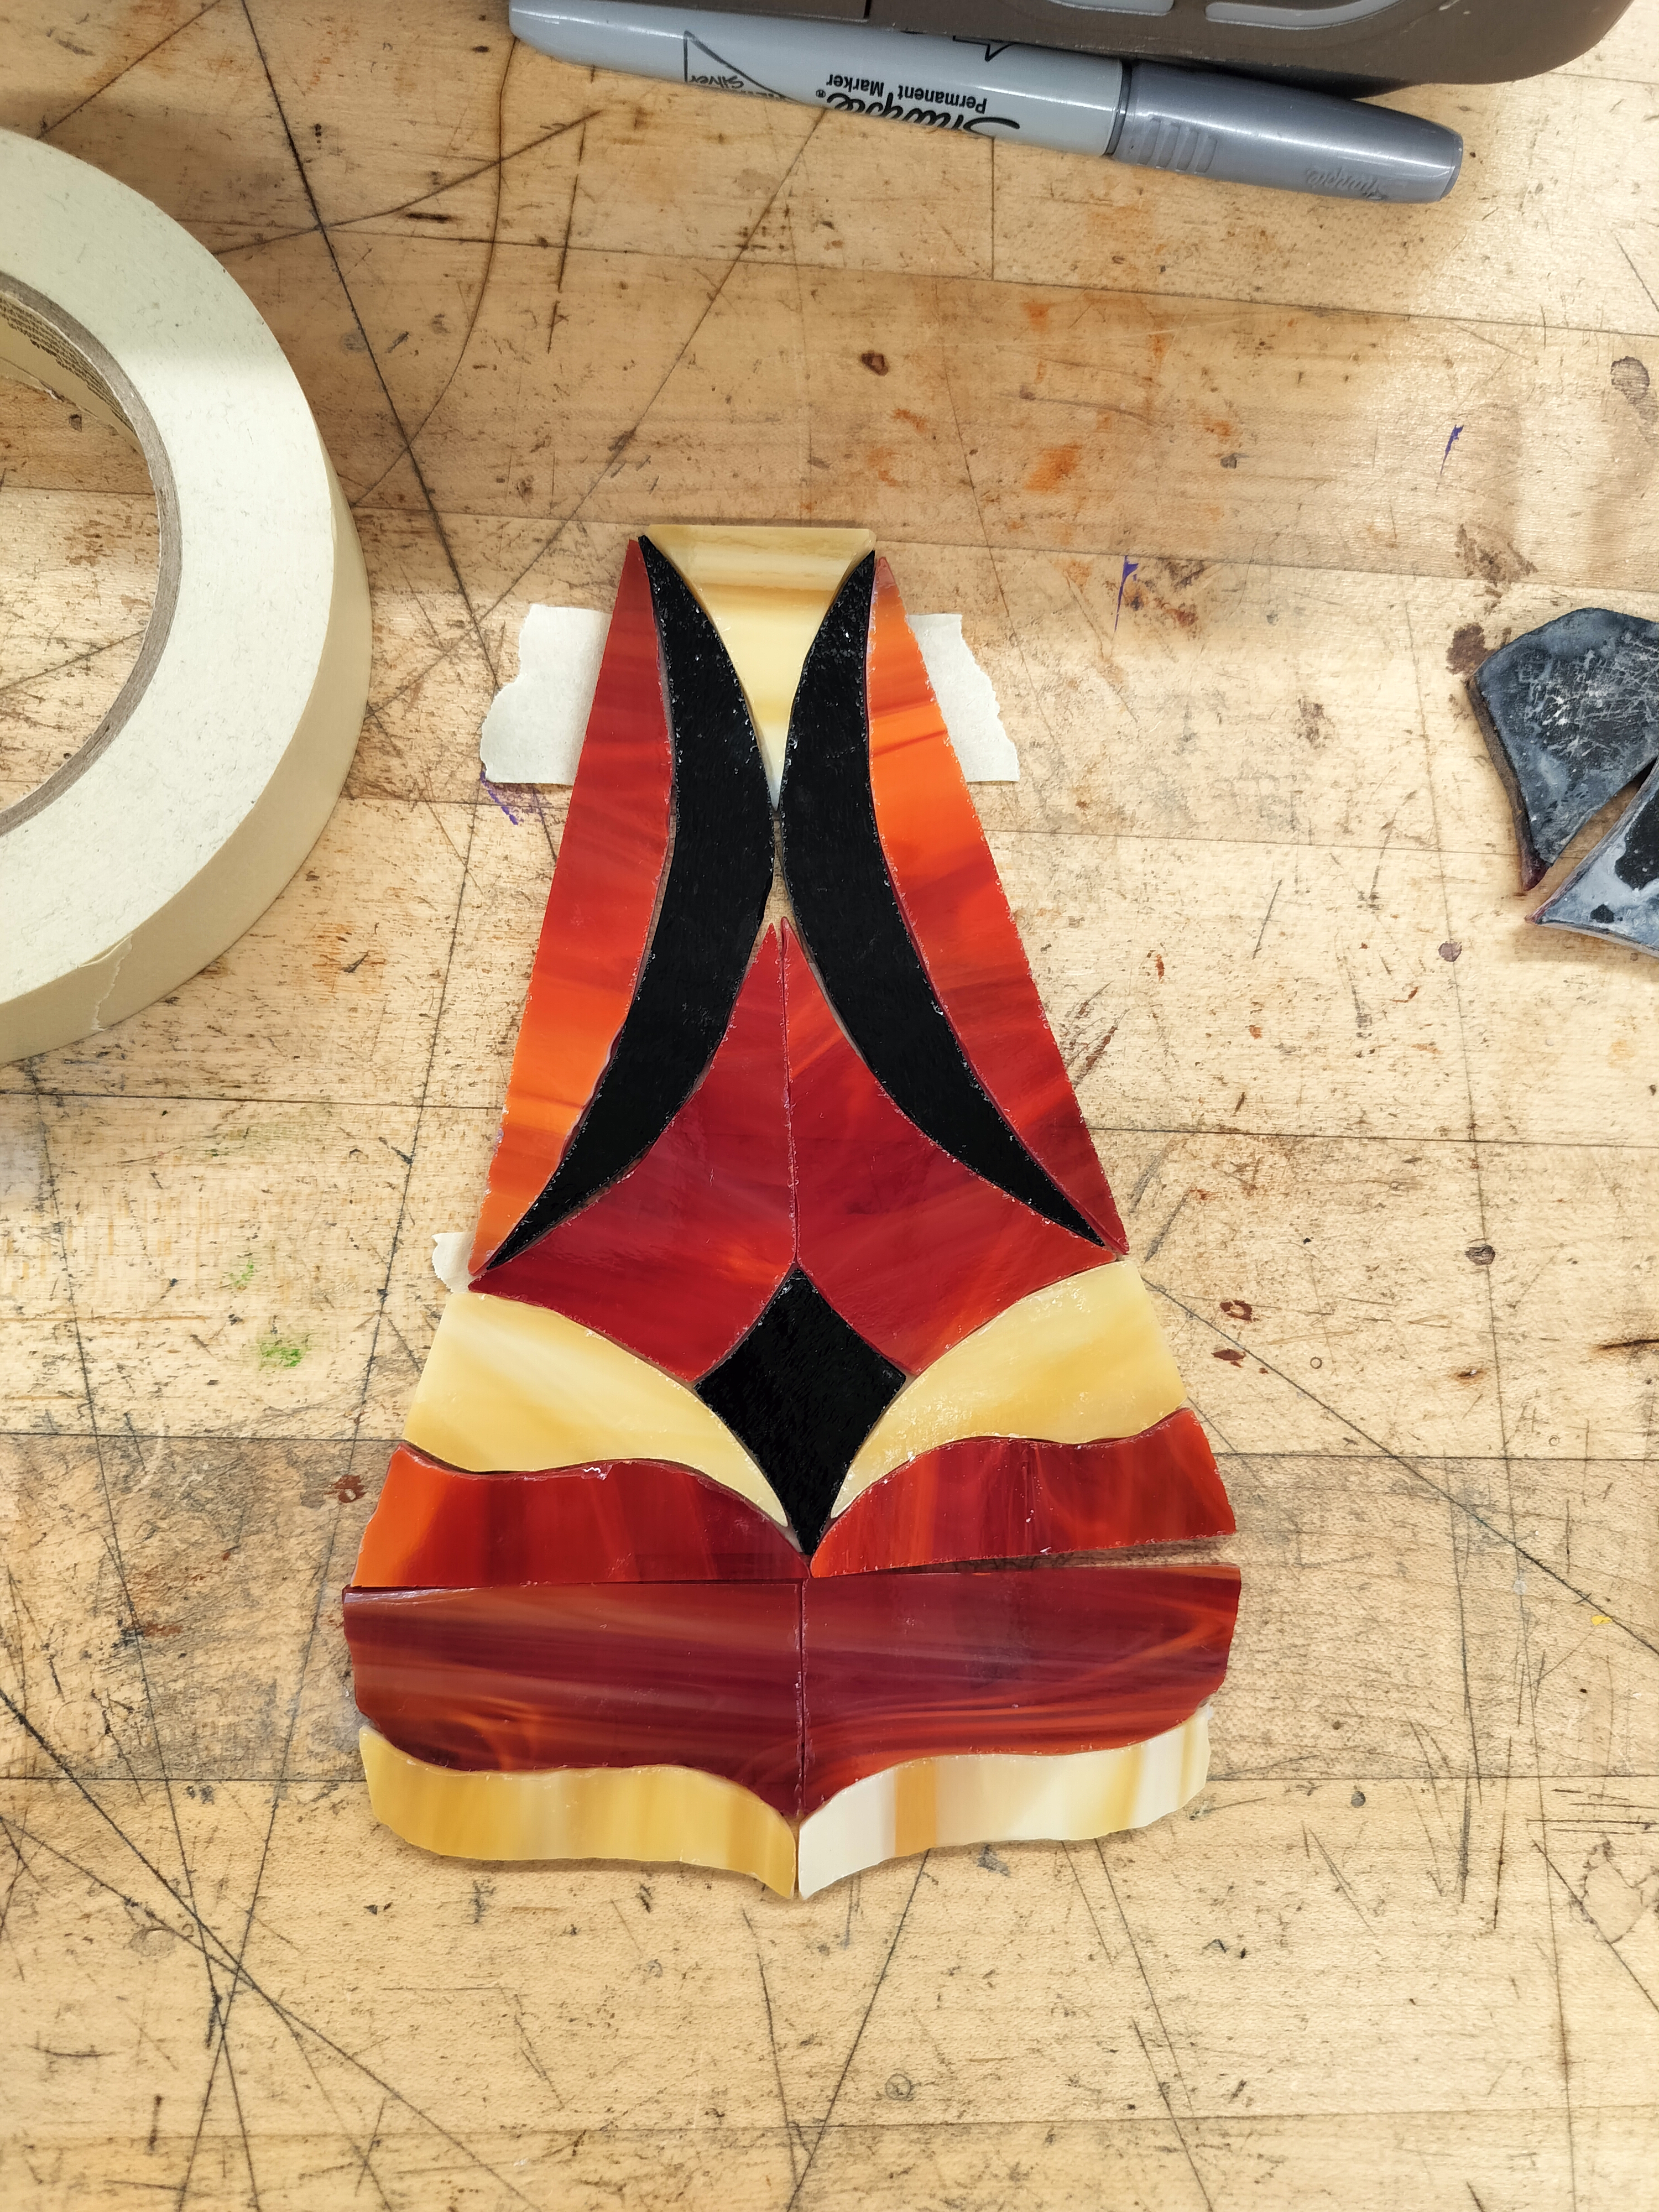
Glass
Which side is prettier? (I chose the second one)
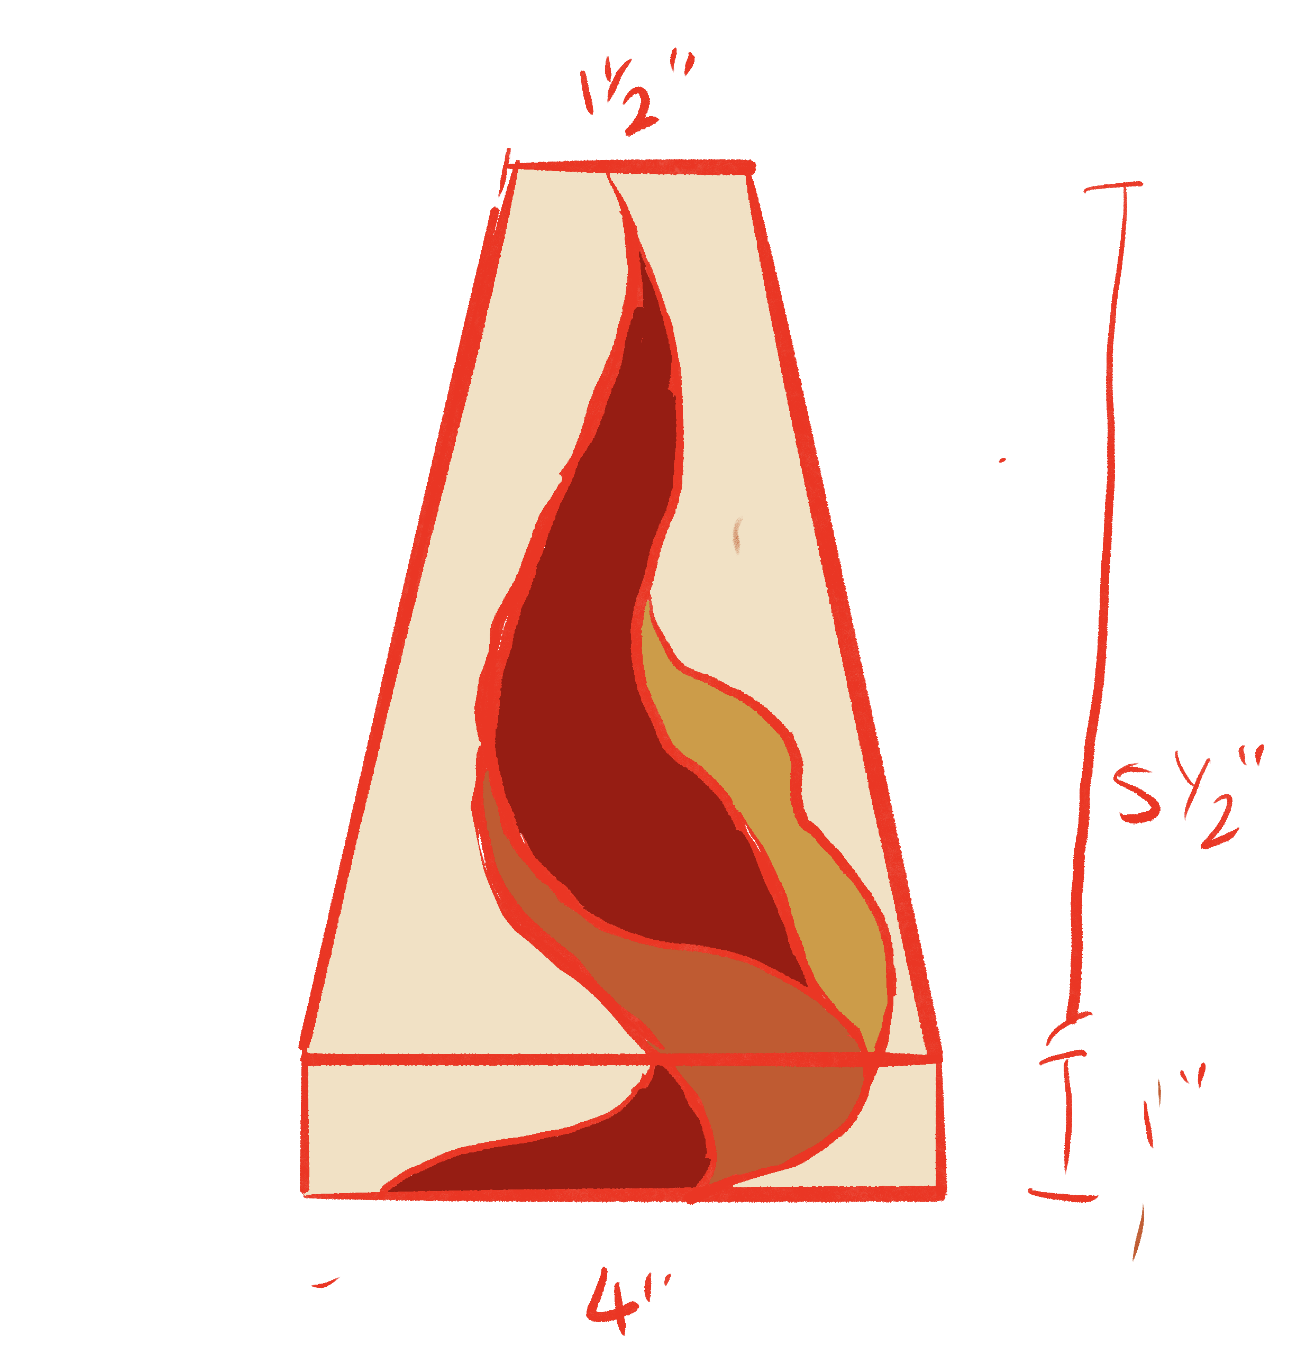
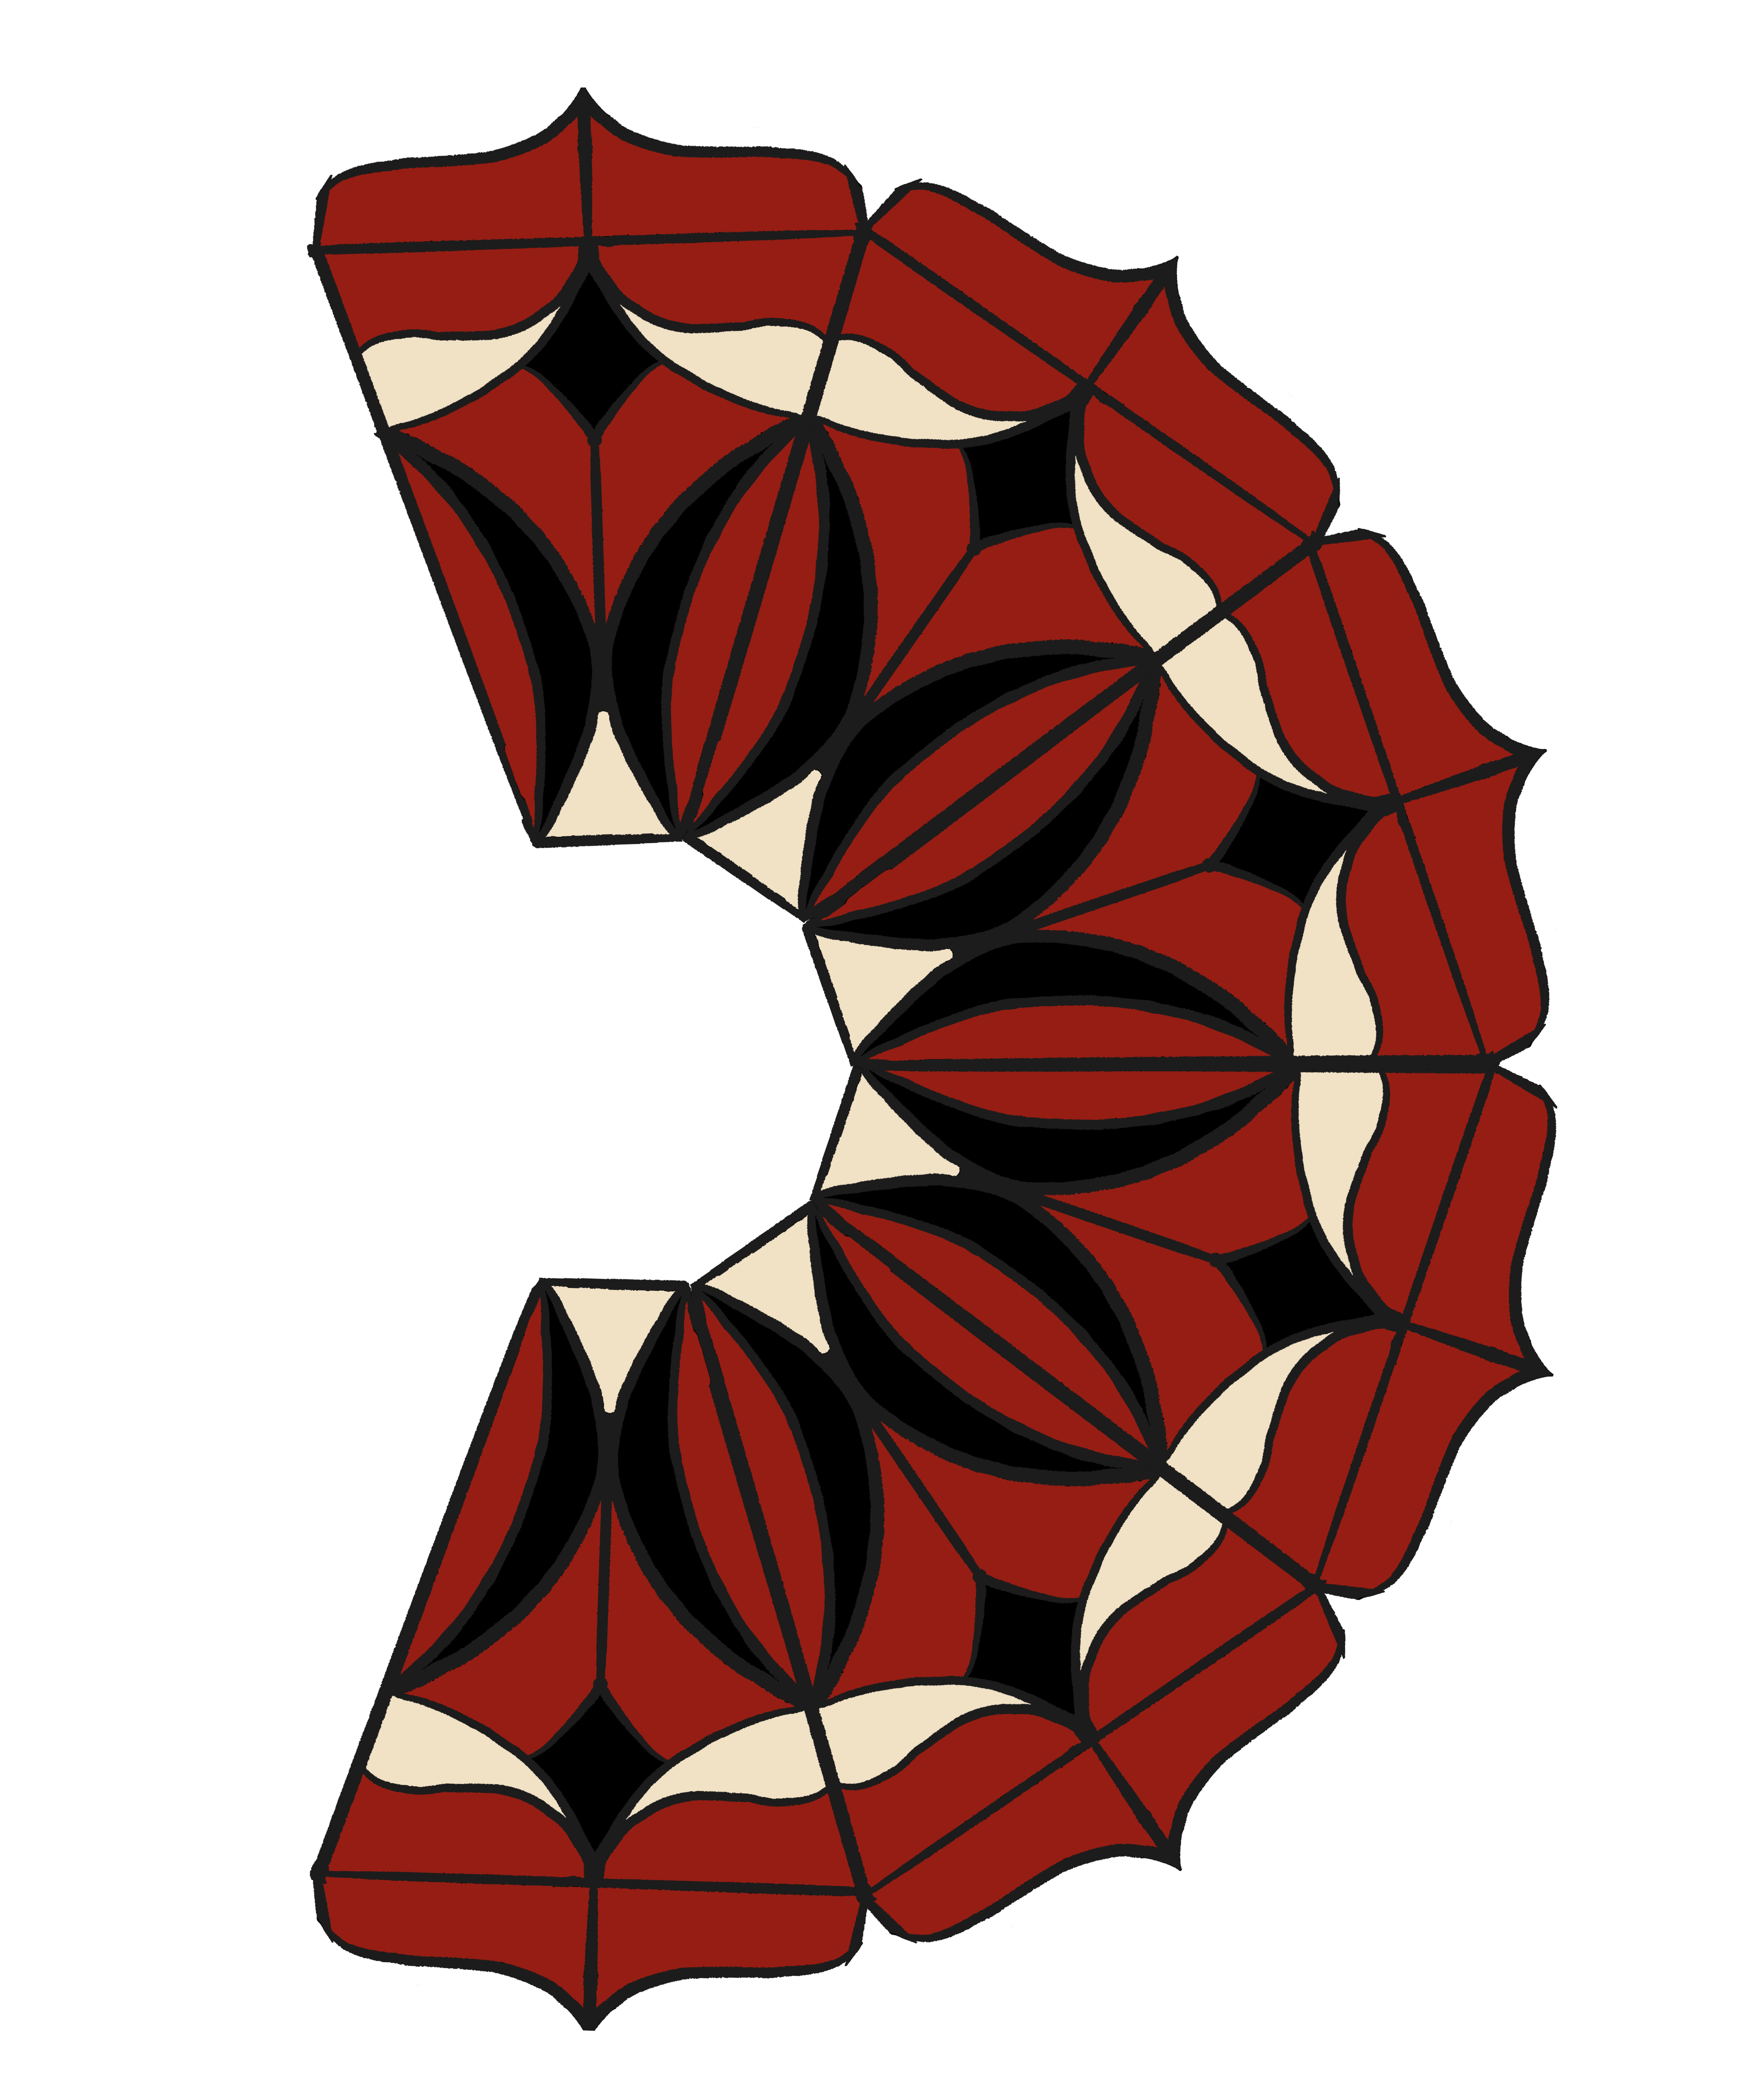
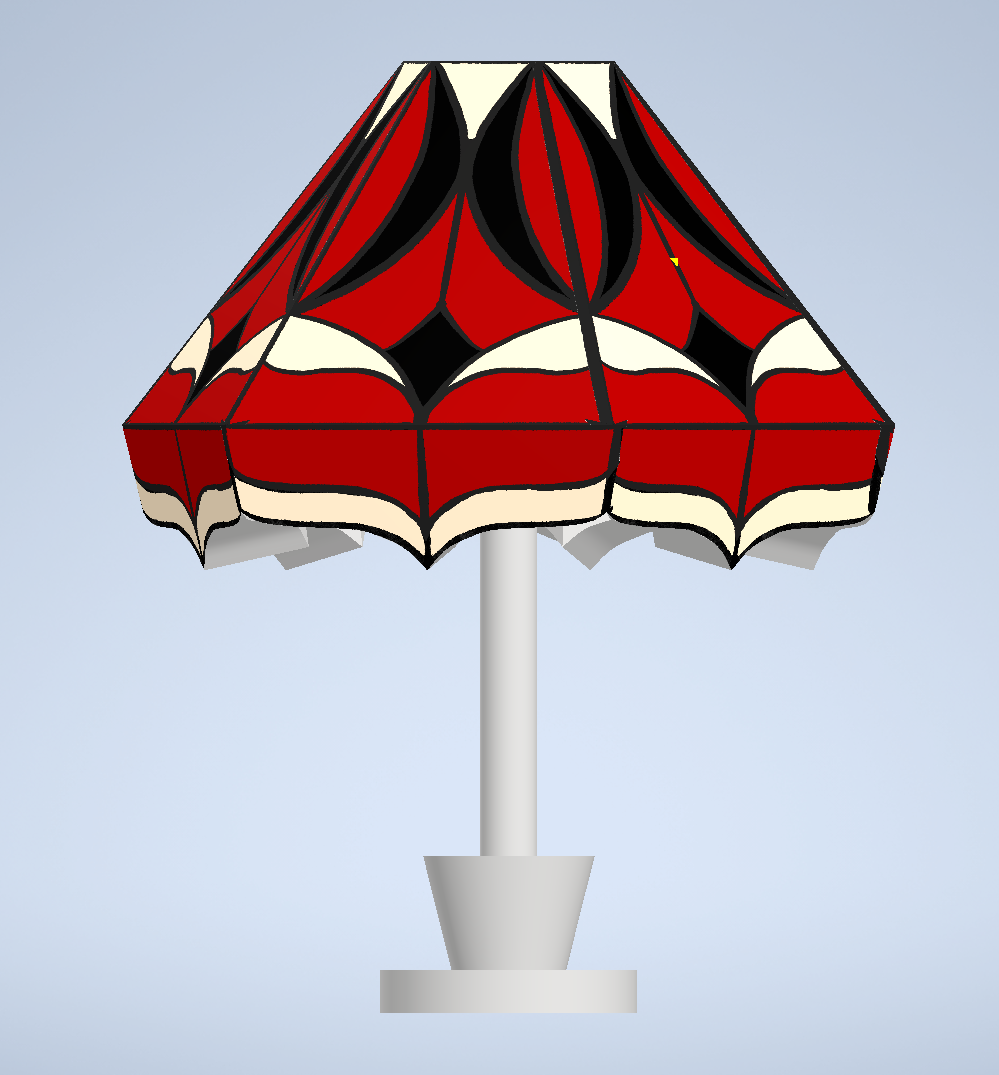
Mockup
3D Mockup with CAD! Courtesy of Yolanda :)
Process
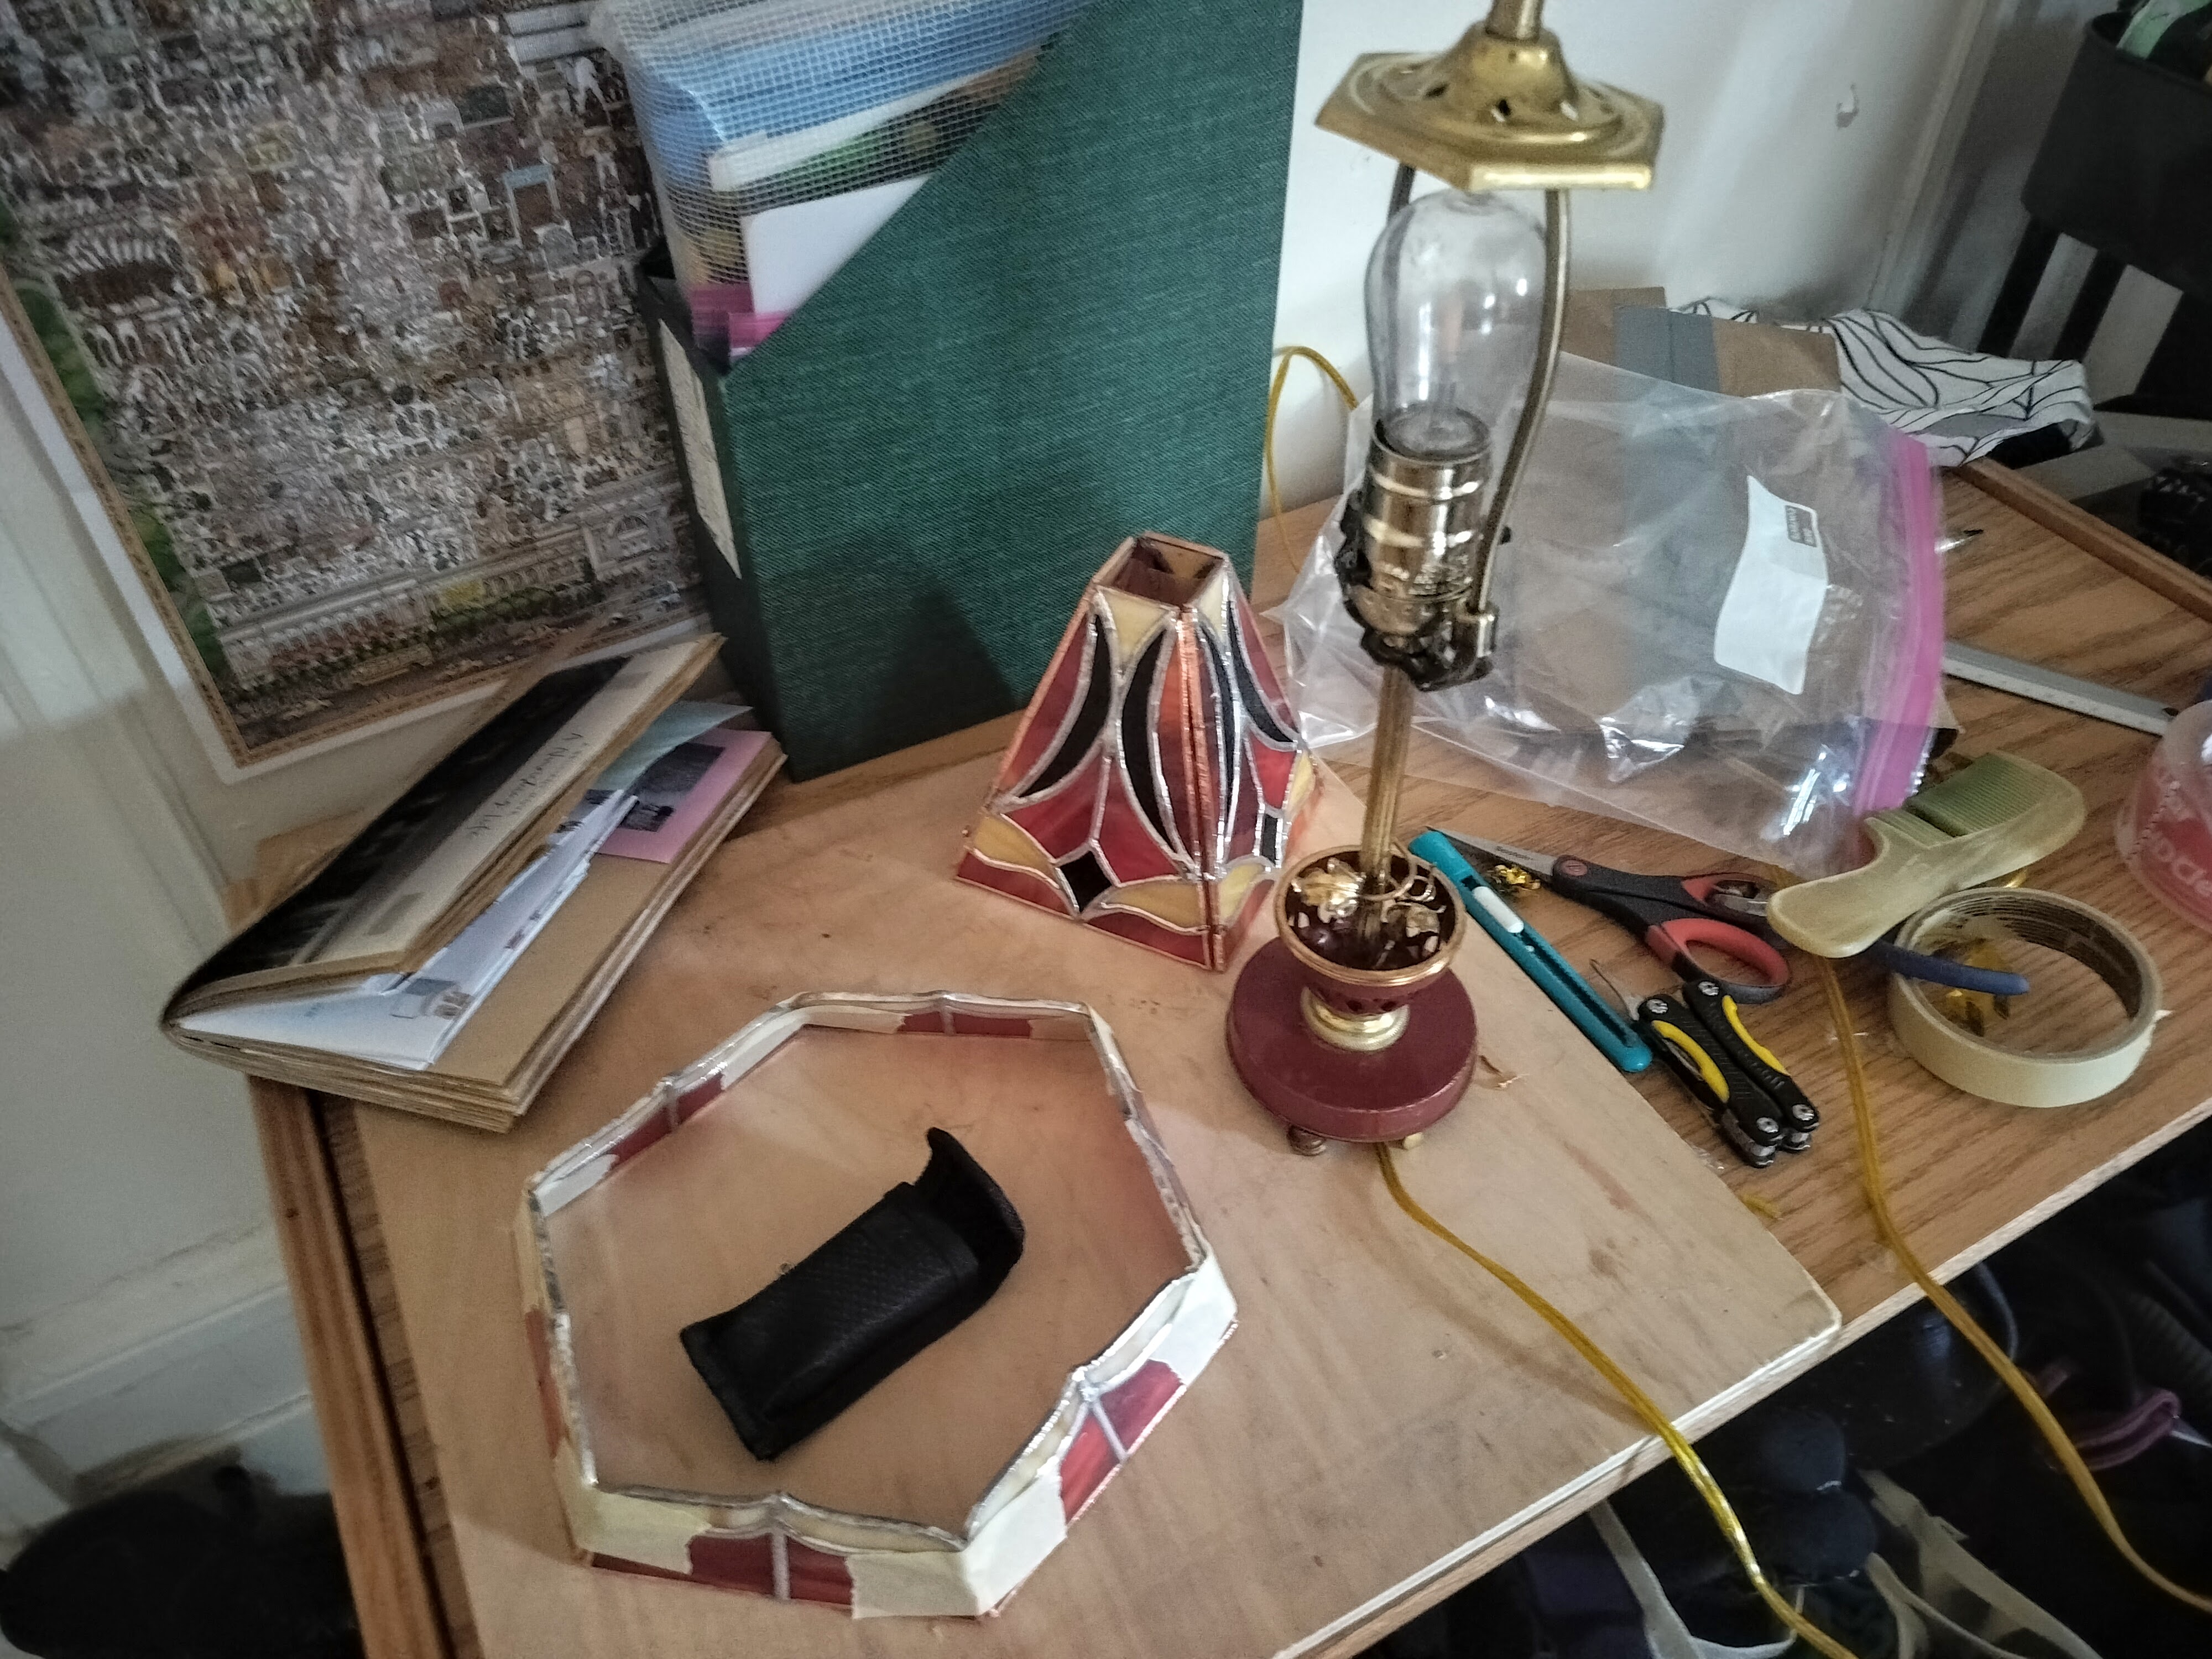
Lamp Bases and Other Hardware
Found at the Chelsea Flea Market! I cleaned and polished all the brass and gave the decorative vine new metal flowers. The base I bought also didnt come with a lamp harp (the thing that holds up the lamp shade) so I had to buy one. Thankfully, the lamp base I bought had working wiring, but lamp rewiring kits are widely available and easy to use! Typically, a lamp shade should go an inch below the base of the harp. I also had to get a vented vase cap (which the top of the lamp shade is soldered to) and a finial (the decorative screw on top of a lamp).
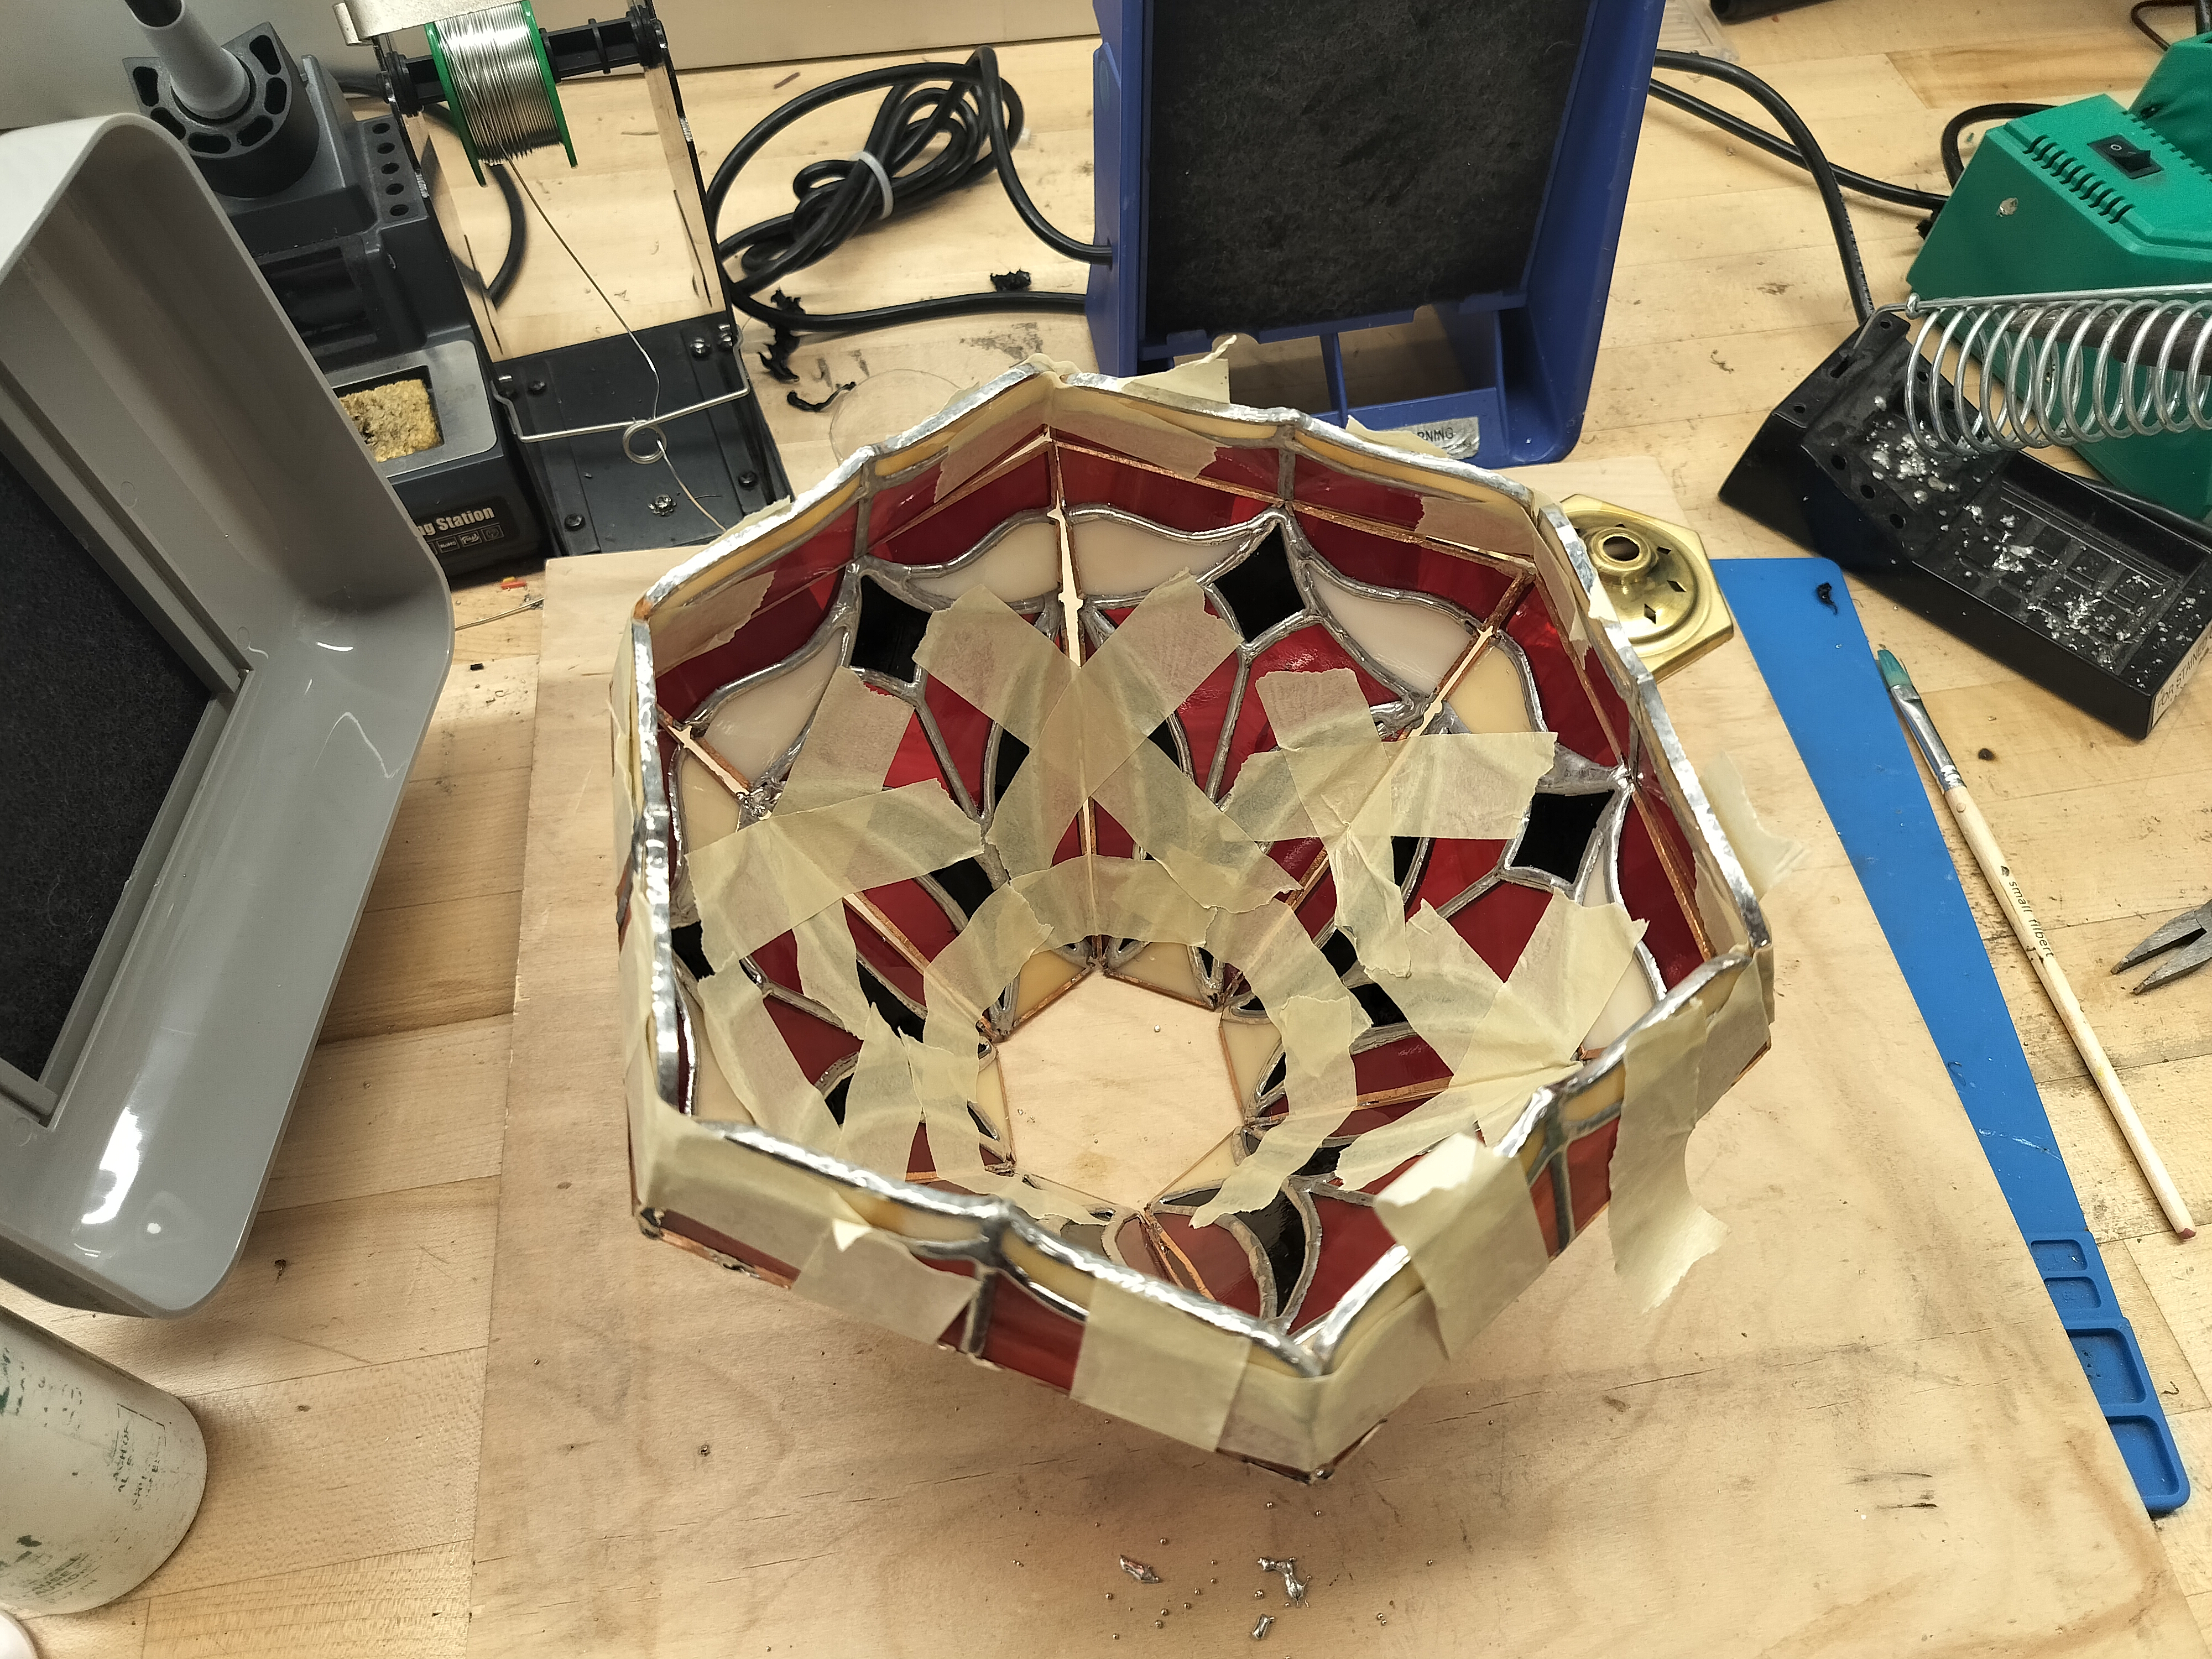
Taping and Tacking
To prop up the lamp and hold the pieces together, masking tape was my best friend. I first taped together the 6 large upper panels together to form a hexagonal pyramid, and eyeballed the shape so it looked good. Then I used bits of solder to tack together the edges so the panels wouldn't shift around. After tacking the edges, I turned the ensemble upside down, and similarly taped the bottom border to where they should go, adjusting them to fit together. Tack everything again, and you're ready for the painstaking process of soldering.
Soldering (So Much Soldering)
Soldering together this lamp shade took about an insane amount of lead (especially when you have big gaps due to ill-fitting pieces, oops). I probably used up an entire coil of solder total for this
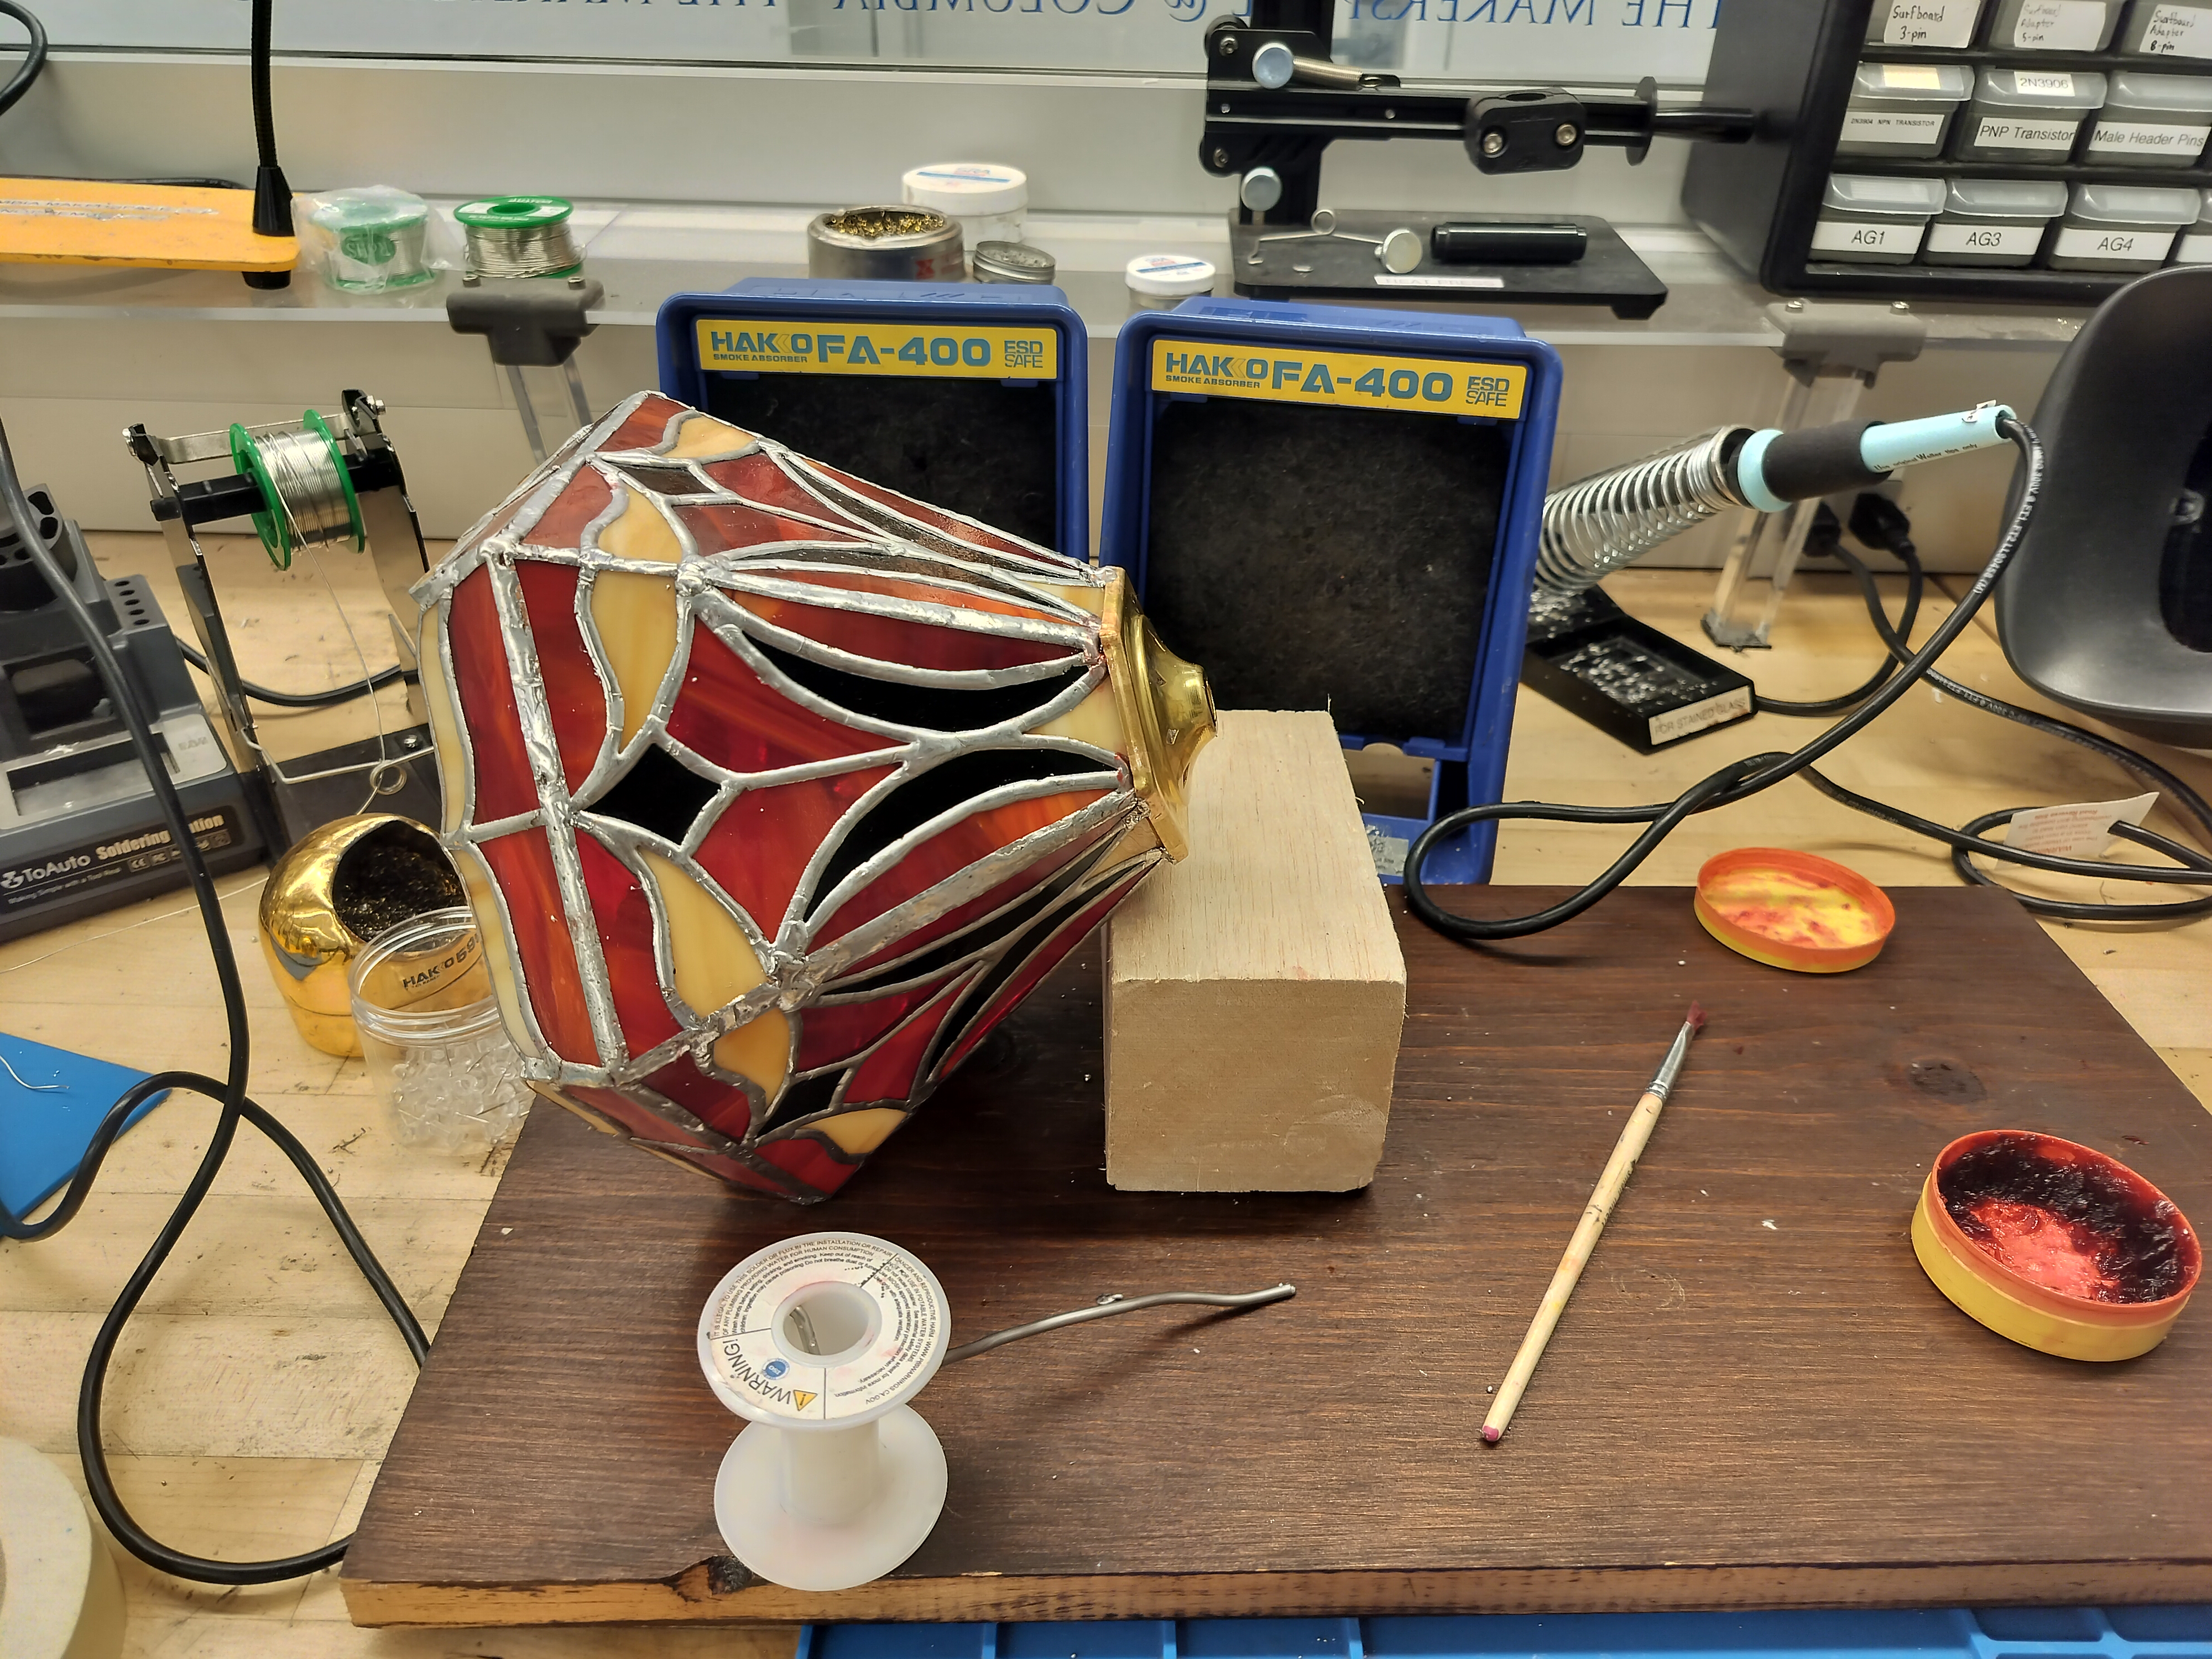
Patina and Polishing (again)
Using a patina solution, you can turn the silver lead solder either black or copper colored. A black patina is most commonly used and is also helpful in hiding imperfections in soldering! For best results, brush the solder lines and border with a wire brush first to remove surface oxidation.